Please enter your name.
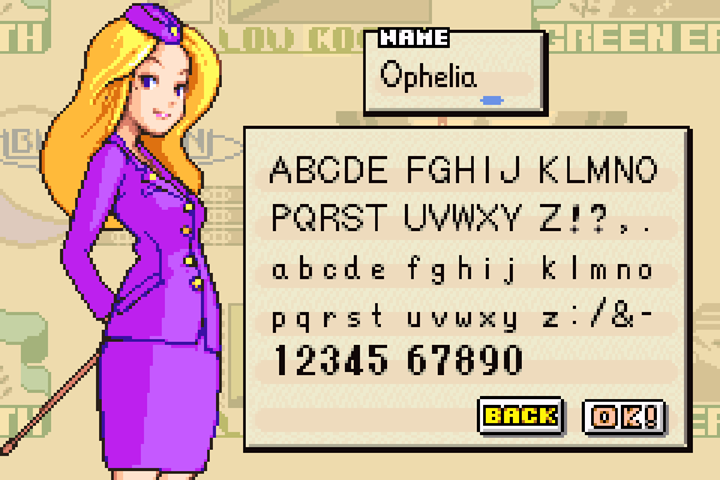

That’s right! In the original Advance Wars, you actually have a name. You don’t have an in-game portrait, but at least you’re mentioned by the characters in the game. I wish that was true for later entries in the franchise.

It’s nice to meet you, Ophelia.
Nice to meet you too! Uh… And you are?
I’m Nell. I’m a CO in the Orange Star Army.
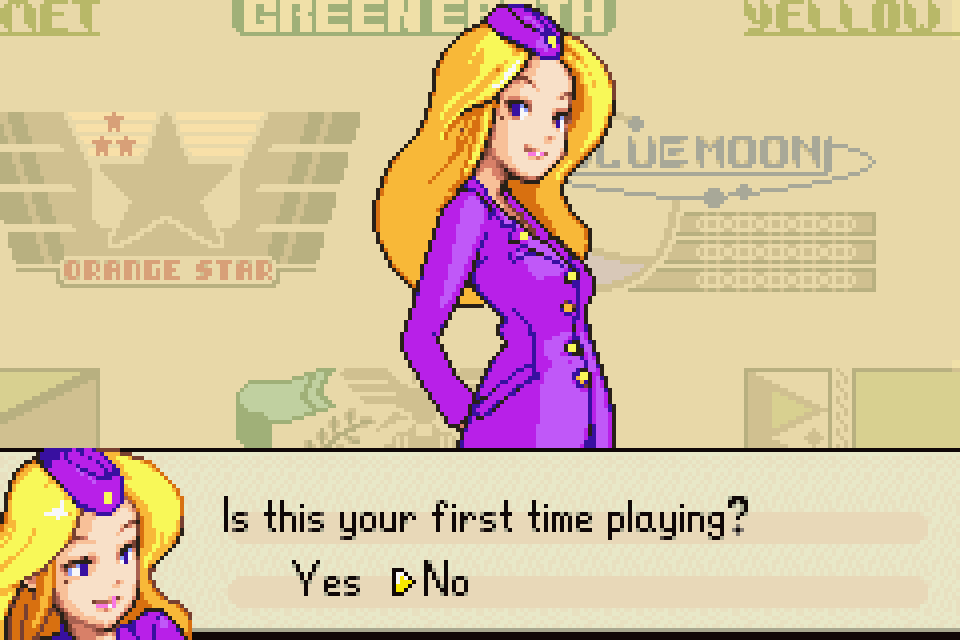
It’s not my first time. In fact, I’ve played through every Advance Wars title.
Oh, I see. In Advance Wars, I give gameplay and strategy advice in Field Training — including explanations of all the game rules. If you really don’t want to go through it, I can teach you a way to pass through quickly, but…
If you insist… I guess so. I do plan on clearing all Field Training missions anyway.
I think that’s for the best!
You can get to Field Training from the Mode Select Menu. Also on the menu is Vs. Mode — a multiplayer mode for a single Game Boy Advance — and Link Mode, for multiple systems. Please enter and complete the missions in order from top to bottom.
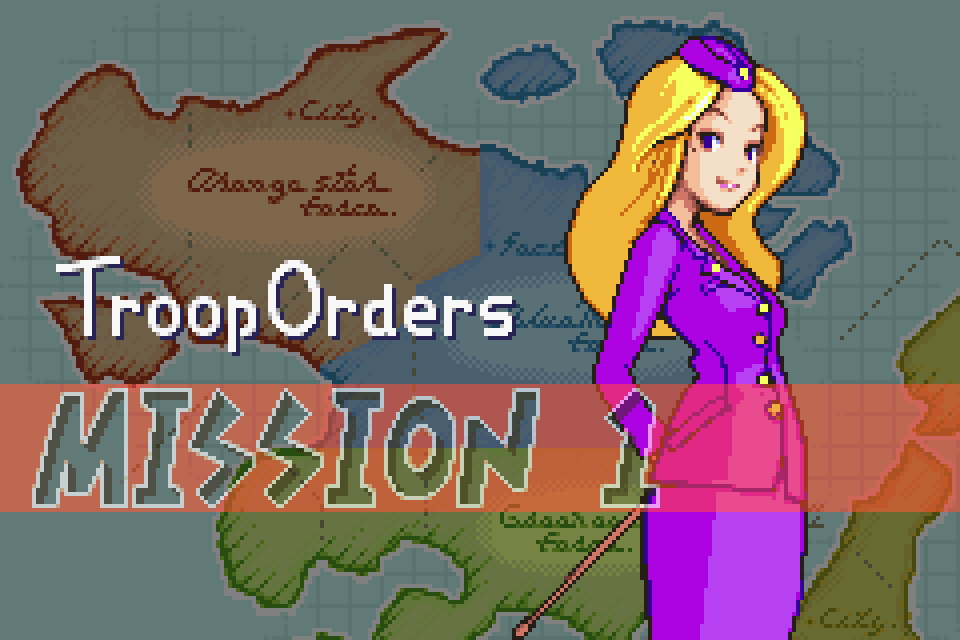
The first lesson is on Troop Orders. Good luck!
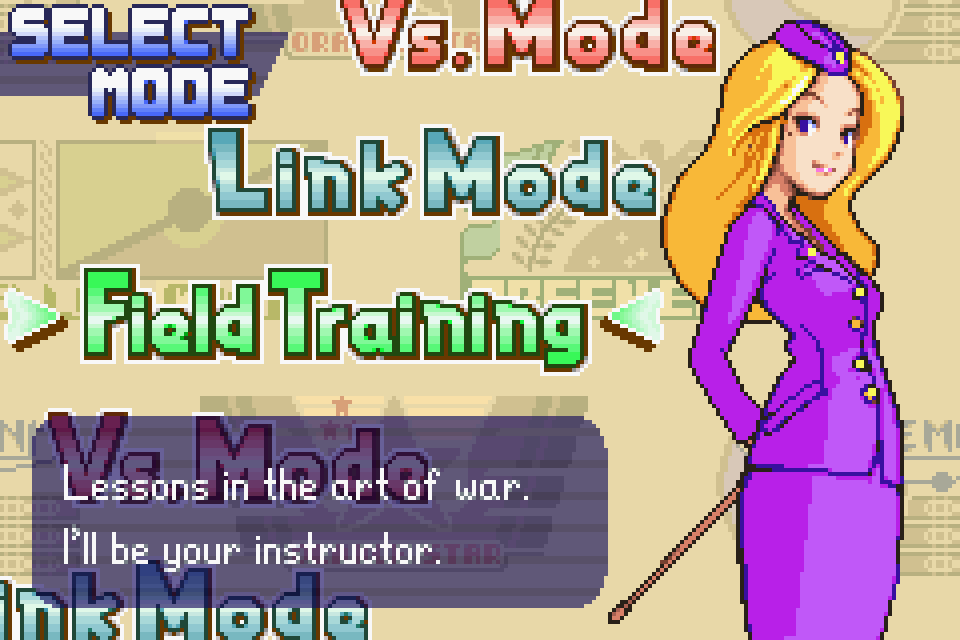
Nell explains all three modes regardless of which option you pick — there’s no skipping the intro. Field Training Mission 13 must be cleared before the remaining game modes unlock, so you’re playing through all of it. There are 14 training missions in total, and several carry story beats, so I’ll be covering them properly rather than rushing through.
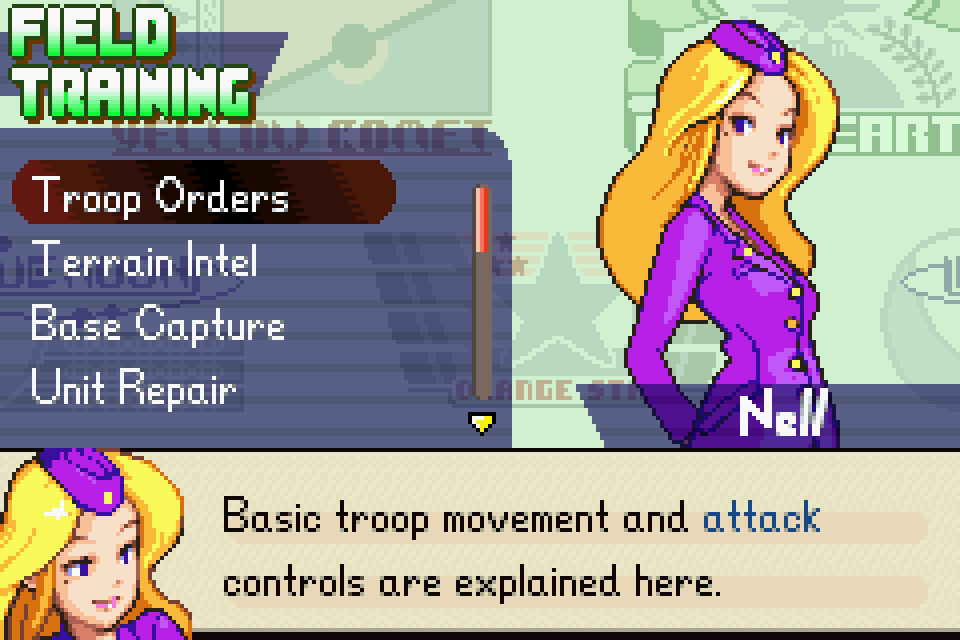
There are quite a few training missions. They also cover a little bit of story, so let’s get started!
THE BRIEFING
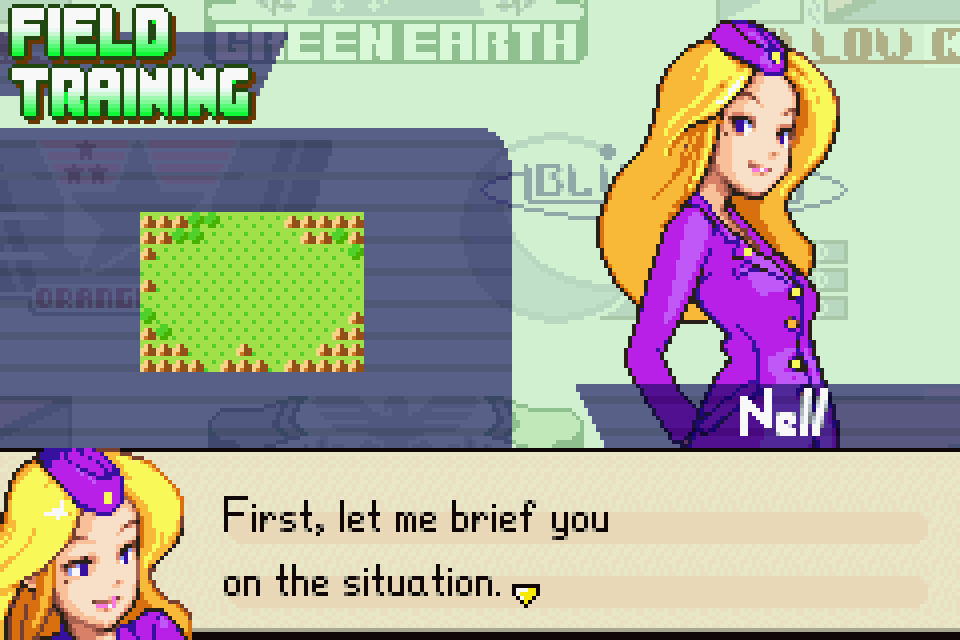
We’re in this large nation here, Orange Star. The country to the east is Blue Moon. The two countries have been bitter rivals for years.

Border skirmishes had died down recently… until that madman Olaf…
Oh, excuse me. I mean, uhm… The Blue Moon CO, Olaf, suddenly ordered an invasion of Orange Star.
So, the Alara region is now held by Blue Moon forces.
Candidate Ophelia, you have been given a mission. You are to drive Olaf from Alara and secure it for Orange Star. I will be your support. Let’s move out!.

Day 1
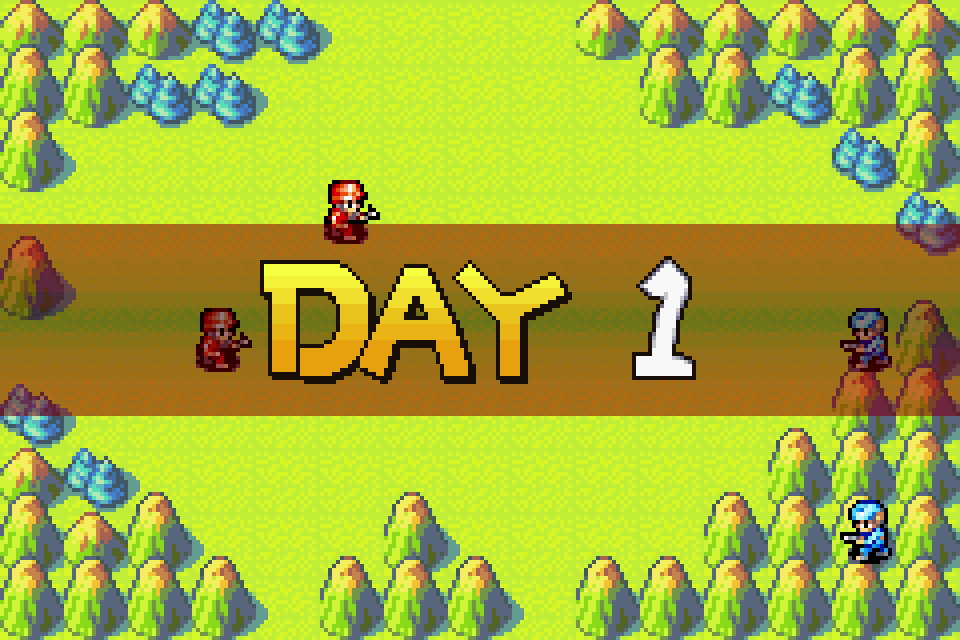


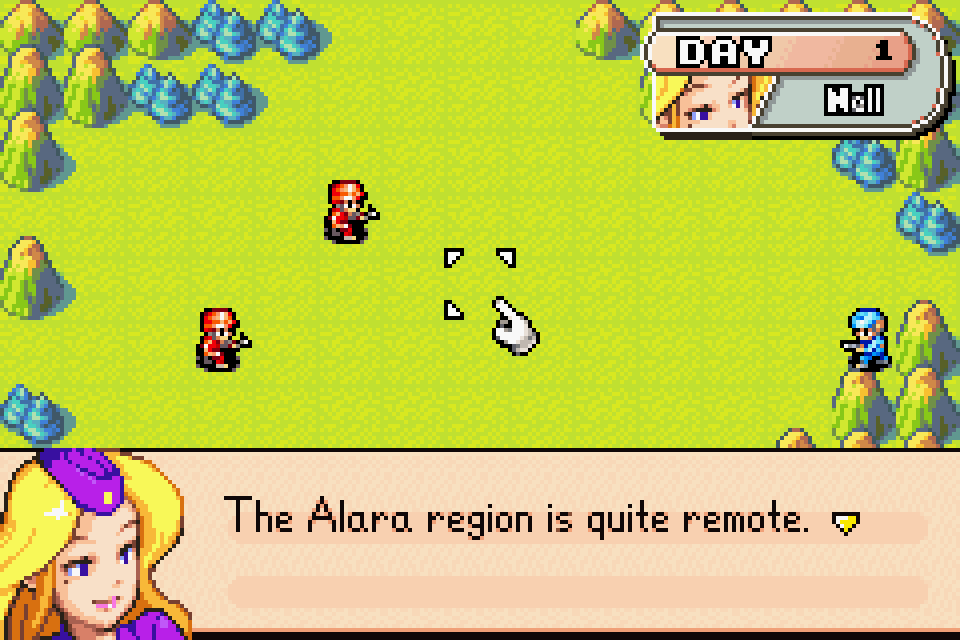
That’s why Olaf hasn’t deployed many troops to the area. You yourself have two infantry units under your command..
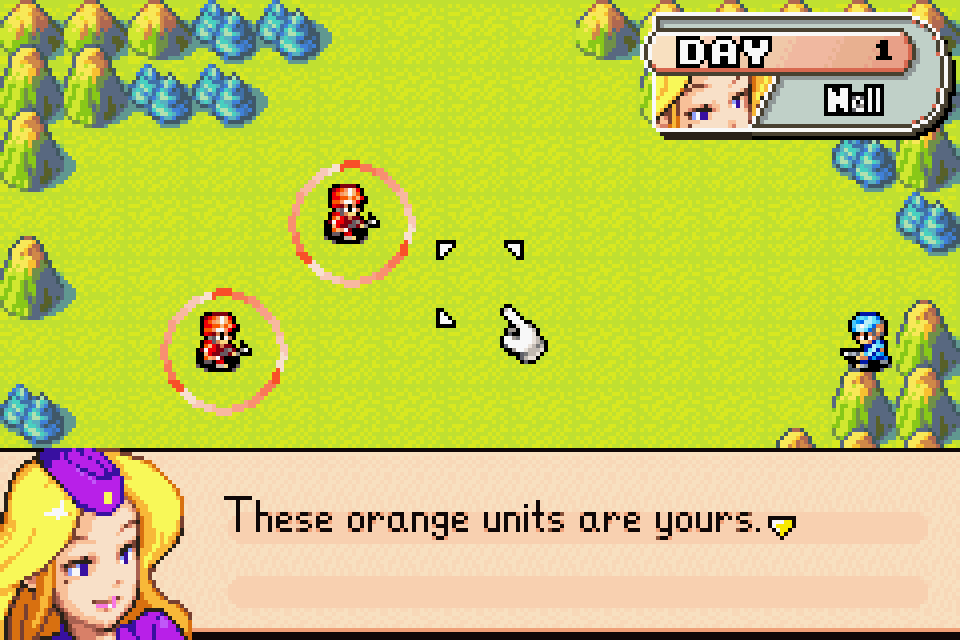
Wait, what? I thought they were red. Am I colorblind? Anyway, here’s some intel on the infantry.
INTEL — INFANTRY
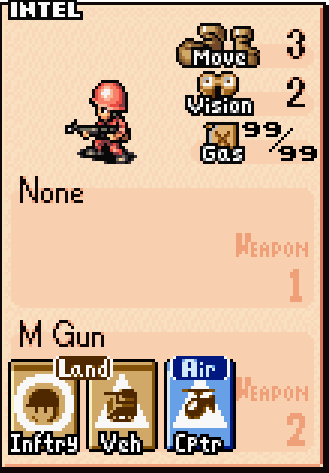 Infantry units normally cost 1,000G and are the most basic unit in Advance Wars. They do well against other infantry and mechs, but that’s about it. They are also pretty slow, with a movement range of 3, but they can traverse mountains and rivers, so they are still fairly versatile. Finally, they are arguably one of the most important units because they can capture buildings and serve as cheap body blocks to prevent your enemy from reaching your more expensive units.
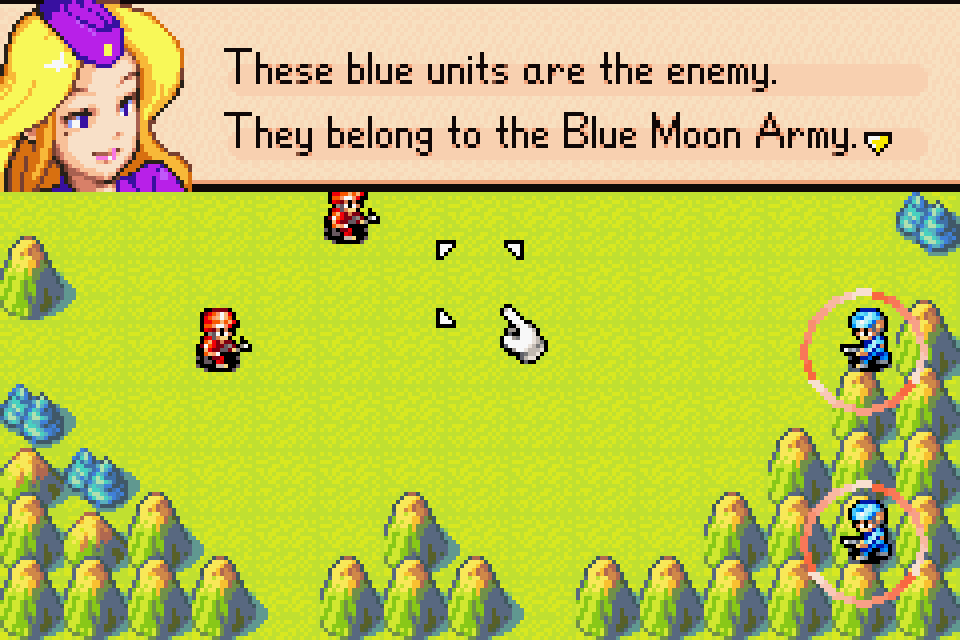
Defeat the enemy forces to complete this mission successfully.
Sounds good. Looks simple enough… let’s issue some orders—
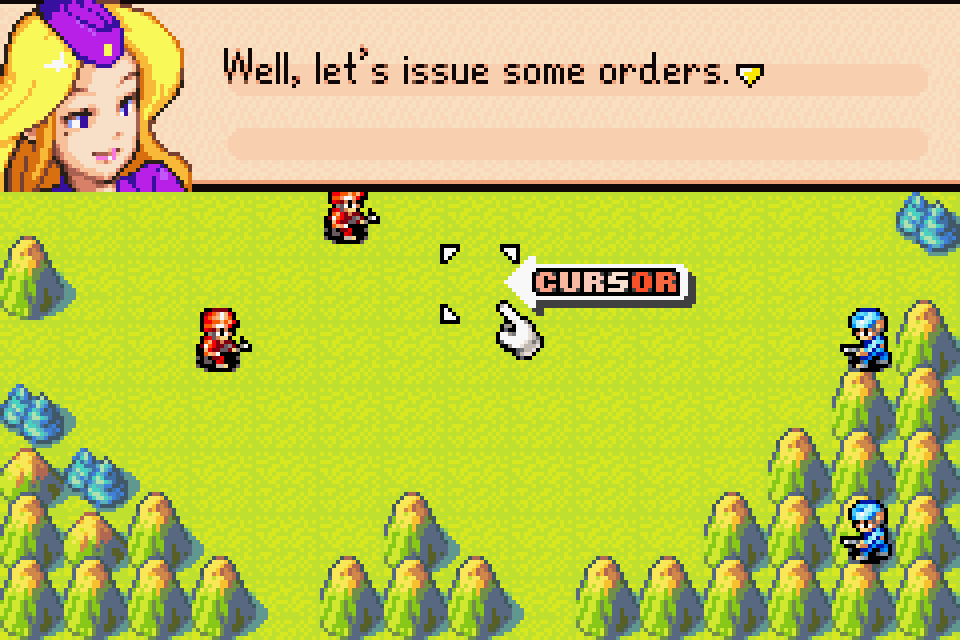
Damn it, Nell… I know what to do. I’m a veteran, remember?
The cursor is used to give commands. The + Control Pad moves the cursor.
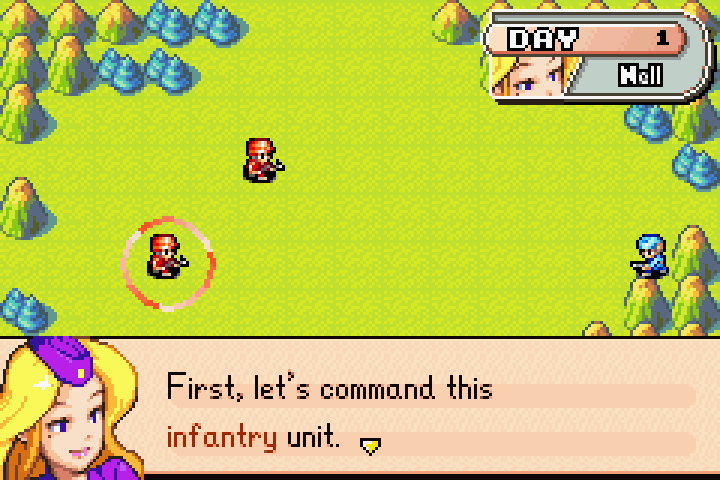
Would you place the cursor on the infantry unit, please?
But what if I want to move the other unit?
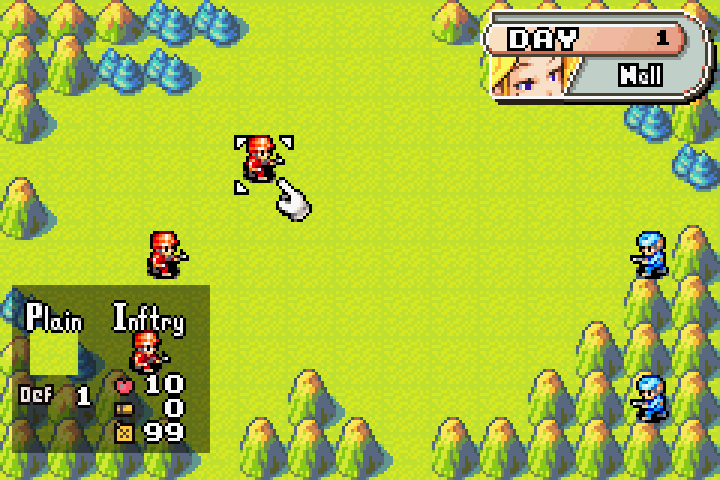
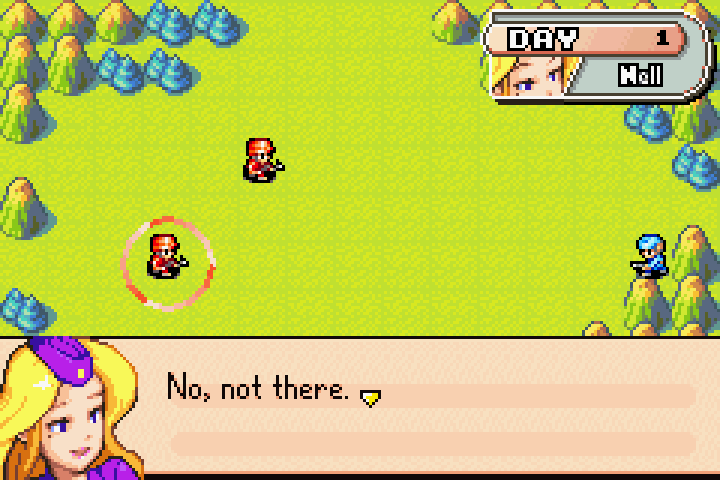
Place the cursor here and press the A Button.
Okay, fine. I’ll move the unit you want.
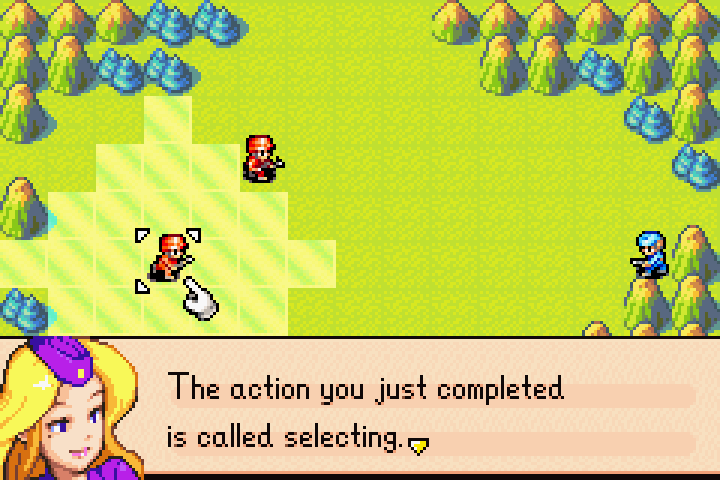
You’ll see this term often, so do your best to remember it. When you select a unit, the area around it will become highlighted. This area represents the selected unit’s range of movement. First, let’s approach the enemy with this unit.
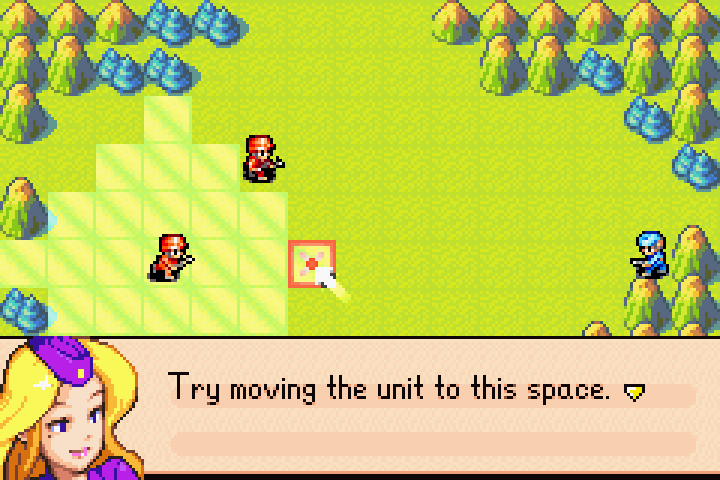
Move the cursor here and press the A Button.
I’d like to approach this slowly. Let’s move two tiles instead.
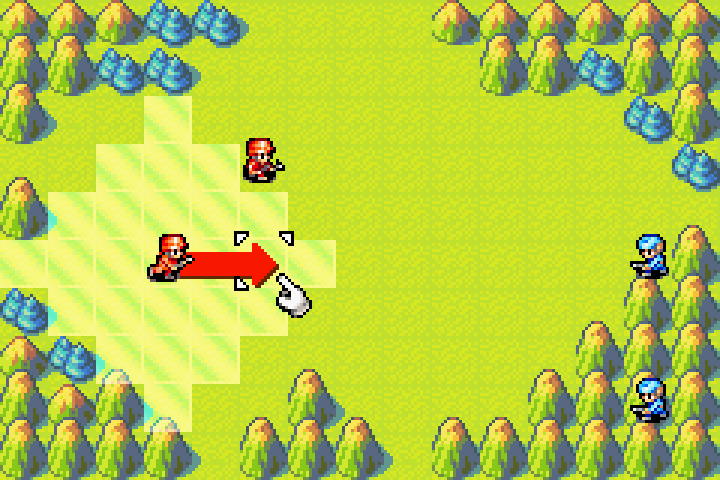
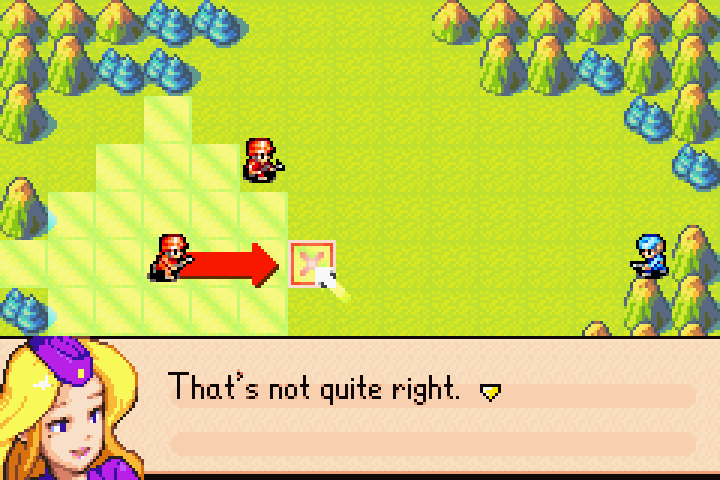
Try moving the unit again, please. Place the cursor here and press the A Button.
Oh, come on. Why don’t you command the army yourself? But fine, I’ll do it. I guess I have no choice.
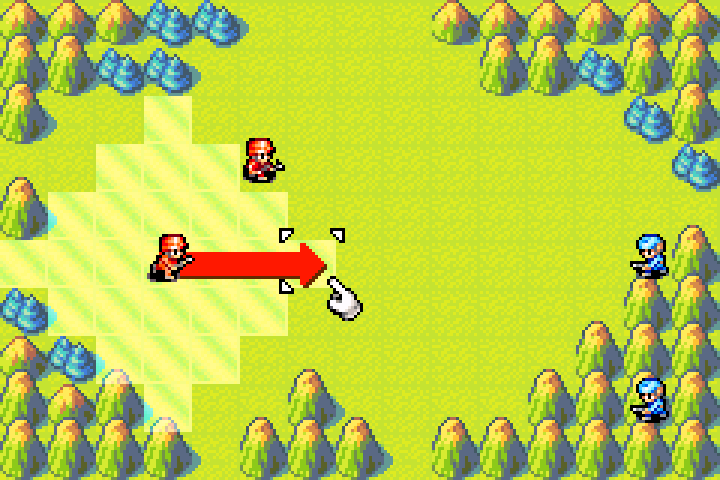
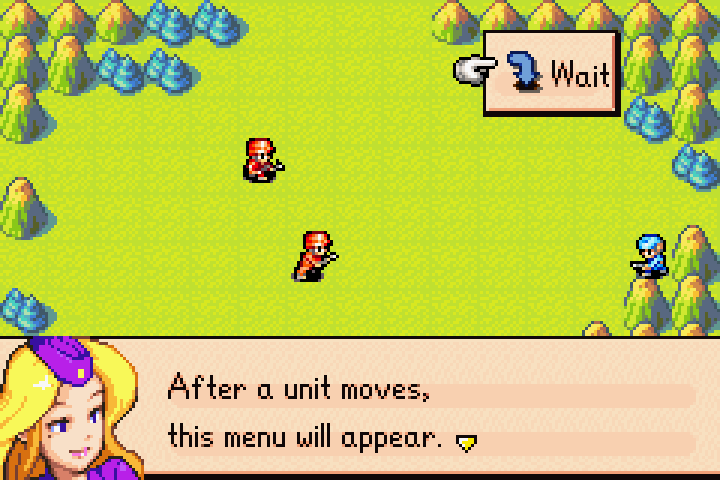
Select Wait, and then press the A button to confirm the command..
Wait is literally the only command, and it’s already selected!
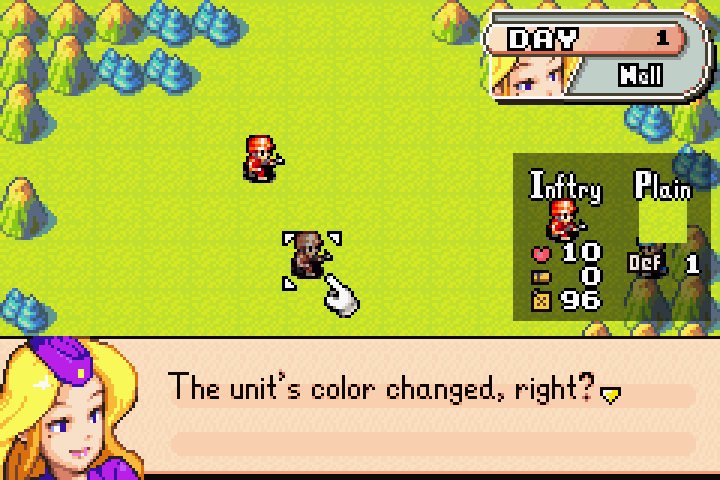
This indicates that the unit can’t receive any more orders this turn. Don’t worry — you’ll be able to use it again on your next turn.
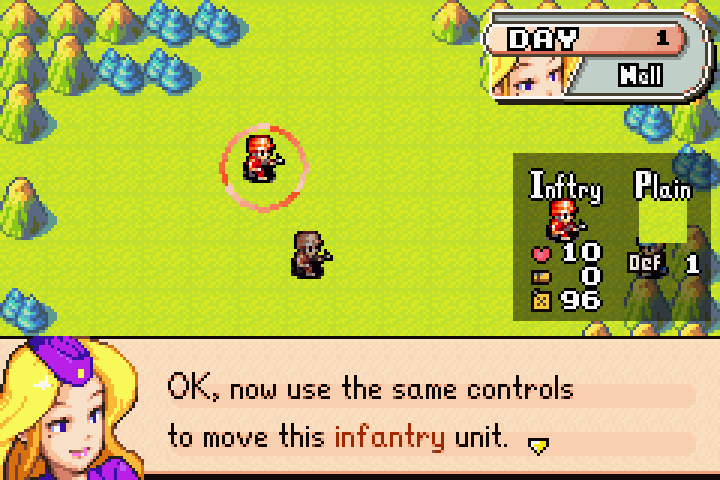
Move it as close as possible to the enemy.
Fine. I’ll do what you said. You are the commanding officer.
As you can see, this mission is heavily scripted with no room for error. You are guaranteed to win on the day the game wants you to win, and I won’t be fighting Nell’s commands for now.
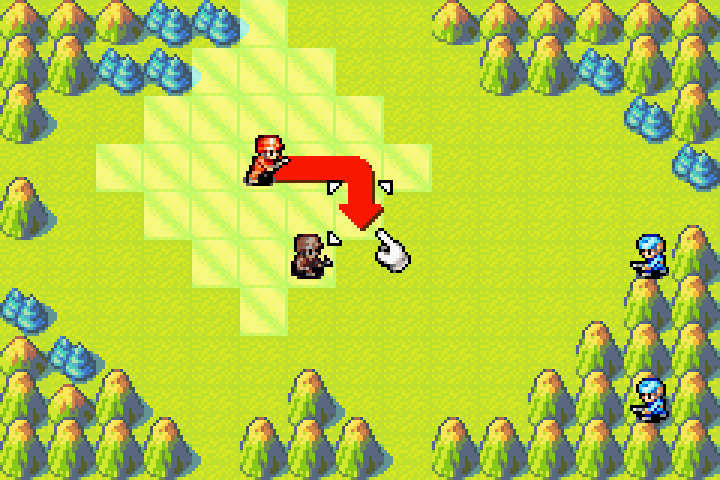
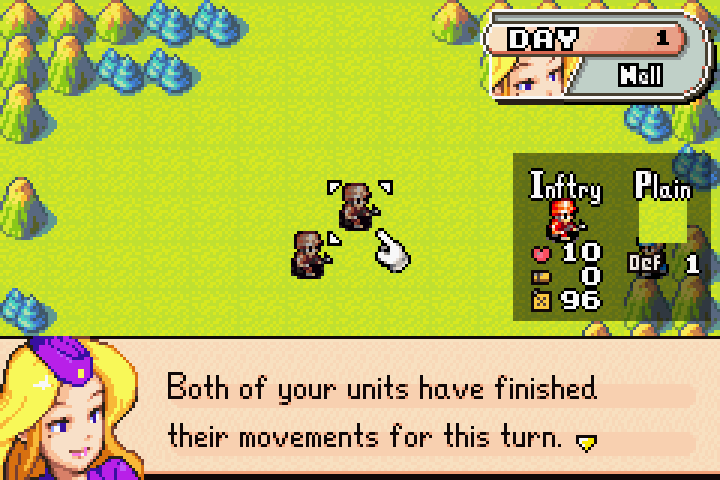
When you’ve finished giving orders to your units, you must End your turn. Press the A Button on an empty space to display the Map Menu.
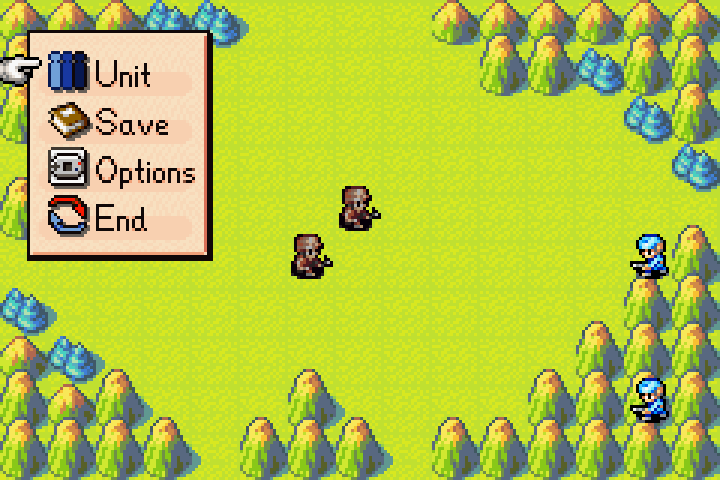
Hmm… There’s some other stuff on the Map Menu. Unit, Save, Options, and End. Save and Options are self-explanatory. Nell just explained End, so let’s check out Unit.
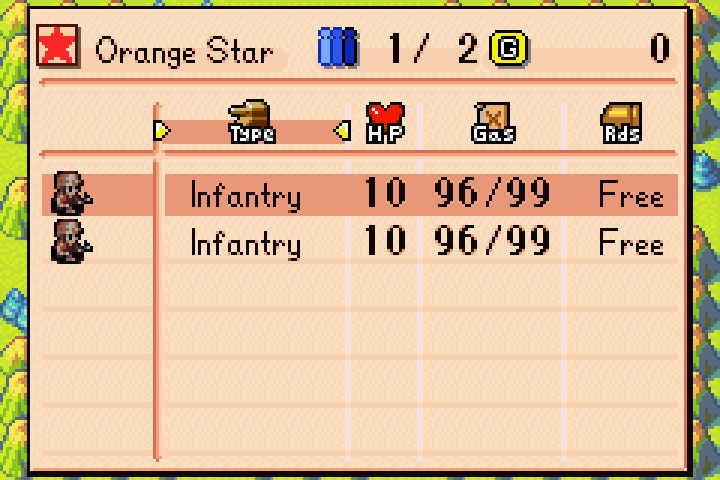
It provides an overview including how much gold we have and all the units we have with their statuses. I don’t find it particularly useful, but for people who like overviews and reports, it’s a neat touch. Personally, I rarely use this feature in the game. Anyway, let’s just end the turn for now.
ENEMY Day 1
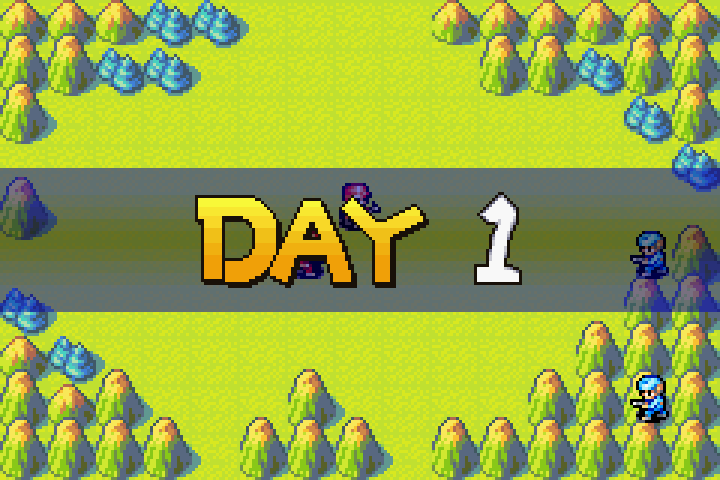
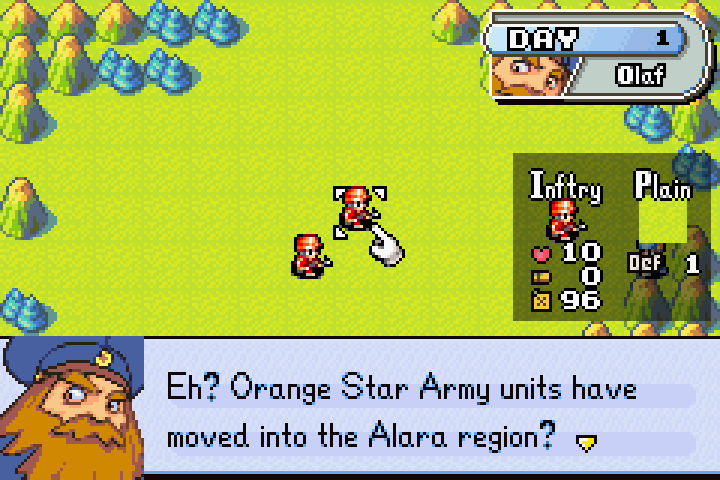
Hah! They won’t last long. My Troops there will make short work of them!
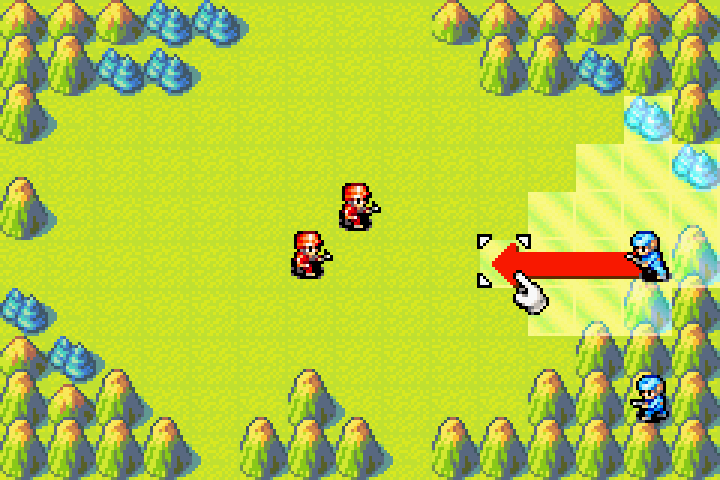
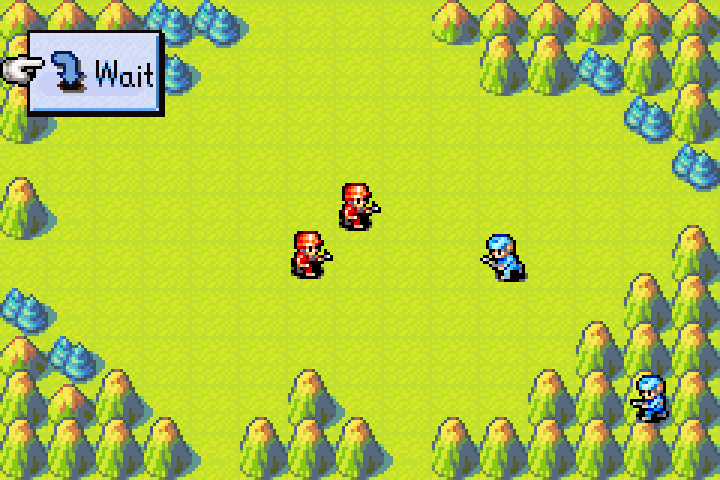
Normally, enemy units just move — you won’t see the AI cursor and menu. This is the tutorial, so it shows them to reinforce the mechanic.
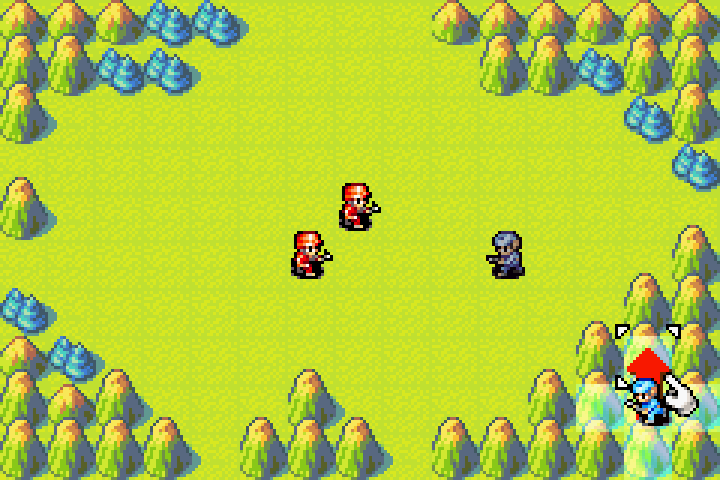
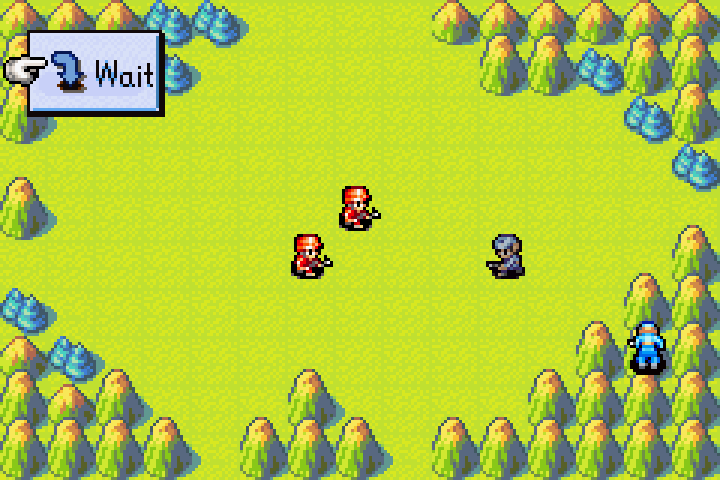
Olaf also moved his other infantry up. In future entries I won’t show every unit movement; I’ll summarize enemy turns unless there’s dialogue or a notable event.
Day 2
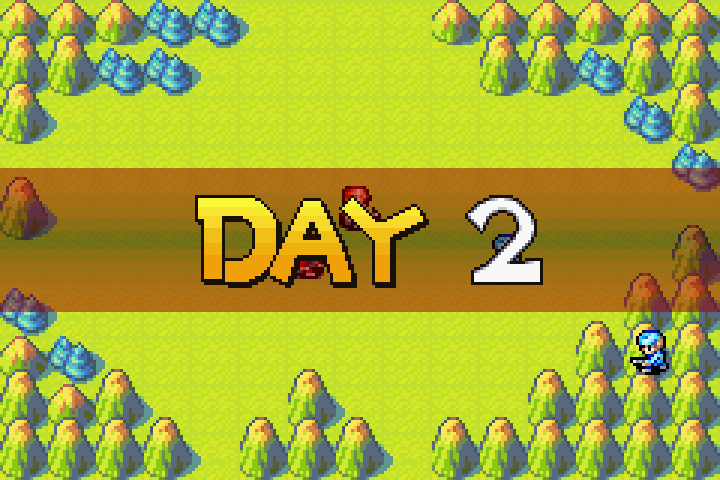
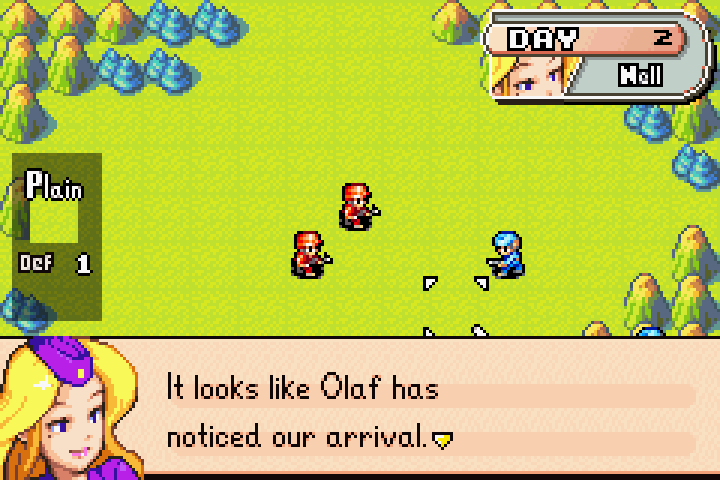
His infantry units are heading this way. Stay calm. If we proceed with caution, we’ll be fine.
To be fair, I was the cautious one. You were the one insisting we rush our infantry toward the enemy.
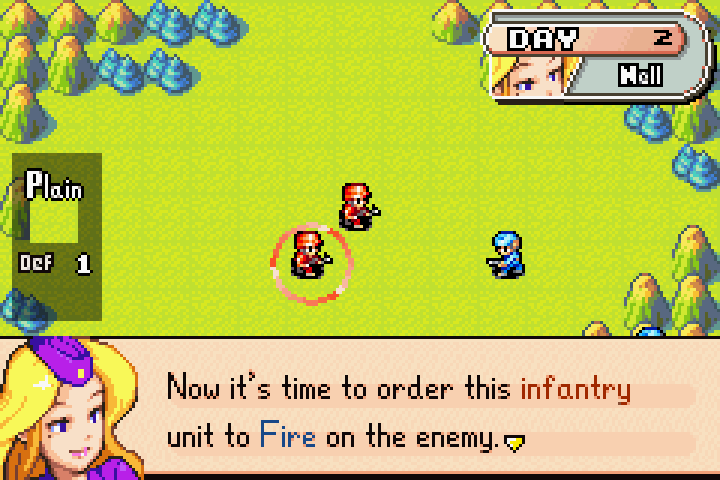
Please select this unit.
And now you want me to rush in and attack? I suppose we can cautiously approach the enemy and cautiously attack the enemy… Let’s go.
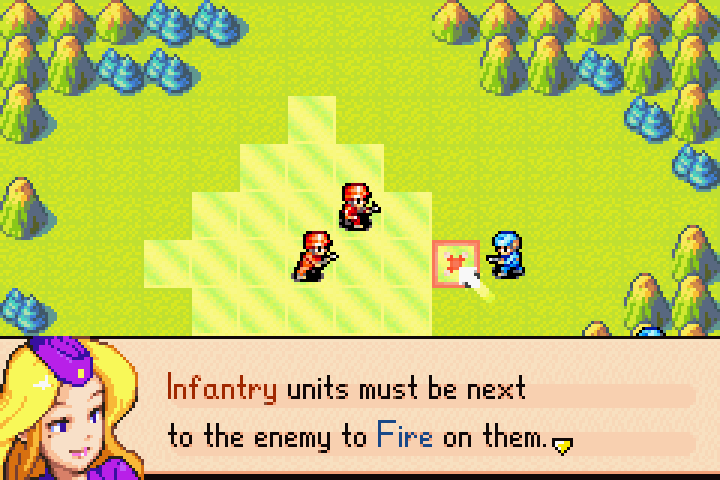
Move your unit here.
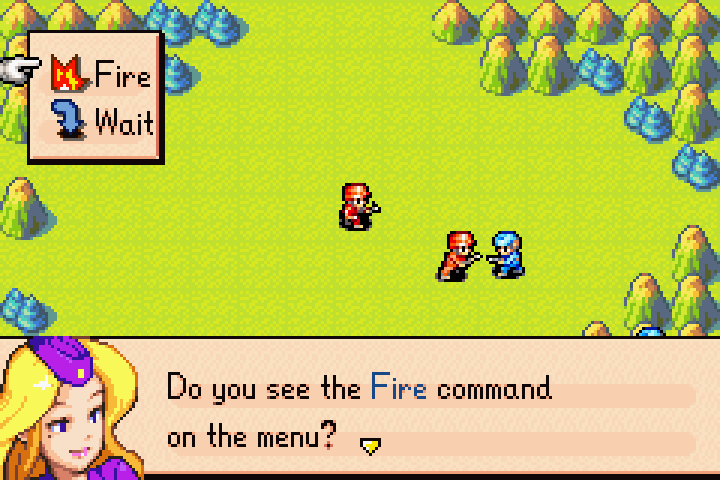
Please select this command.
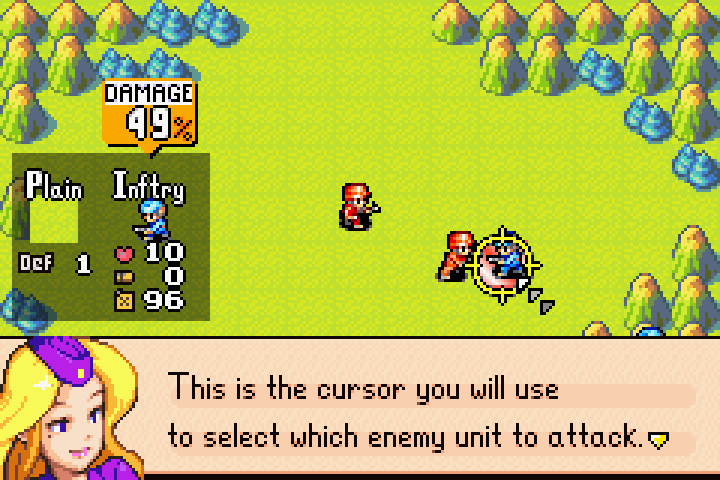
There is only one unit you can engage now, so press the A Button to Fire.
INTEL — COMBAT MECHANIC
Every unit has 100 HP. A damage value of 49% means roughly 49 damage. There’s a small random element — the actual damage can be slightly higher or lower. Some COs manipulate this (Nell included), but I’ll leave that for later.
You can also see the terrain a unit stands on. Plain has a defense of 1. I’ll cover terrain in detail next chapter.
On the right side of the screen: unit type, HP, ammo, and fuel.
- HP shown in-game is the unit’s actual HP divided by 10 and rounded. A unit at 30 HP shows 3 hearts; 79 HP shows 8 hearts. Unless I specify otherwise, when I say HP I mean this visible value.
- Ammo is the number of times a unit can fire before resupply. Some units have two ammo types; only the primary is shown here since secondary is usually infinite.
- Fuel — when a unit runs out, it can’t move until resupplied. Especially critical for air units, which crash and die when fuel hits zero.
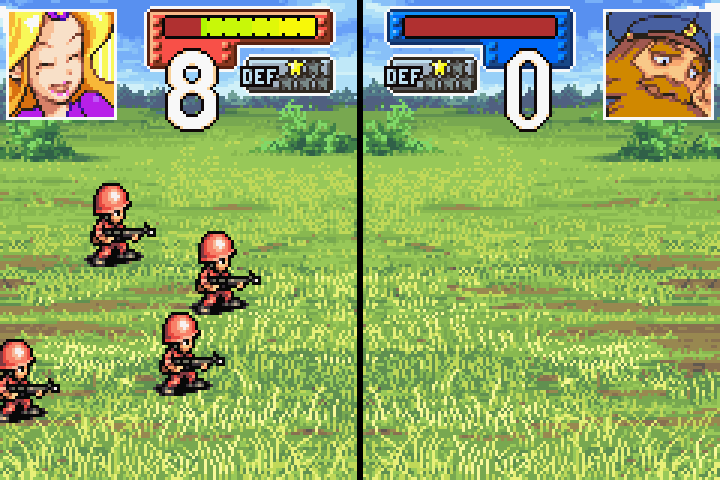
Let’s start the combat!

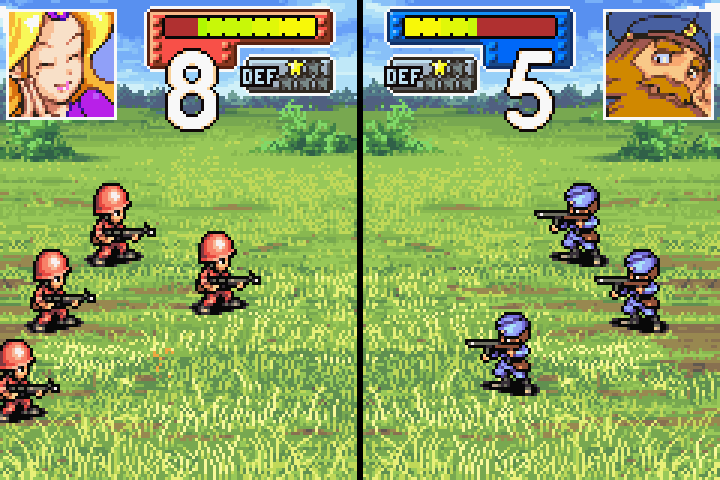
The game has a cute combat animation. I like the expression COs make when things go well or badly for them. They do get repetitive, though, and they eat up a lot of time — most veterans turn them off. I’ll showcase the animation for each unit type at least once.
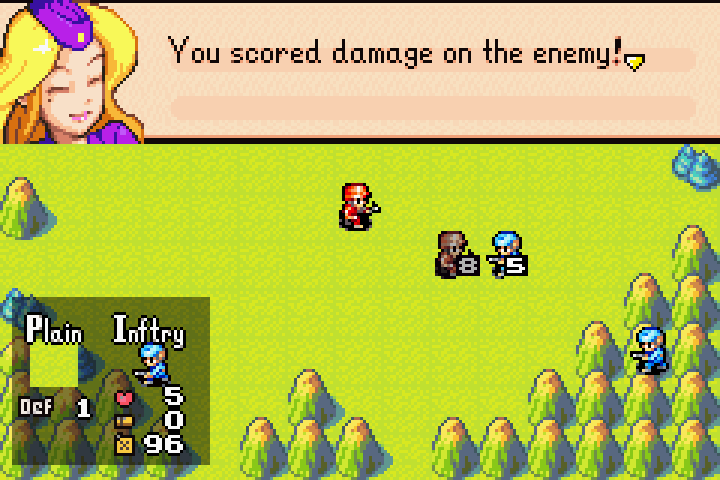
Do you see the numbers on the units? This indicates the units’ HP (hit points). All units begin with ten HP. But, as they take damage in battle, their HP will decrease. When a unit reaches zero HP, it will vanish from the screen. Notice that your unit has more HP than the enemy unit. This is because the unit that attacks first generally has the advantage. Waiting to be attacked is not a good strategy. You should pick your battles and always Fire first.
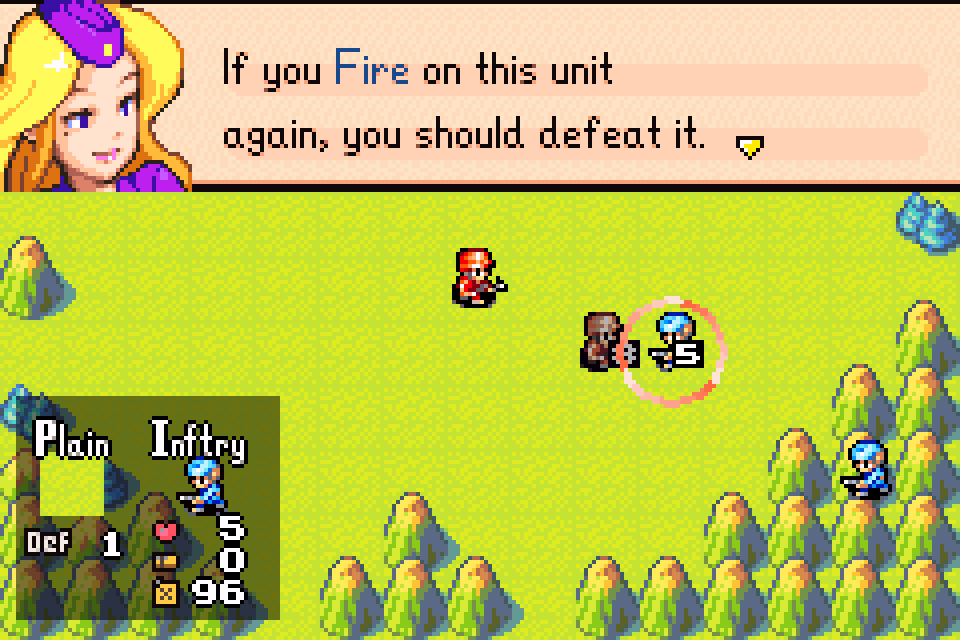
So, now order your remaining infantry unit to engage the enemy.
INTEL — ATTACKER ADVANTAGE
To expand on attacker advantage: the amount of damage a unit deals is directly tied to its current HP. The attacker inflicts damage before the defender can retaliate, so the defender fires back at reduced health — meaning reduced firepower. In general, the attacker wins. However, this isn’t always true: if you attack someone, they’ll retaliate on your turn and attack again on theirs — effectively a double attack. Sometimes the defender comes out ahead, especially on high-defense terrain. But we’ll worry about that later.
Now let’s follow Nell’s advice — advance the other infantry and finish off Olaf’s unit.
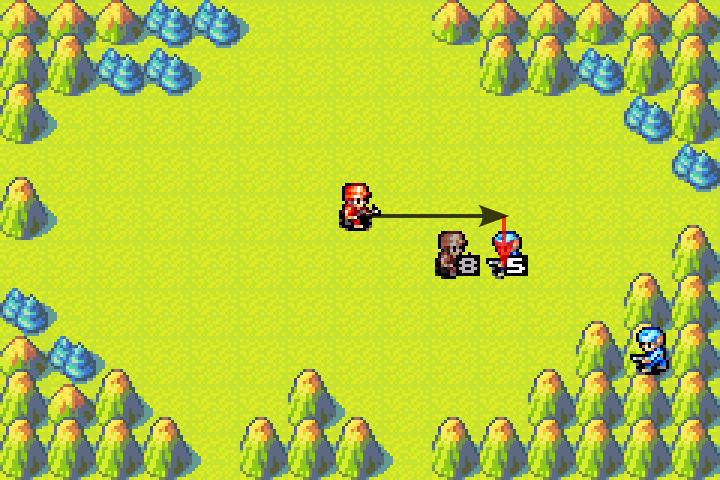
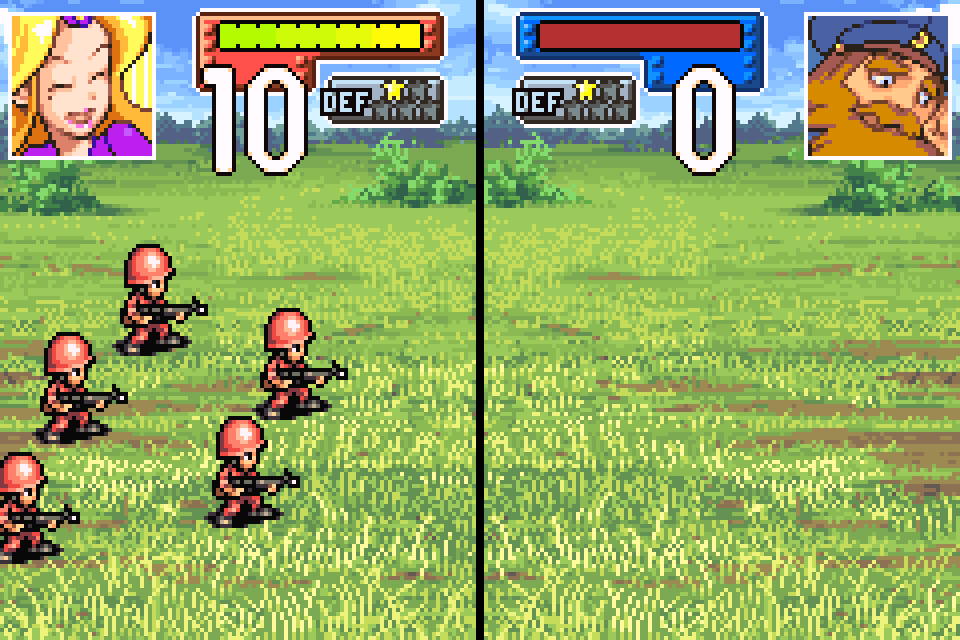
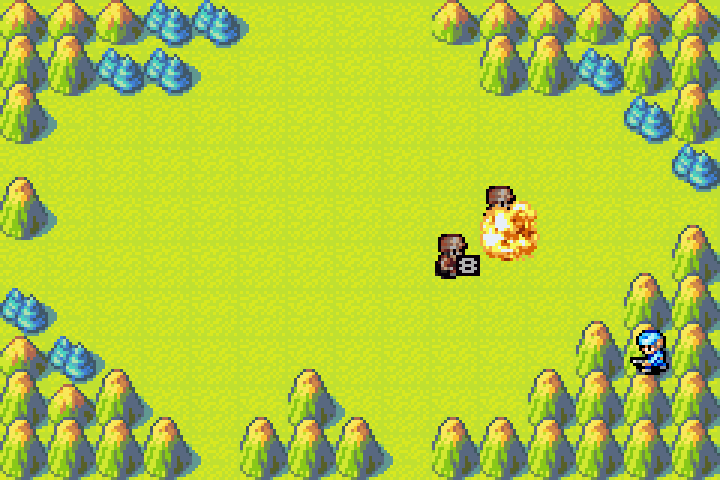
Did that infantry just… explode?
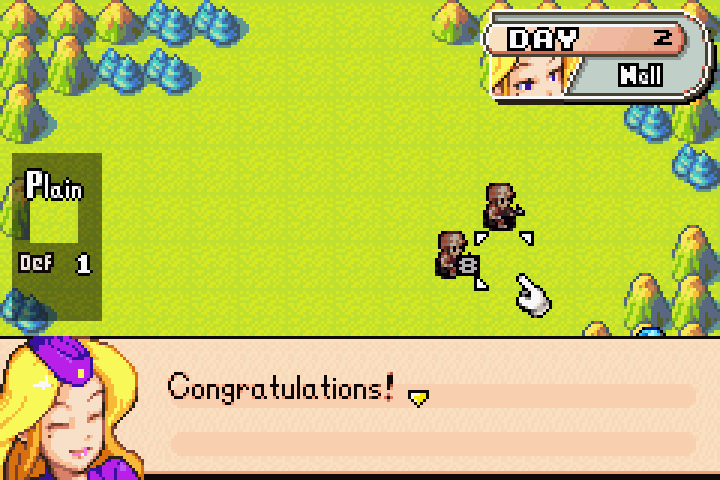
There is only one enemy unit left to deal with. If you stick to your battle plan, you can finish it off, too. Select End from the menu and continue on your next turn.
INTEL — CONCENTRATION OF FIRE
This also demonstrates concentration of fire.
Concentration of fire is a tactic where you focus multiple units on a single target or single area to neutralize the threat.
In this case, we had two infantry units against one enemy infantry. By attacking with both, we ensured that the enemy unit was destroyed before it could retaliate effectively. This tactic is especially useful when facing stronger units or when you want to quickly reduce the enemy’s numbers.
However, it’s important to balance concentration of fire with spreading out your units. Over-concentration can leave other areas vulnerable to enemy attacks. Sometimes it’s better to spread out the damage. Always assess the battlefield and prioritize targets based on threat level and strategic importance.
ENEMY Day 2
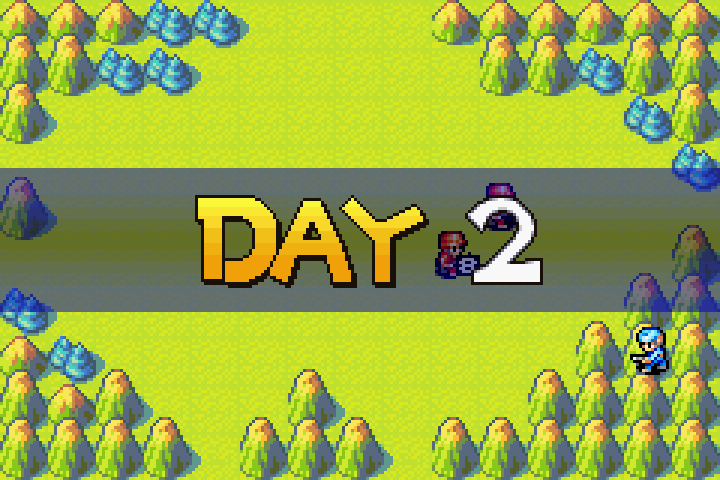
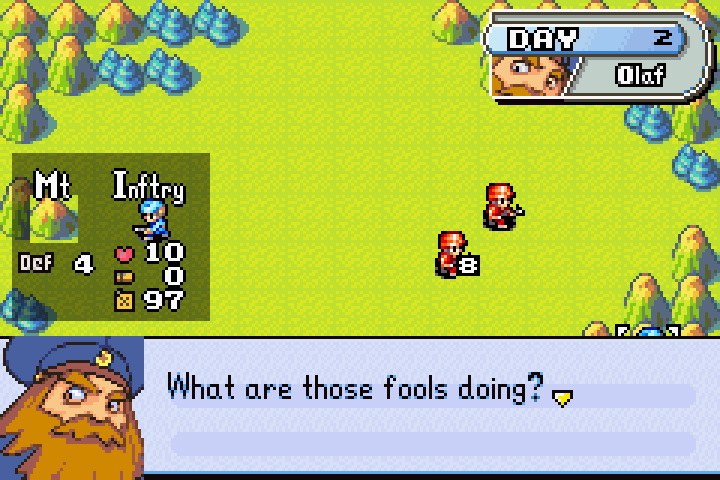
If I were in the field, they wouldn’t be suffering such humiliation! Cursed Orange Star Army! I will defeat it! I will!
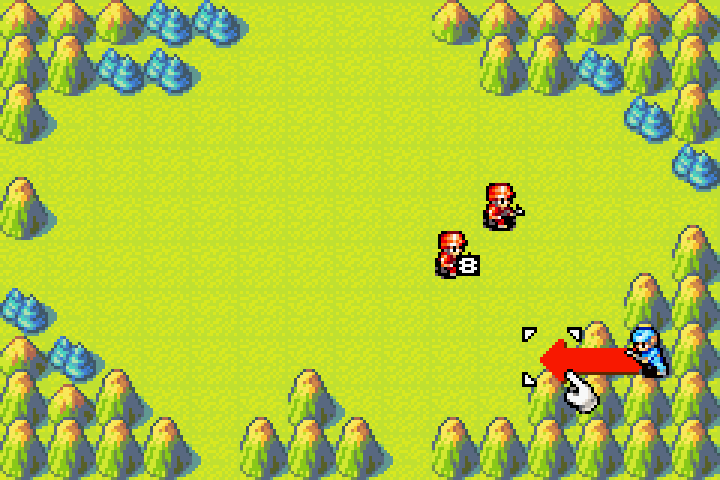
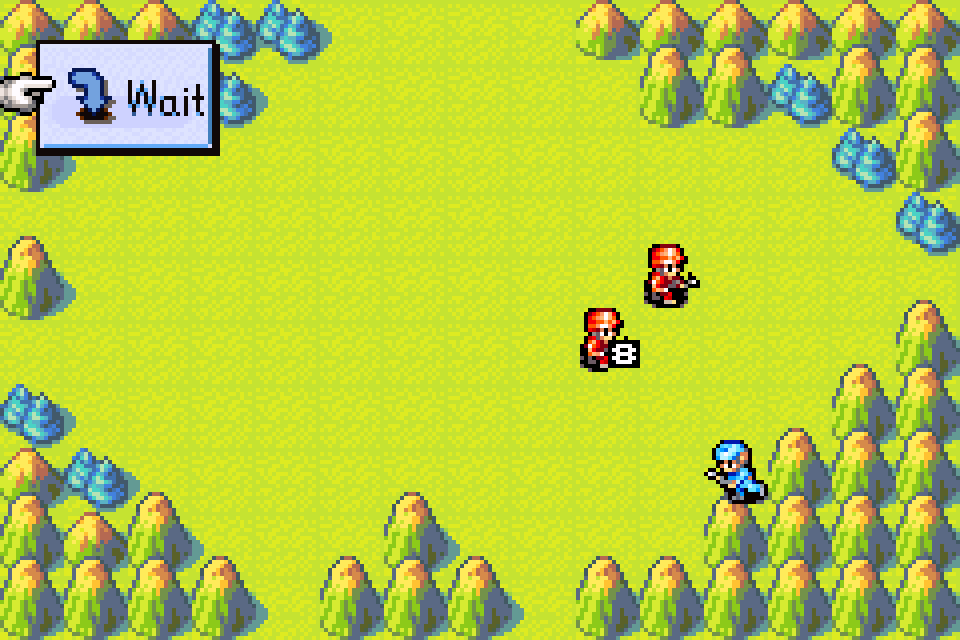
If I were him, I’d have stayed put or moved one tile north onto the mountain for better defense. The position he moved to gives me much more advantage. Bad call — though in fairness, he’s not even on the battlefield, and it probably wouldn’t have mattered. I can still win this easily.
Day 3
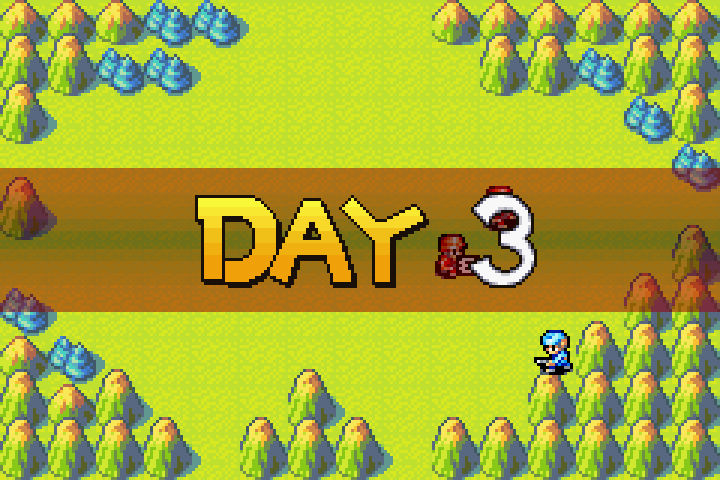
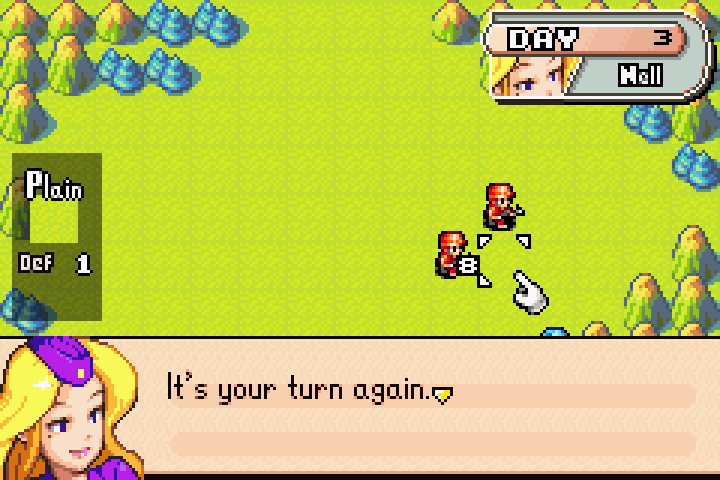
You have a two-to-one advantage. This battle is yours to win! But, wait a minute.
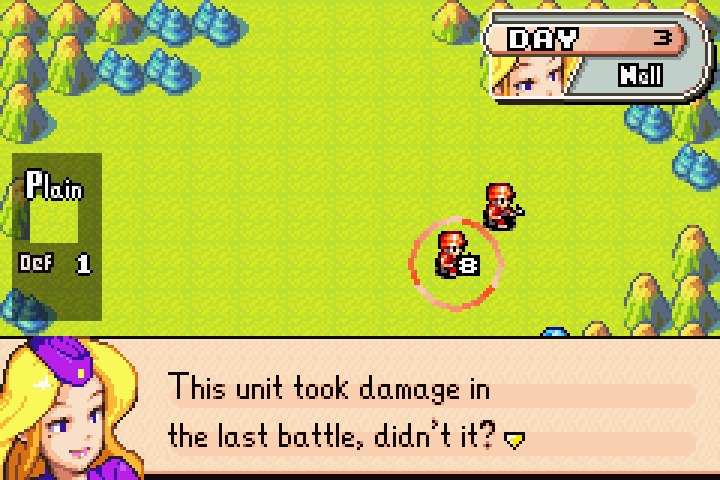
Units lose some of their firepower when damaged.
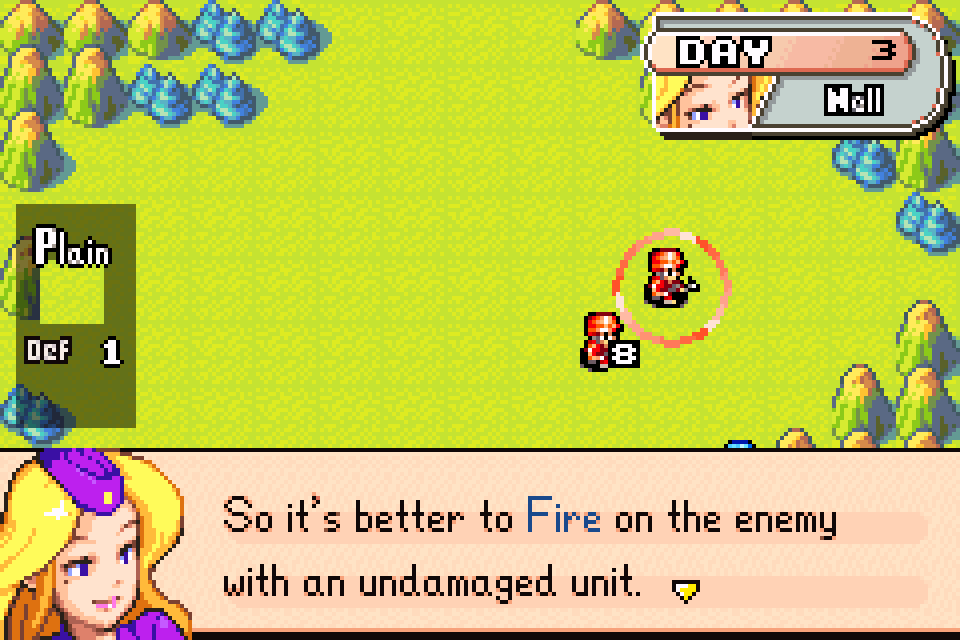
Go ahead and order your undamaged unit to attack.
Generally true, but there are exceptions. If a high-priority target needs to be eliminated, a low-HP unit can suicide into it to deal as much damage as possible before dying — clearing the tile for a fresh unit to finish the job. Unlikely to matter here, but it’s a technique worth knowing.
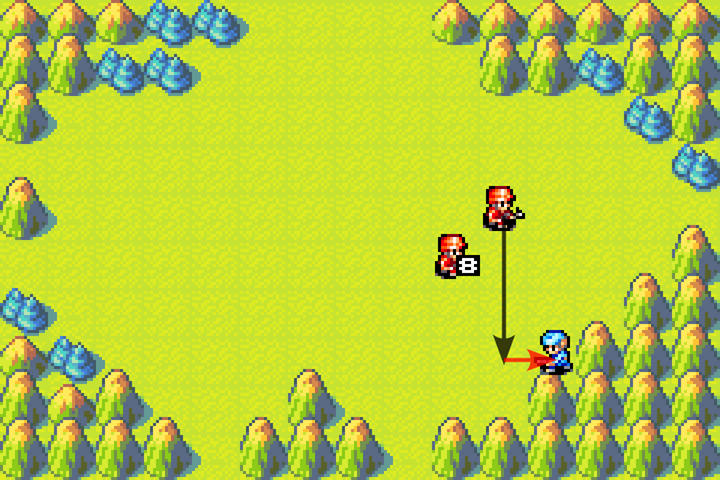
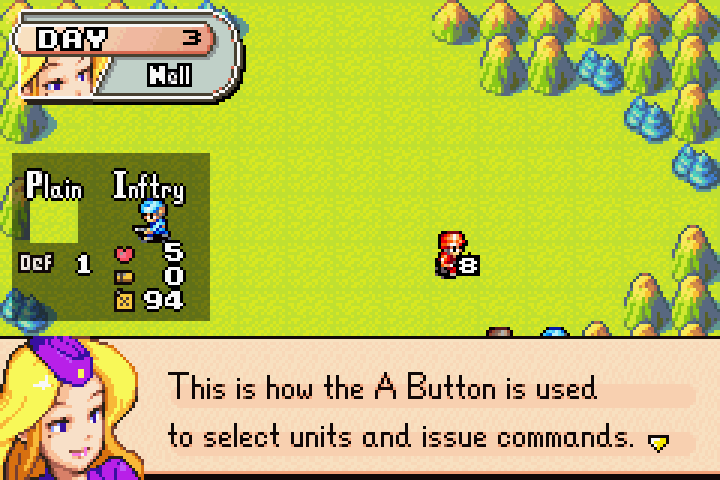
If you make a mistake and want to change orders, use the B Button. It’s a key that you remember this.
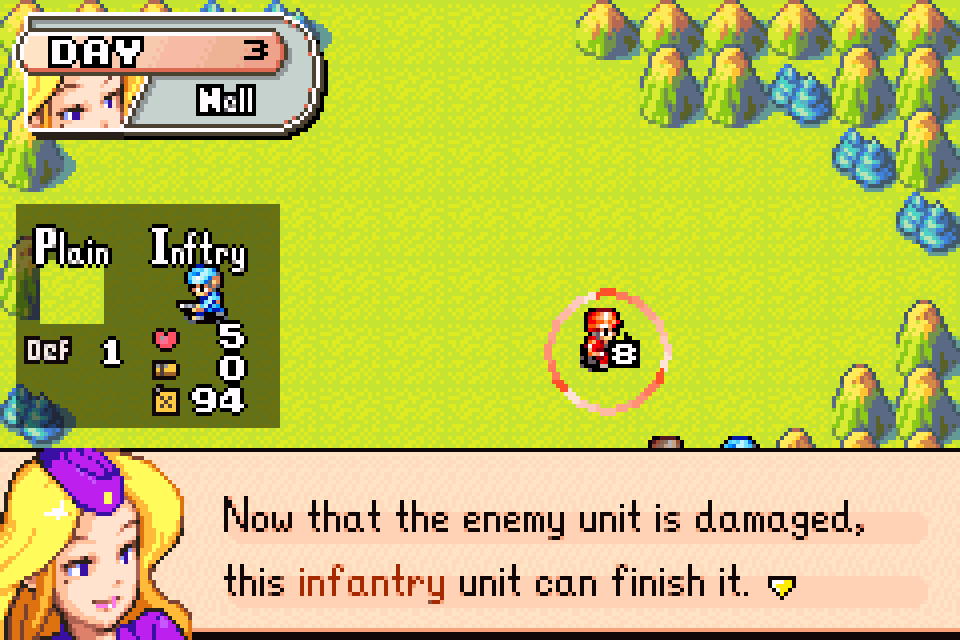
Move in and Fire on it!
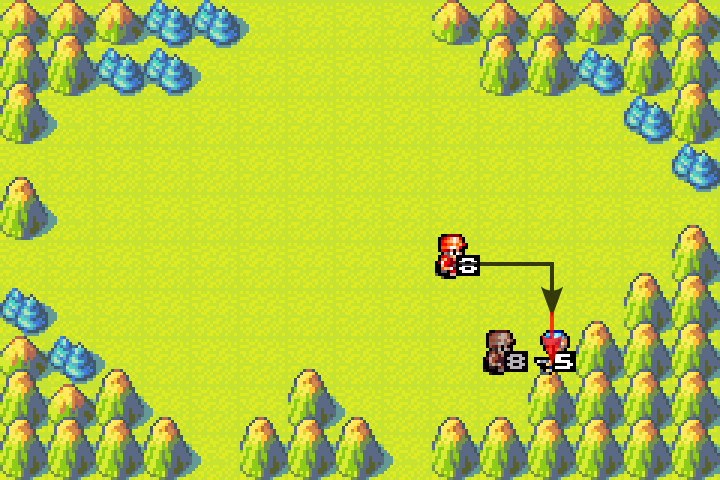
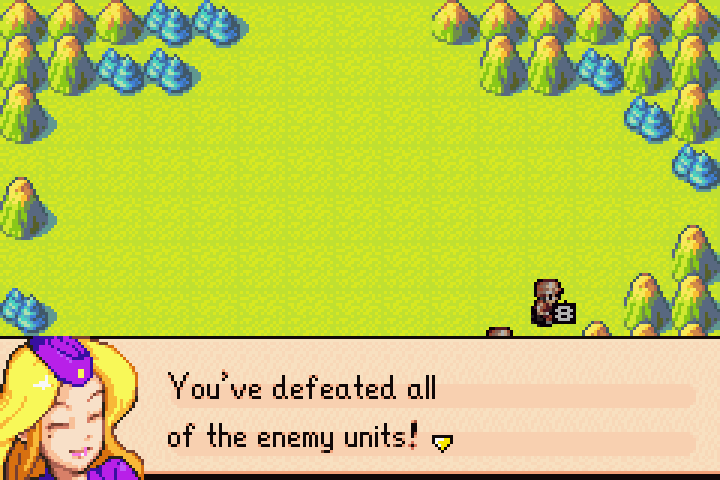
Your mission is a success! keep up the good work!
Let’s be honest — you refused to let me do anything else. I feel like you’re mocking me.
What? Inconceivable! That land was mine! How did they lose it so easily? Grrr… Next time, victory will be mine!
RESULTS
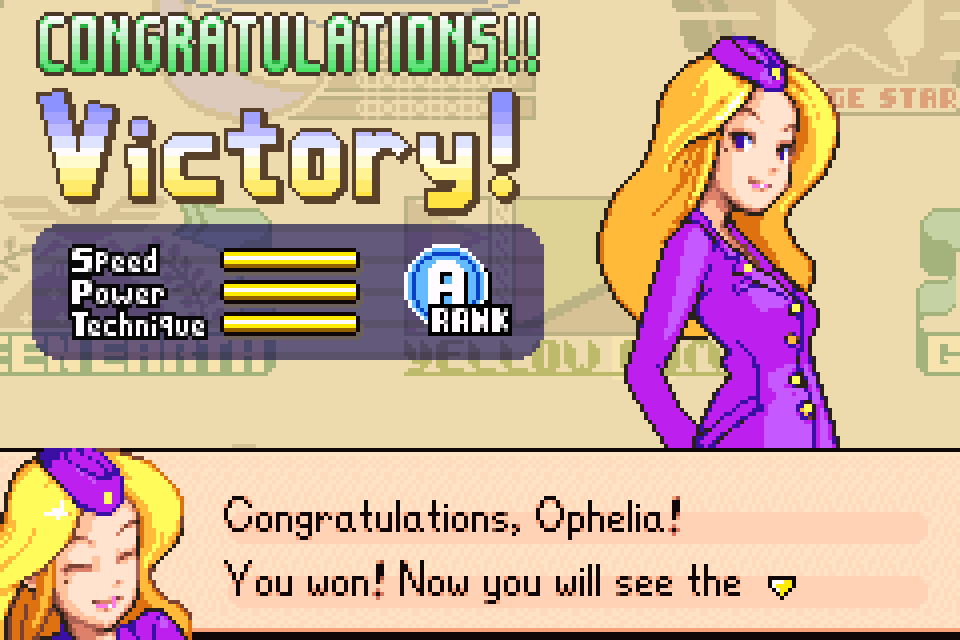
rank that your strategy has earned you! Speed is based on how quickly you won, while Power is based on how well you concentrated your attacks and overcame your enemies. Technique is based on how many of your own troops were lost. You’ll earn a rank for each map you clear, so you can compare your scores to your friends’! Good luck on your next campaign!
INTEL — SCORING
The game scores you on three metrics: Speed, Power, and Technique.
- Speed — number of turns used to finish the mission.
- Power — units killed in a single turn. Killing more than 10% of total enemy forces in one turn earns maximum score.
- Technique — total units lost vs. total units deployed. 20% or fewer lost earns maximum score. In missions where you can keep training new units, spamming production boosts this score.
You can only earn A-rank in training missions, but that’s the maximum — so I’m happy. This tutorial took longer than I intended, but there was a lot of new content to cover. I’ll aim to keep future entries shorter.
So, to recap, we learned about troop orders, movement, combat mechanics, attacker advantage, concentration of fire, and how to end turns. We used this knowledge to defeat Olaf’s forces and reclaim the Alara region!
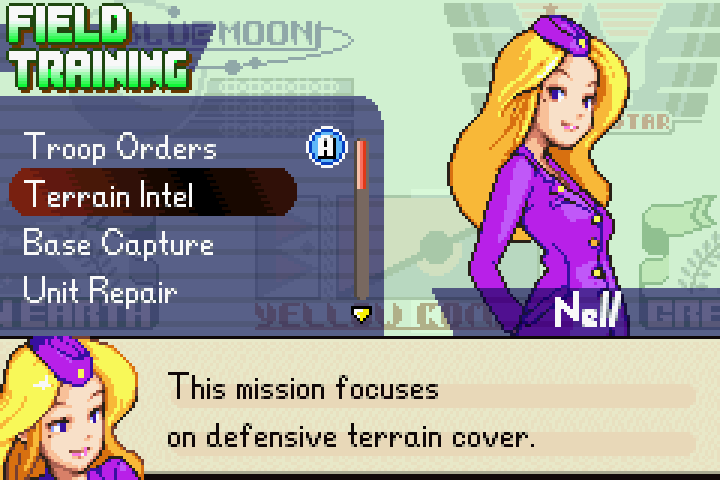
Next time, we’ll learn about terrain and how it affects combat. See you then!
LOADING TRANSMISSIONS…