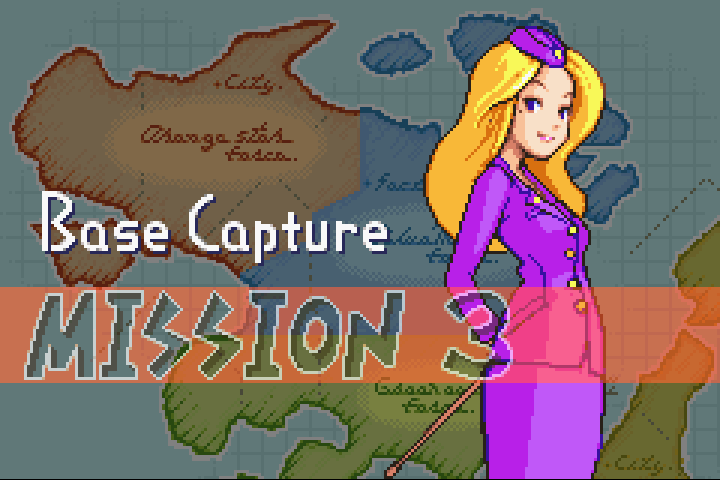
In the previous chapter, we fought against Olaf in the Alara mountains again. Olaf deployed mechs there, but by using terrain to our advantage, we managed to defeat him again. Olaf isn’t about to give up, though. What will happen this time?
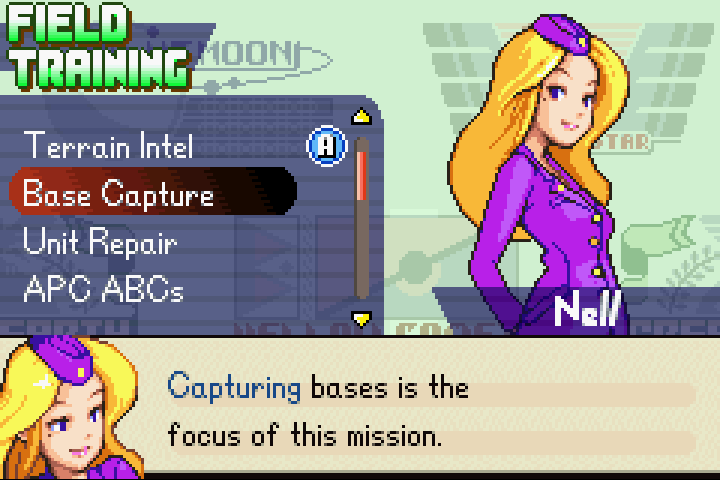

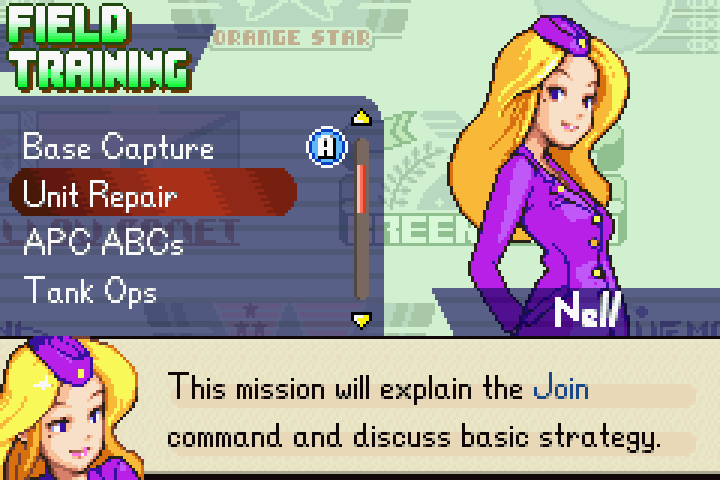
Capturing bases is one of the foundational mechanics in Advance Wars. Why is it so important, and how do we do it? Let’s find out!
THE BRIEFING

If successful, we should be able to drive that pompous, old… I mean, we should be able to force the Blue Moon forces to withdraw.
Whoa there! Is there some kind of history between you and Olaf?
If you remember, we faced two mech units in the last battle, right?
Yeah?

In response, you’ve been given command of two mech units, yourself.

Day 1
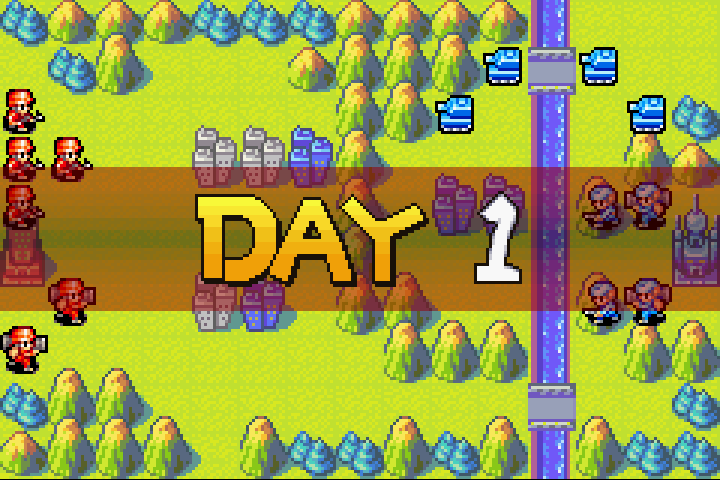


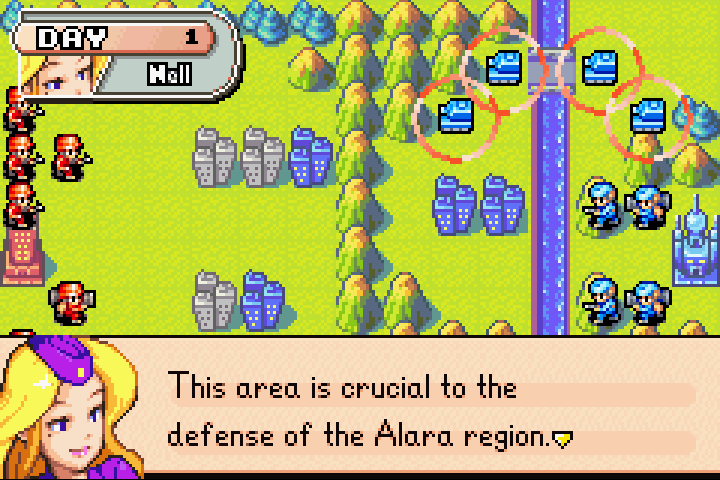
This explains the four enemy tank units deployed and waiting for us. Fortunately for us, those tanks can’t cross the mountains.
Tanks also can’t cross rivers!
So let’s take care of business here first and deal with them later. Let’s secure some bases by capturing the local cities.
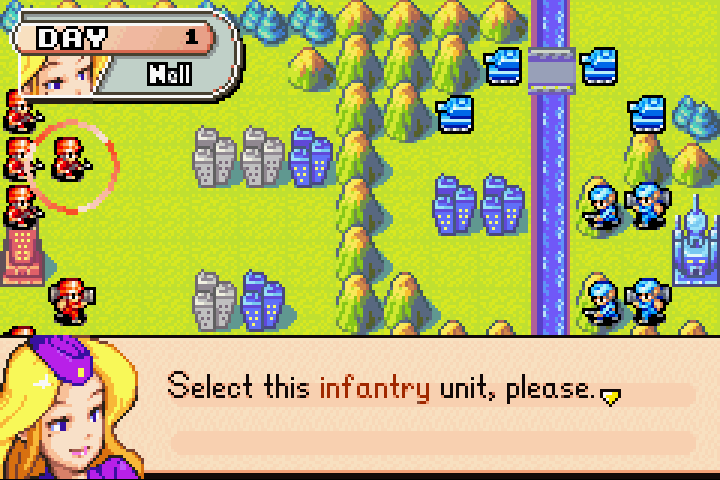
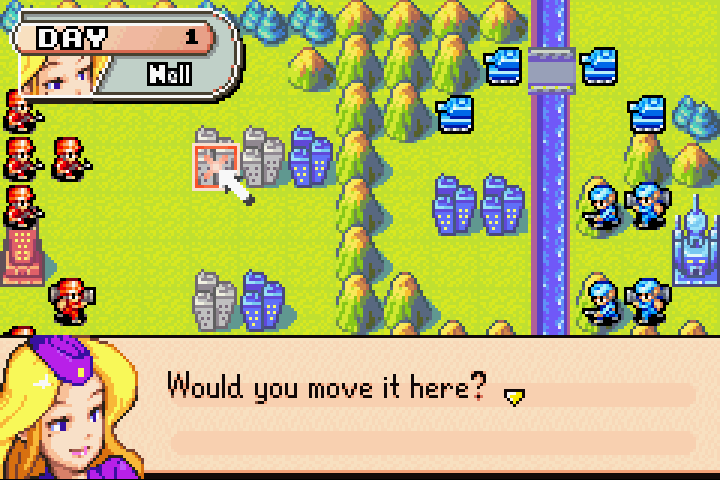
Sure thing, ma’am!
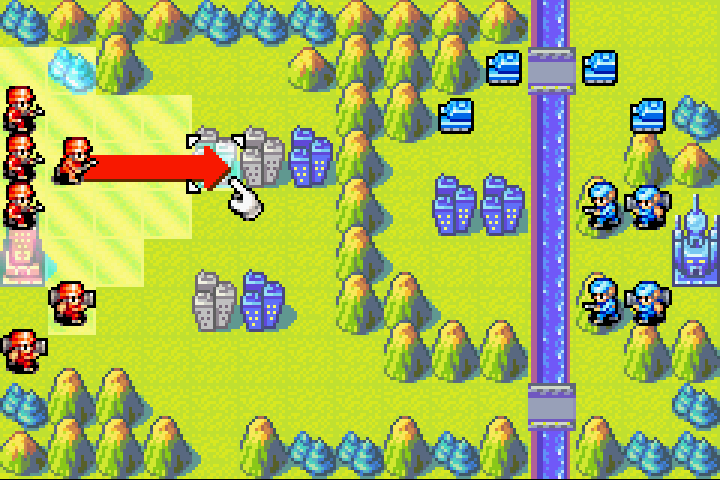
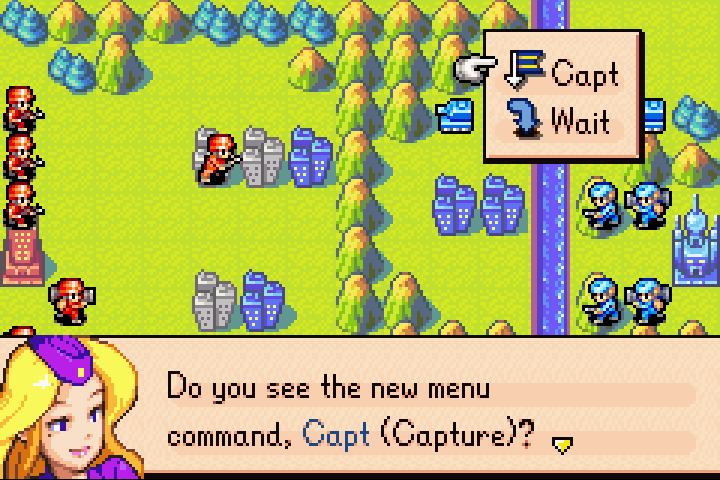
Please select this command.
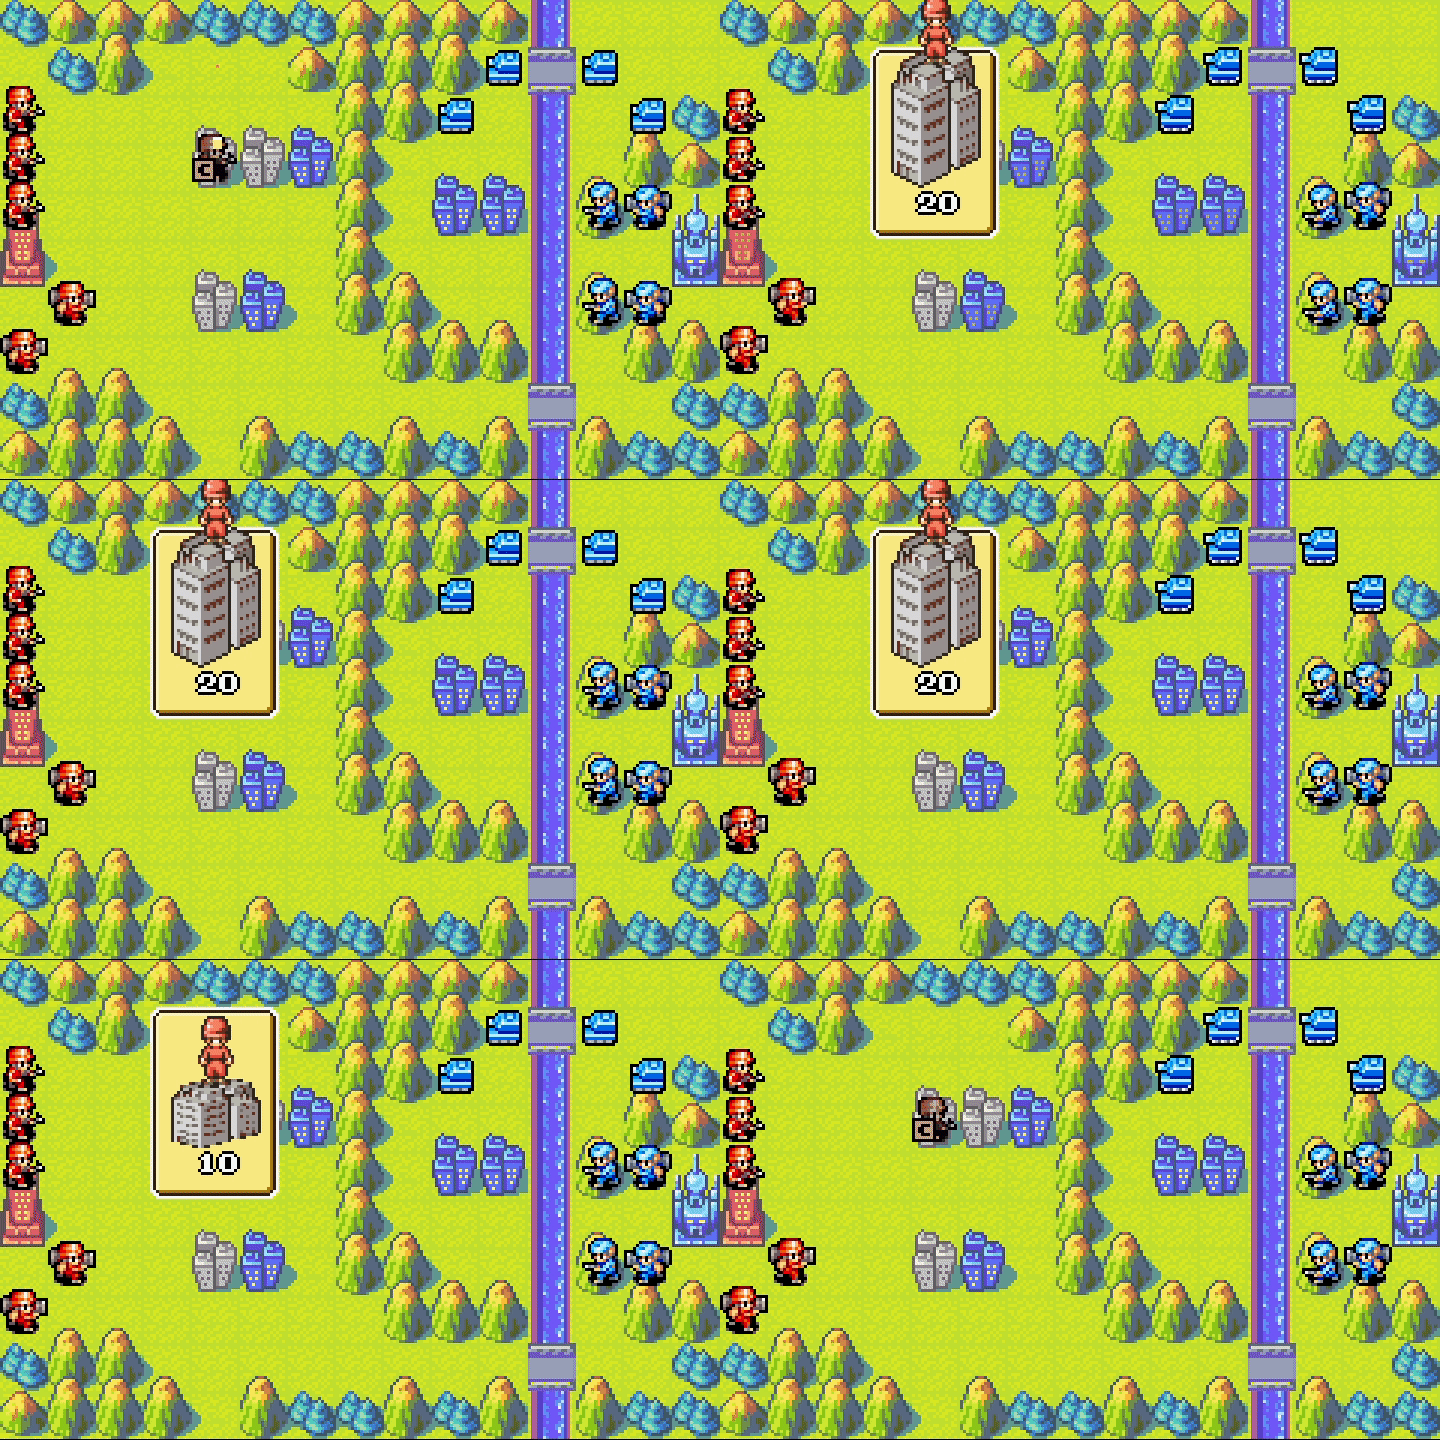
No one is really sure how infantry can capture cities by jumping on them, but nobody questions it either.
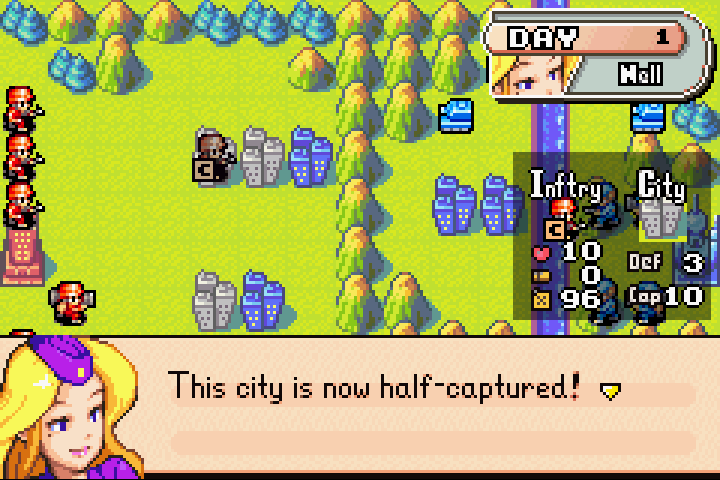
It takes at least two days to Capture a city. Order this unit to Capture again next turn to secure an allied base.
This is true for now, but not forever.
Oh I almost forgot… Don’t move a unit that’s in the process of capturing a city. If you do, you’ll have to begin capturing it all over again. The same is true if the capturing unit loses all of its HP. Do your best to protect units trying to secure new bases.
INTEL — CITY
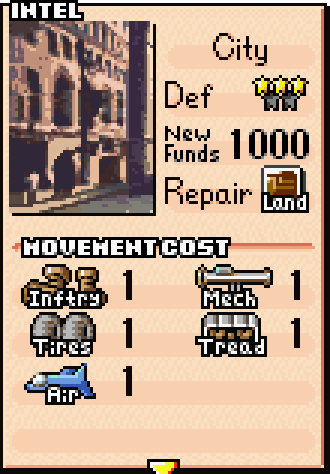 Cities provide 3 stars of defense and cost 1 movement point for all land and air units. This is the highest defensive modifier available to non-infantry and non-mech units outside of HQs, making cities extremely important strategic locations to secure with your units.
That’s not the only reason cities are important, though. They can be captured by infantry and mechs, as we’re doing now. Capturing a city provides three benefits: funds, supply for ground units, and recovery for ground units. Nell will explain these in more detail later.
Ironically, speed is also very important in Advance Wars missions, and capturing a city takes an infantry unit two turns. So in predeployed missions, unless you need the city for its income or other benefits, it’s often better to keep pushing forward instead of stopping to capture it.
Remember, cities still provide 3 stars of defense even when they are neutral or enemy-controlled, so they remain valuable defensive positions regardless of who owns them.
One last thing to note: you don’t always capture cities at the same rate. We’ll go into how capturing works in more detail later.
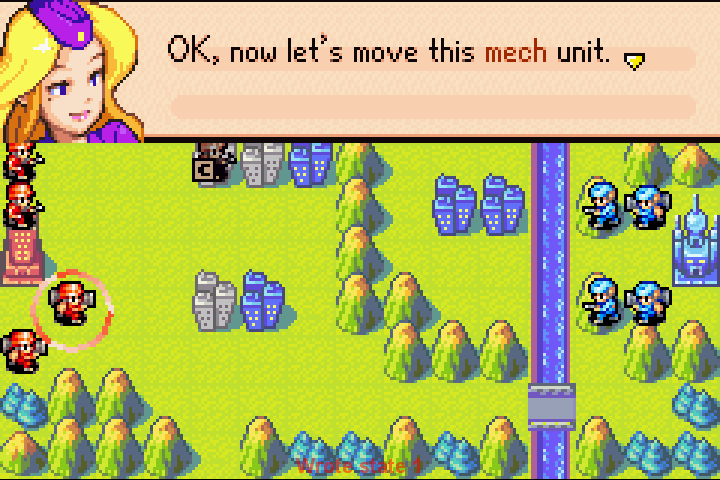
Go ahead and select it, please.
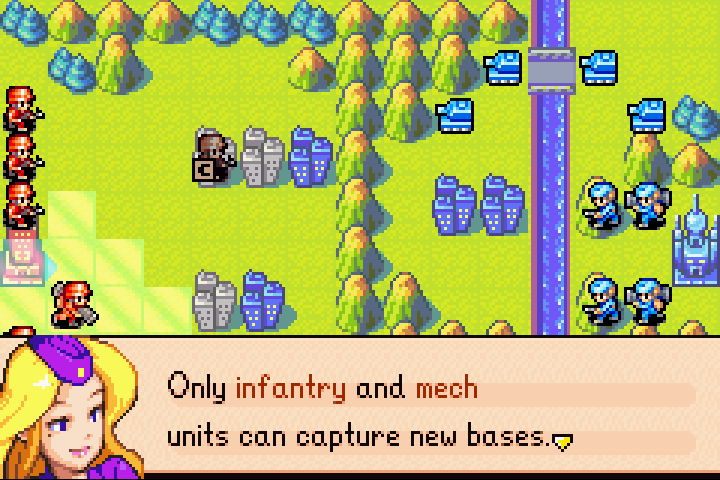
Remember this when deploying units into unsecured areas.
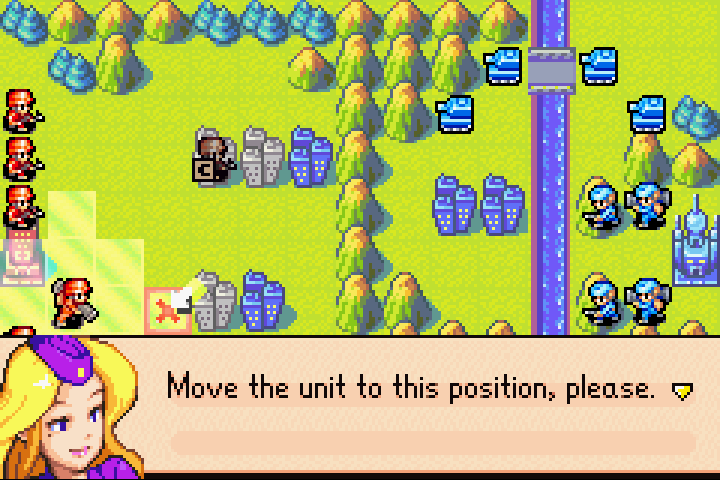
Okay!
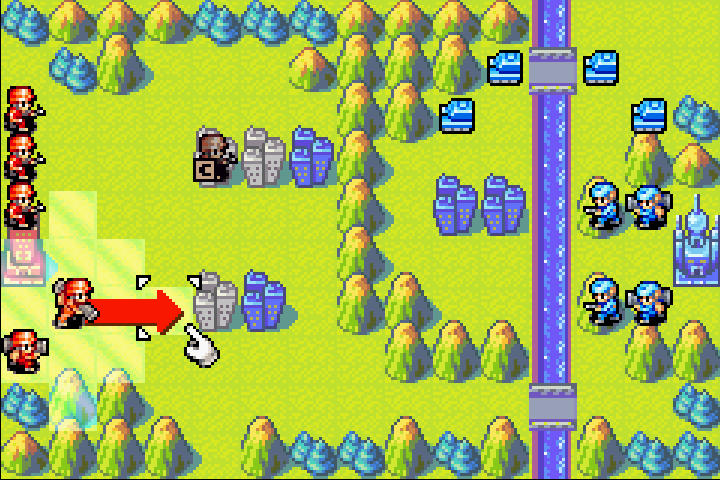
Now, go ahead and move the rest of your units close to the cities. Select End when you’ve finished moving.
Sure thing! That seems simple enough.
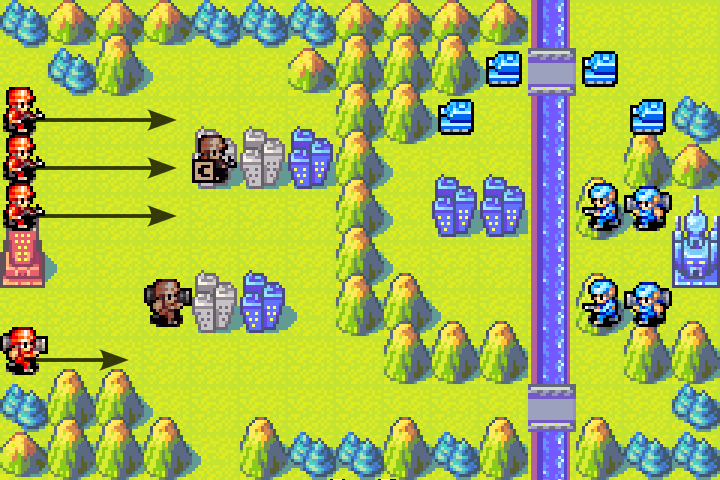
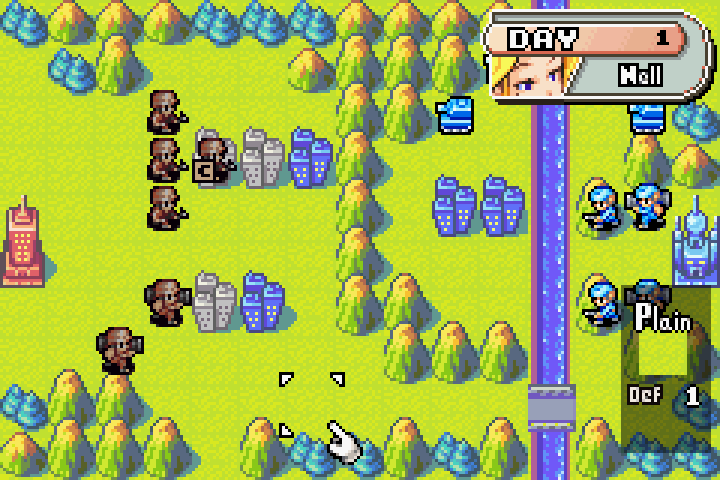
Alrighty, let’s see how Olaf reacts!
ENEMY Day 1
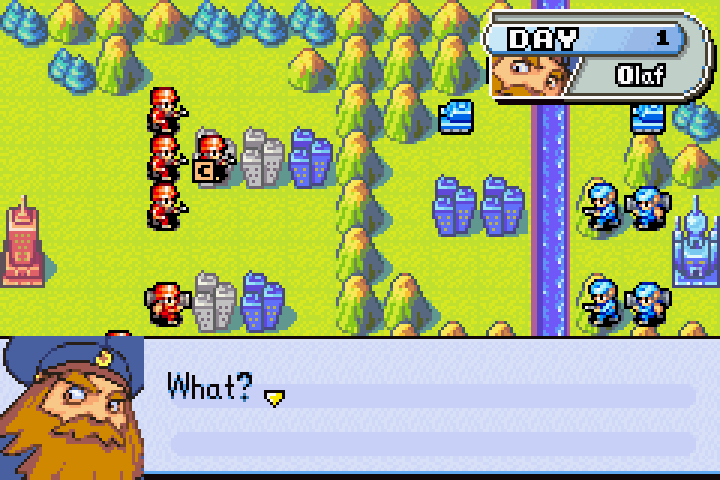
Enemy forces have appeared again? Those cowards! Attacking my most remote units… How typical! But wait… I have some tank units deployed there. Ha ha ha… Crushing those infantry and mech units will be a piece of cake! Fight on, my loyal troops! This time, you shall be victorious!
Unfortunately, I don’t think Olaf had intel on the terrain there. You see, normally, this would be true. Four tanks alone would be enough to take out two mechs and four infantry units. To understand this, let’s look at the tank’s intel.
INTEL — TANK
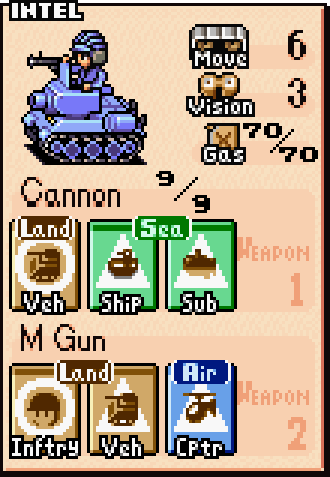 Tanks have a movement range of 6, which is pretty good for a land unit. In fact, the only other land unit with higher movement is the Recon, and tanks destroy Recons. This makes tanks one of the most likely units to gain the first-hit advantage.
They also deal decent damage against most other ground units, with the main exception being Medium Tanks, making them extremely cost-effective. And what is the cost of a tank, you ask? A mere 7,000G! This means they can be mass-produced relatively easily. In fact, that’s why tanks tend to be the most commonly produced unit in competitive games.
Now, back to the situation at hand. If it weren’t for the terrain, all four tanks would likely get the first-hit advantage against our mechs and infantry, potentially destroying them before they even get a chance to fight back. That would secure Olaf the victory, just as he claimed.
However, as Nell and I mentioned earlier, tanks cannot travel on mountains, which means they can’t engage us there. They also can’t cross rivers, which is another important limitation.
These terrain restrictions significantly limit the tanks’ ability to reach us—and that gives us hope of winning this mission!
Since I touched on rivers, let’s look at the river intel as well.
INTEL — RIVER
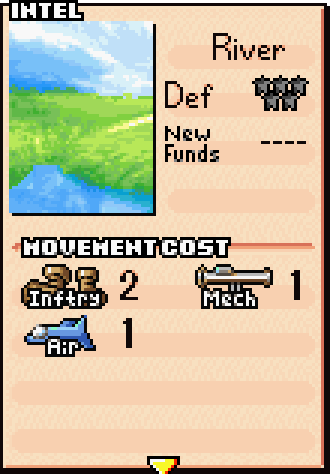 River is similar to Mountain in terms of obstruction and movement cost. However, rivers provide absolutely no defense bonus. They’re arguably the worst terrain to be in. Thus, they should be avoided unless crossing the river is vital to the mission. Typically, this is to allow infantry to take a shorter path to a city or some other objective. All other ground units must navigate around the river.
So what exactly did Olaf do today?
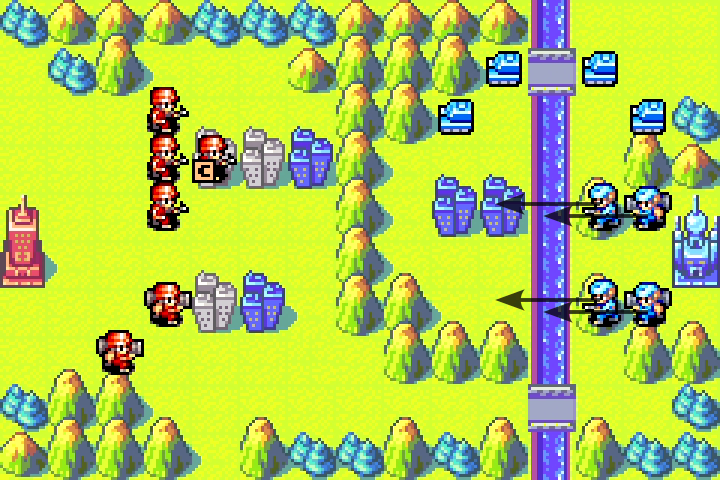
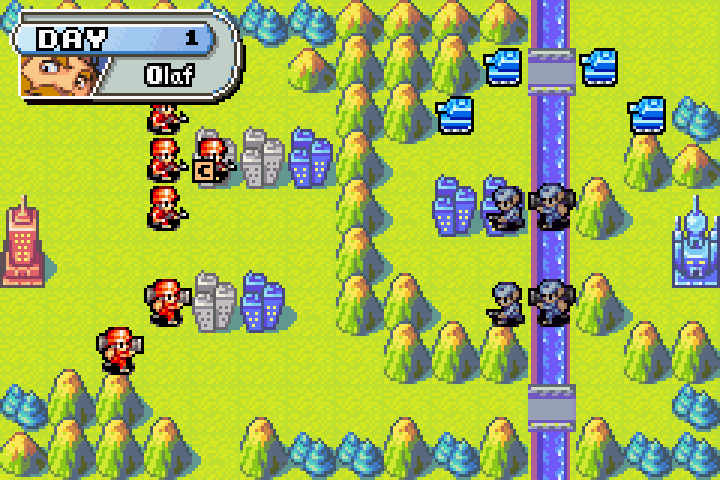
That’s right. He didn’t even bother to move the tank units; he only advanced his infantry forward.
Day 2
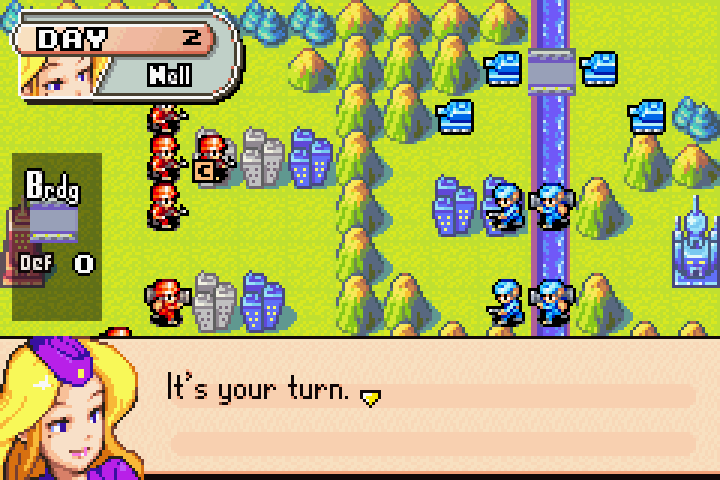
You really like saying that line, don’t you, Nell?
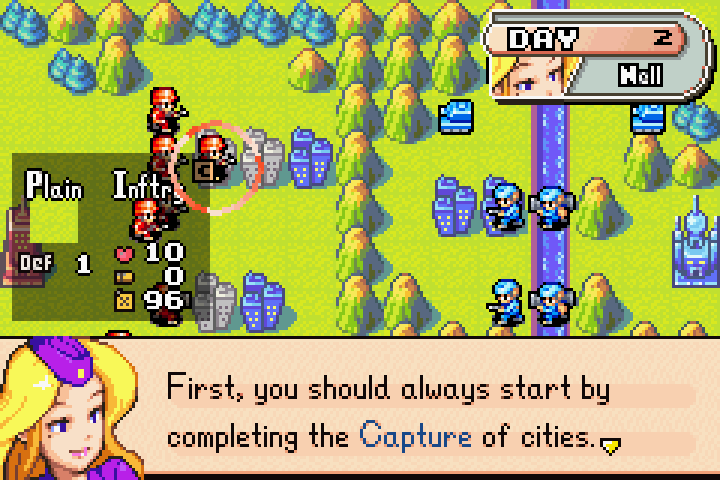
I beg to differ here. Sometimes it’s perfectly okay to abandon capture if you have a higher priority task for that capturing infantry. If I want to go for minimal turn record, I probably wouldn’t capture these cities at all.
Please select this infantry unit and press the A Button
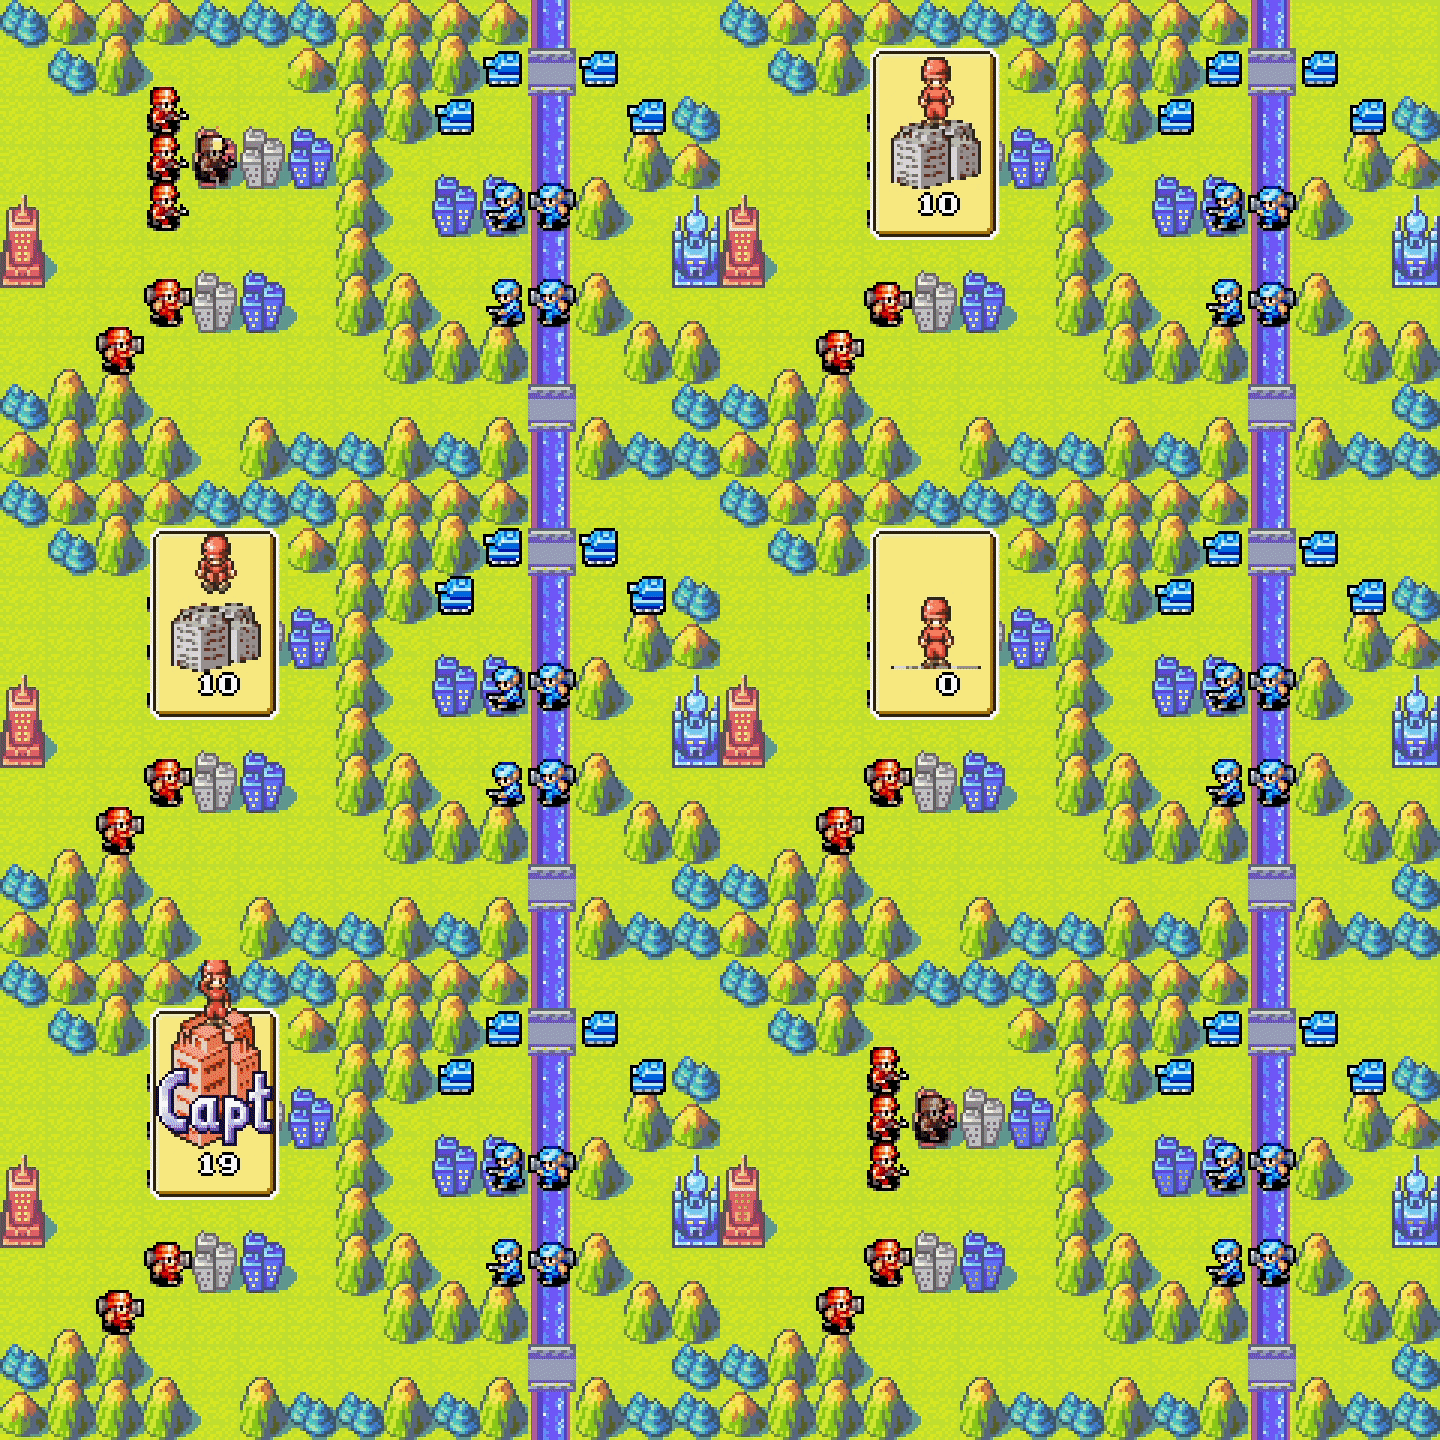
Now, this city is yours! It’s the same color as your troops, right? You can now use it as a base.
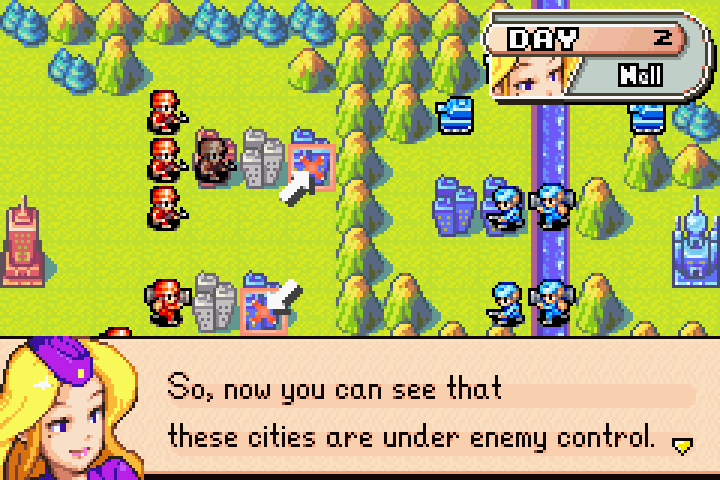
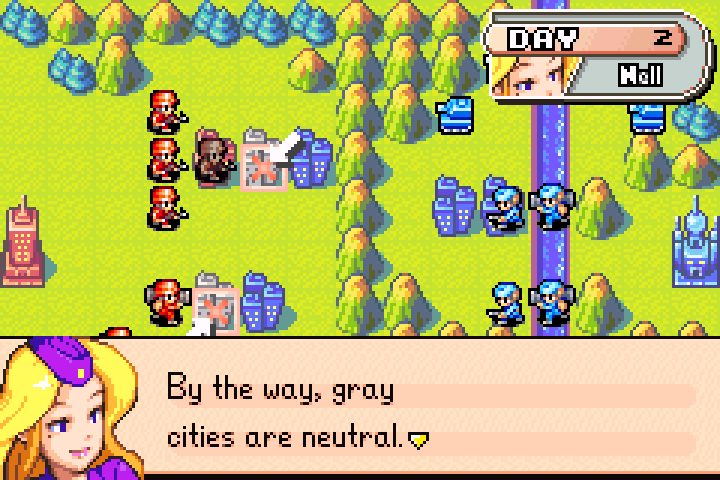
Let’s get back to discussing bases. If you put a damaged unit in a base, it will recover some HP each turn. You will also receive 1000 G per day from each city you Capture. These funds are crucial for restoring HP to your units. Funds are also used for other purposes, but I’ll explain those later.
More specifically, the damaged unit will recover 2 HP each day, assuming you have the funds for it. That’s right, recovery isn’t free. The 1,000 G is a setting you can change, but in 99% of games, that’s the income per day per city you own. What Nell didn’t mention is that cities can also supply your units, but we’ll learn about supply in the future.
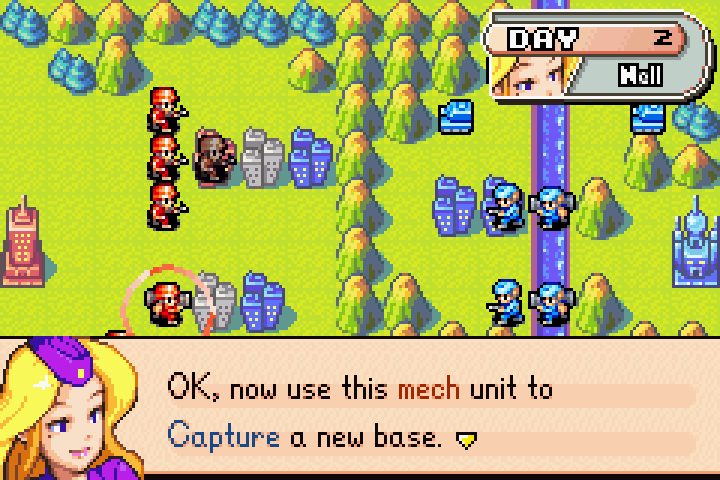
Would you please select this unit?
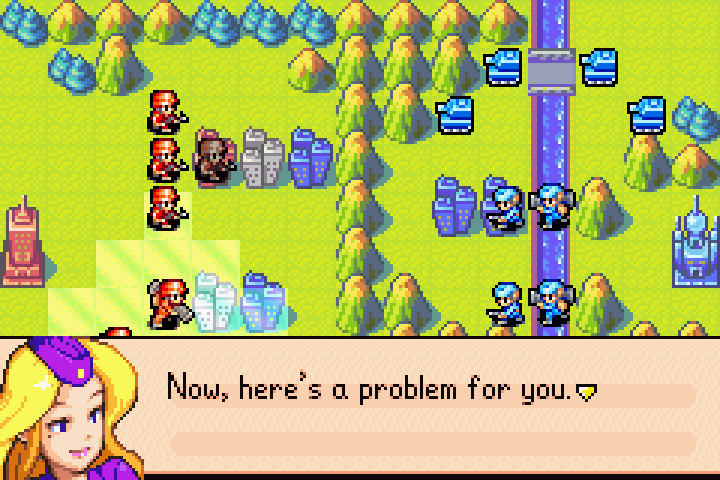
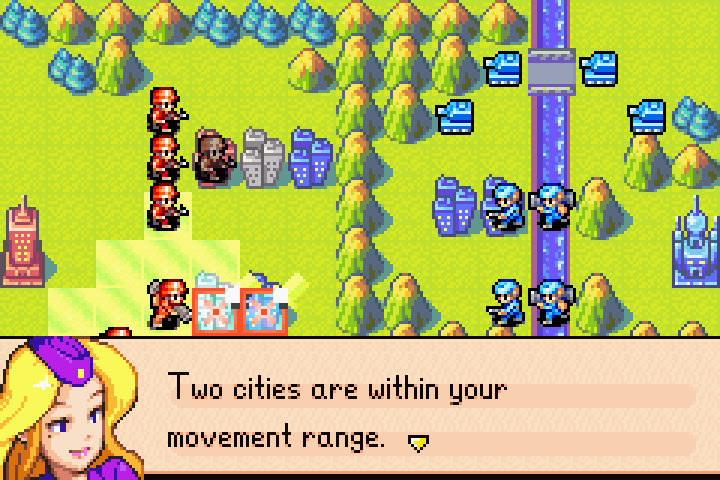
One is neutral and one is hostile. Which one should you Capture first?
Nell allows us to make the decision here, and she’ll give a different response based on what we pick. So make your decision, and let’s see if it matches Nell’s and mine.
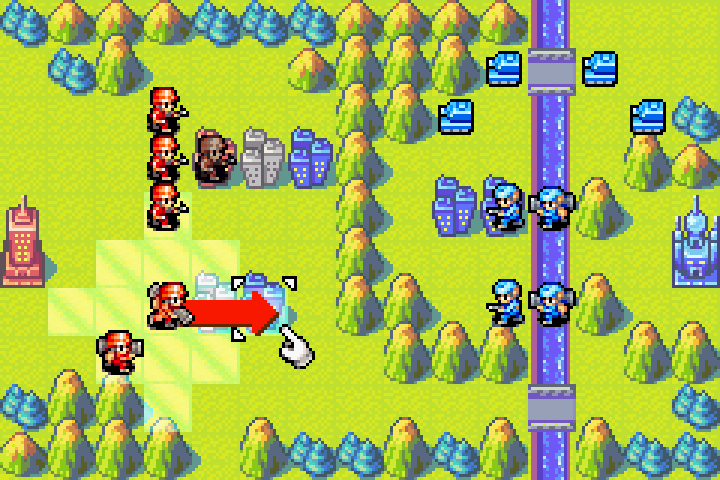
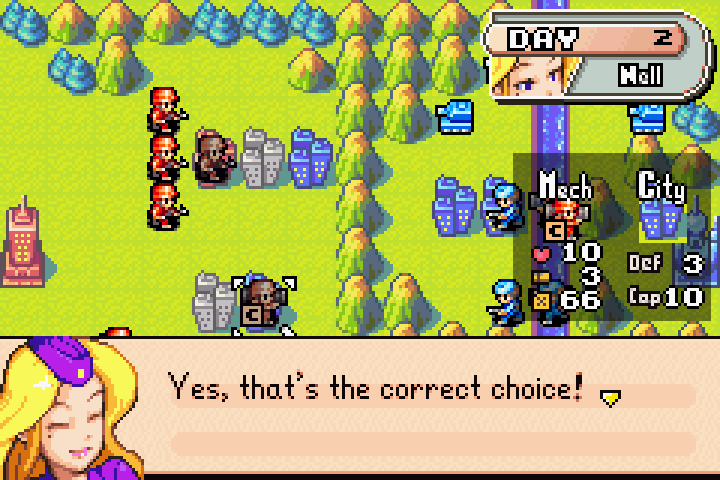
Of course, capturing either one of these cities is a plus for you. But if you secure the enemy city, you also reduce your foe’s funds.
This is true, but just for the record, you shouldn’t blindly rush to capture enemy cities. Always judge enemy unit deployment and the situation at hand before making your move. Sometimes, it’s better to capture the neutral city instead of an enemy city.
Oh, yes. There’s one more thing you need to know.
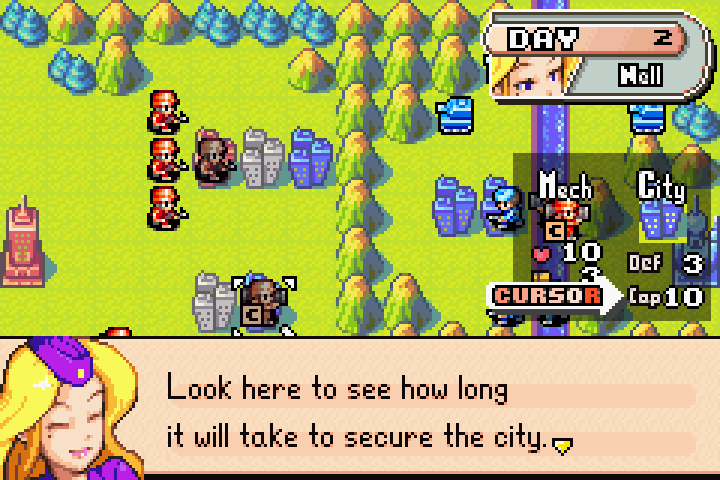
The Capture Number is now ten. When this number is reduced to zero, the city is secure! An infantry unit has ten HP, so it takes two days to Capture a city with a Capture Number of twenty. A damaged unit has less HP, so it’ll take longer for it to Capture a city.
So now you know how to Capture cities, right?
Yes, I do.
INTEL — BASE CAPTURE
Cities, bases, airports, seaports, and HQs can be captured by infantry and mech units, and all of them require 20 points to capture.
The number of points a capturing unit removes each day is equal to its current HP. For example, a full-health infantry unit with 10 HP will capture 10 points per day, while a damaged infantry unit with 5 HP will only capture 5 points per day. This means that it takes two days for a full-health infantry unit to capture a base, while it would take four days for a damaged infantry unit with 5 HP.
If a unit is moved away from a base before it is fully captured, the capture progress will reset to zero. The same is true if the capturing unit is destroyed. Therefore, it is important to protect units that are in the process of capturing a base.
There is one CO that breaks this rule, and that is Sami. But we’ll talk about that when we introduce Sami in a future chapter.
I’m going to let you make all of the command decisions from now on. Would you like some advice on how to proceed?
Wait, what? You aren’t gonna give me step-by-step instructions anymore?! Wooooo. But I’ll be nice and let you give me some advice before I take over.
Naturally, you can win this battle by defeating all of the enemy units. However, the enemy tank units are extremely powerful. Fighting them head-on is not an advisable strategy.
But not impossible!
I suggest waiting by your bases and taking out the infantry and mech units first. Avoid the tank units as you try to Capture the enemy HQ. The weakness of tank units is that their treads won’t allow them to move through mountains.
And rivers!
Place the cursor on a unit or terrain and press the R Button for more valuable intel. One last thing…
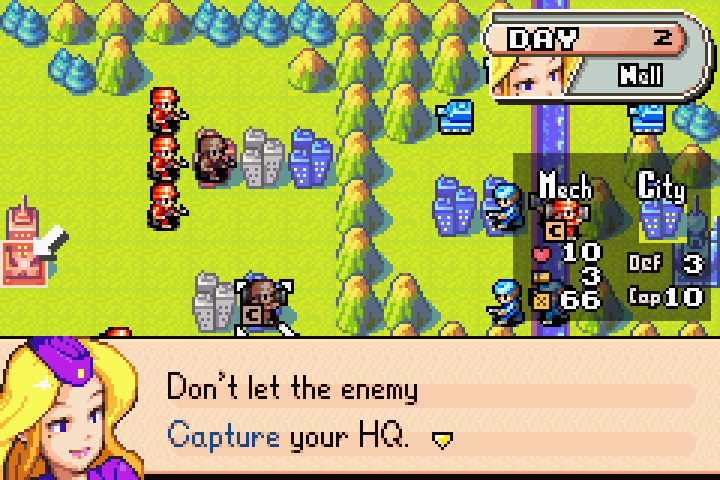
You will lose if this happens. That’s all. Good luck!
That’s pretty sound advice! But here is some important intel on victory and loss conditions, as well as HQs.
INTEL — VICTORY AND LOSS CONDITIONS
In a standard battle, there are two victory conditions: wipe out all enemy units, or capture the enemy HQ. In the two battles so far, there were no HQs, so we had to wipe out their units. On this map, however, there is both our HQ and Blue Moon’s HQ, so that’s the second win condition.
Campaign missions may have additional victory conditions, such as capturing a certain number of bases or surviving for a certain number of days. Be sure to read the mission briefing carefully to understand the specific objectives for each mission.
On the other hand, if you lose all of your units, let your HQ be captured, or fail to meet the mission objectives, you will lose the mission. It’s important to keep an eye on your units’ health and make strategic decisions to ensure victory.
INTEL — HEADQUARTERS (HQ)
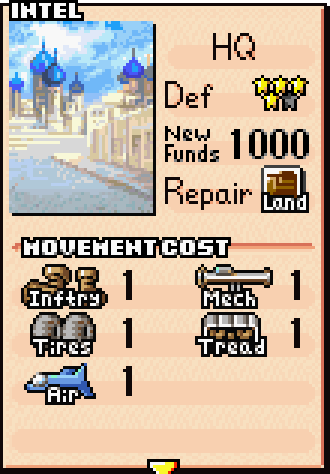 If you’ve been observant, you may have noticed two distinctive buildings at the left and right edges of the map. Those are HQs, and they are arguably the most important properties in Advance Wars.
The HQ serves several roles at once. Like a city, it generates funds every day, recovers damaged land units, and resupplies units with fuel and ammunition. On top of that, it provides a 4-star defense bonus—the highest in the game, tied only with mountains. Unlike mountains, however, HQs can be occupied by tire and tread units, making them one of the toughest positions on the map to attack directly.
More importantly, the HQ is one of the two primary victory conditions in Advance Wars. If you capture the enemy’s HQ, you win the mission immediately, regardless of how many units or properties remain on the map. On the other hand, if the enemy captures your HQ, you lose instantly. Because of this, protecting your HQ is just as important as launching an attack on your opponent’s.
In many missions throughout this guide, our strategy will revolve around capturing the enemy HQ for the quickest and most decisive victory.
One final detail: every nation has its own unique HQ sprite, both on the map and in the Intel screen. The HQ shown above belongs to Blue Moon. As for the other nations’ HQ designs… I’ll leave those for you to discover as you play the game.
Back to the mission at hand. Like Nell said, we could take out all the enemy units on this map, but it’ll take quite a bit of time because we need to lure out the enemy tanks one by one. We’ll also need to spend several days healing our wounded units to ensure they are in fighting condition. Nonetheless, it is entirely possible to take out all the enemy units by taking advantage of terrain, first strike, concentration of force, cities to recover and resupply, and dumb AI. Feel free to experiment, but we’ll go with the capture strategy per Nell’s advice. This is also the first mission where you can actually be defeated, unlikely as that is. So, given that there’s quite a bit of room to maneuver, here is our first strategy plan. Feel free to skip the strategy plan if you want to skip straight to the action.
STRATEGY — OPERATION SILENT SPEAR
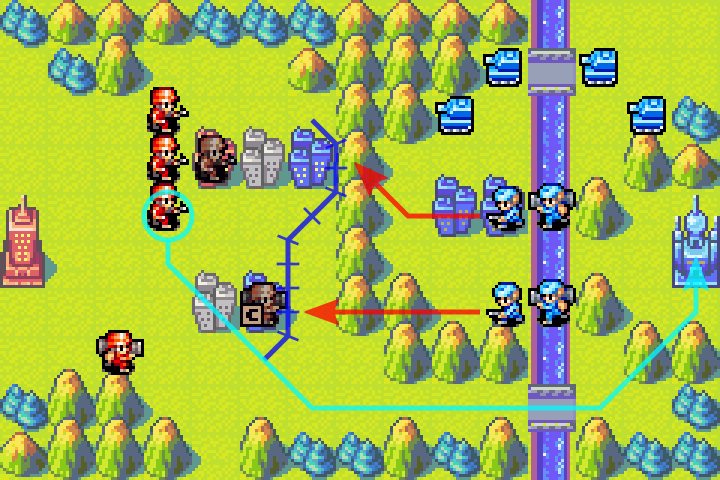
We’ll capture the cities and set up a defense against the incoming enemy infantry and mechs. This should provide sufficient defense and recovery to allow us to withstand the enemy attack. In the meantime, we’ll send a single squad of infantry south through the narrow path to attempt to capture the enemy HQ. If there is time, as a bonus objective, we’ll also attempt to take on the enemy tanks to showcase their firepower as well as ways to fight them.
As the first step in executing Operation Silent Spear, we will need to capture as many cities as possible to fortify our defensive positions. We’ll also move the covert infantry south through the narrow passage.
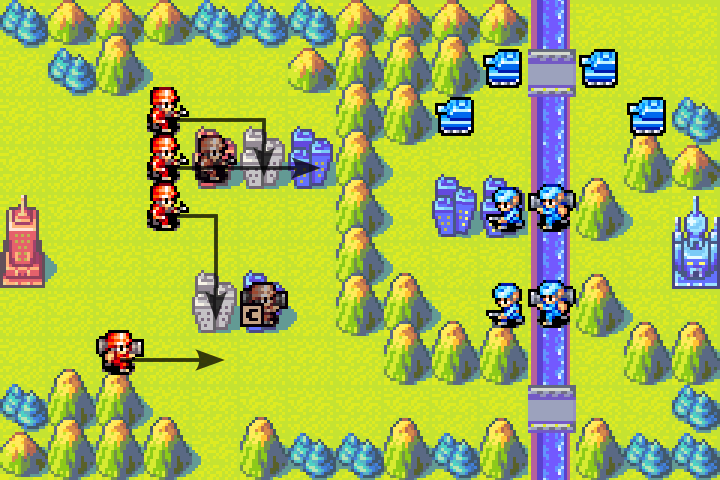
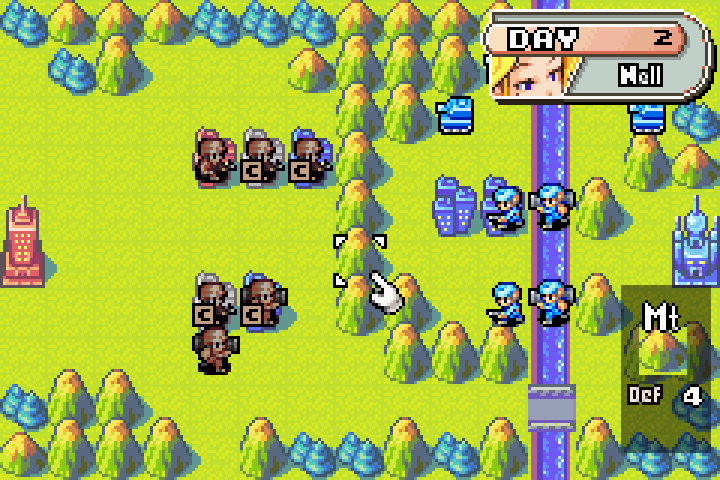
This operation requires Olaf to advance his infantry to attack us rather than defend his HQ, so let’s see if Olaf advances his infantry and mechs as we predicted.
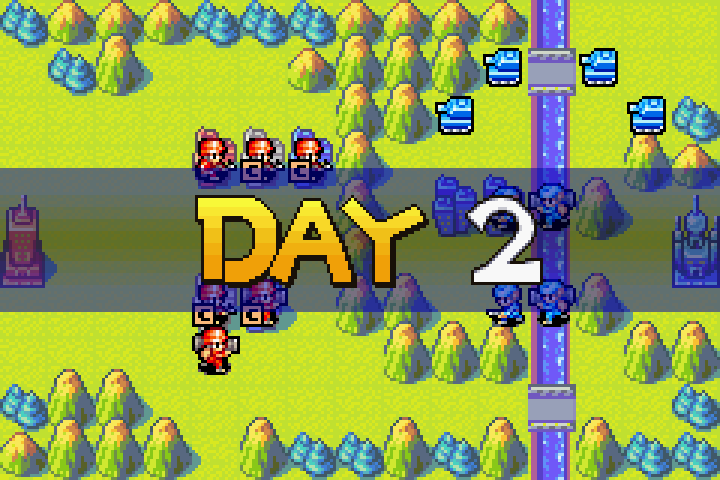
Enemy Day 2
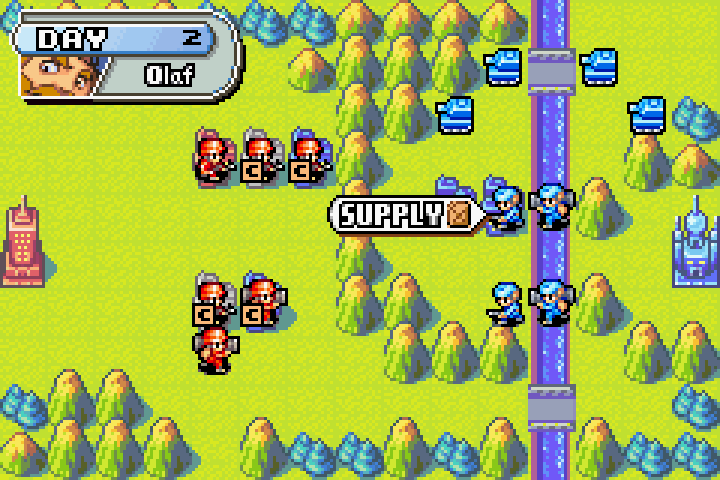
Oh, this is the supply mechanic I mentioned before. It refills a unit’s ammo and fuel, or rations in the case of infantry and mechs. Functionally, rations work the same as fuel. We’ll go into more depth about this in the future.
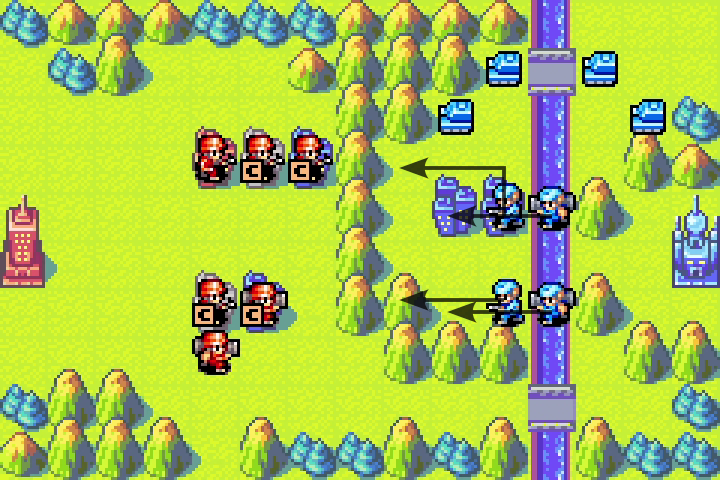
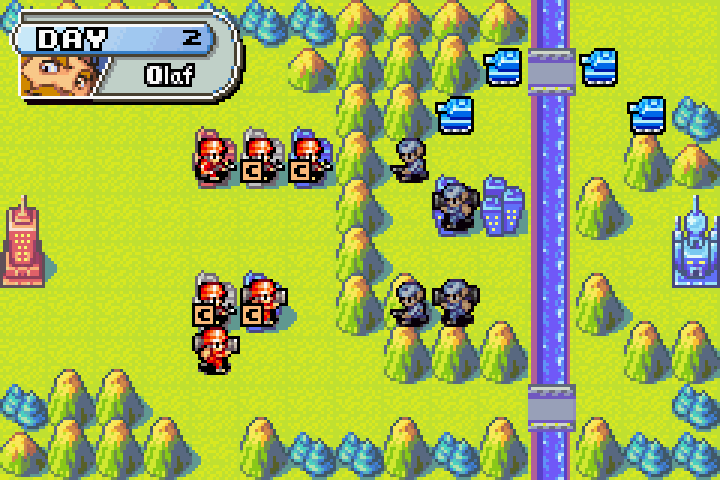
Exactly as we predicted!
Day 3
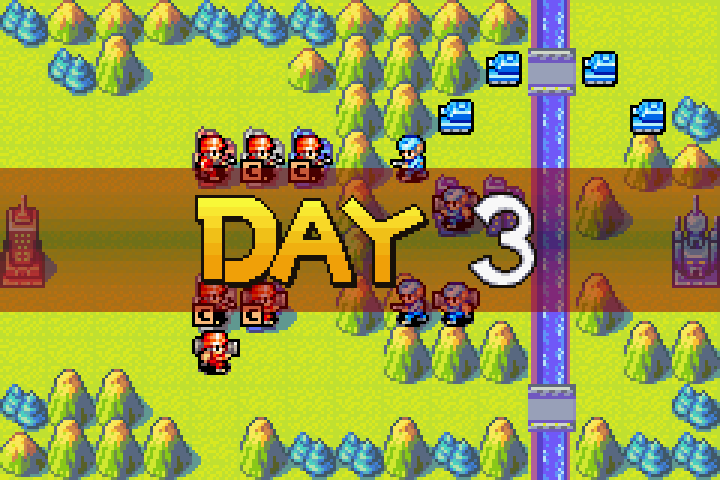
Since nothing changed, we are free to continue executing our plan. Capture the cities and hold ground while the covert infantry squad moves south.
STRATEGY — DAY 3 PLANNING
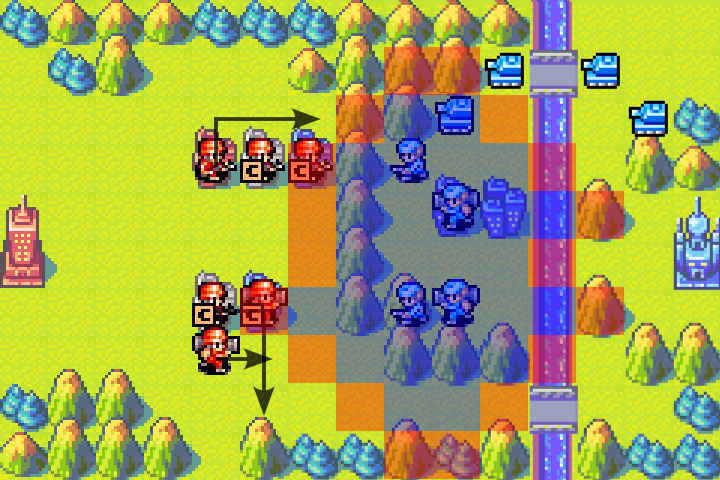
Blue represents the enemy’s movement range, while red represents their attack range. That means we’ll make contact tomorrow. Right now, the contact points are my units capturing the cities. We’ll be able to capture the cities today, allowing us to recover, so I’m not too worried. In fact, this is a reverse first strike!
Now, even though the covert infantry squad in the south is currently capturing a city, I’m going to have it advance instead. This will save us a day on our eventual attempt to capture the enemy HQ. Speed is key!
I’m also not going to have the mech capture the city. If it does, it won’t be in position to engage the incoming enemies. We don’t really need that city anyway, so I’ll move the mech forward and position it just outside the enemy’s movement range. That way, it can counterattack tomorrow if the enemy advances.
Finally, I’m going to move an infantry squad from the northern cities forward to intercept the incoming enemy infantry.
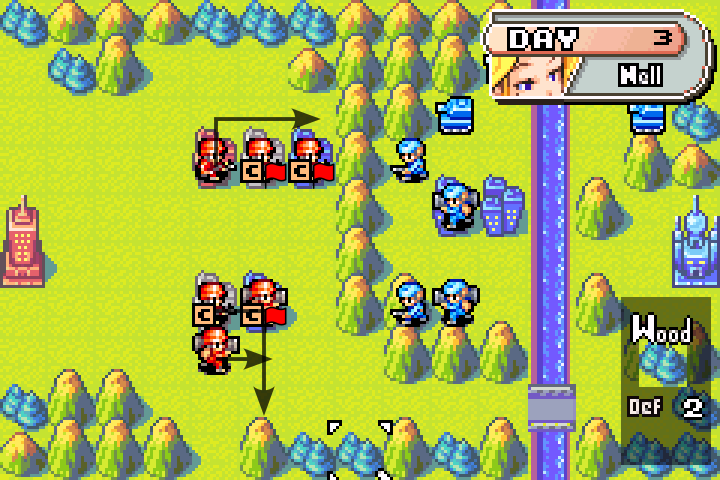
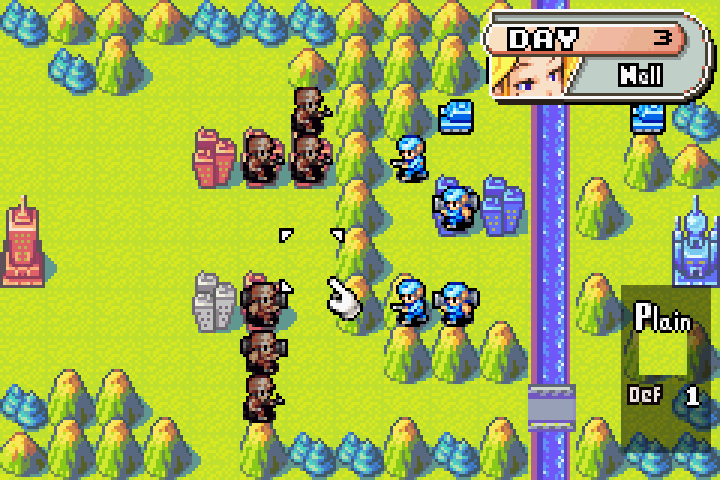
All right. Our defensive lines are set up. Let’s brace for the incoming attack!
Enemy Day 3
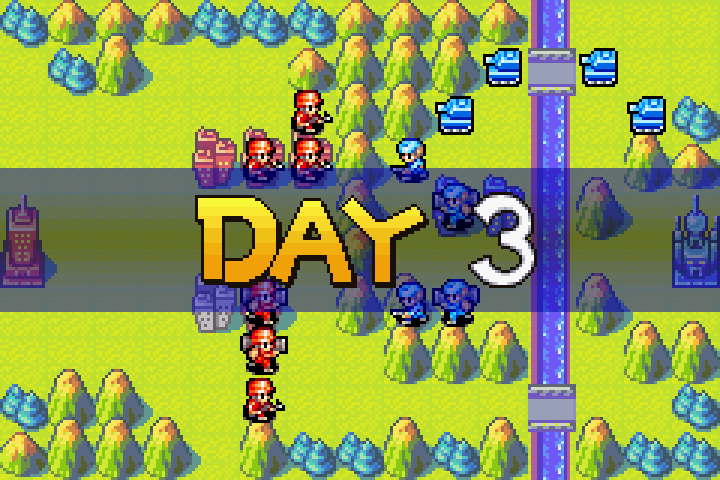
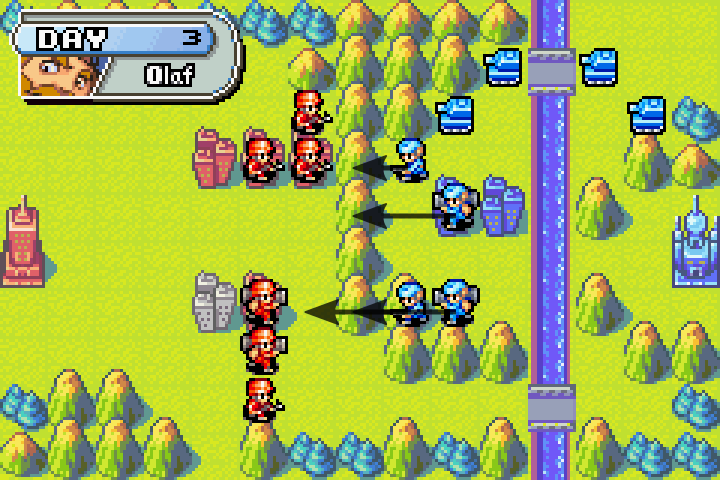
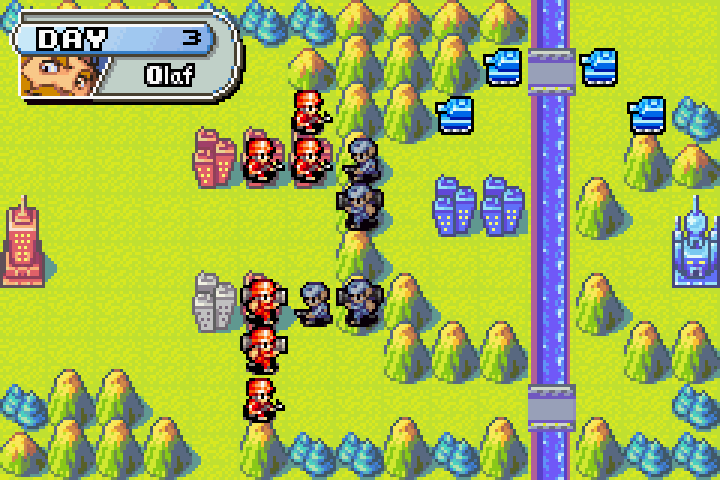
Well… It turns out Olaf’s unit didn’t even attempt to attack our units at all… How disappointing… This is one of the several handicaps the game provides in field training.
Day 4
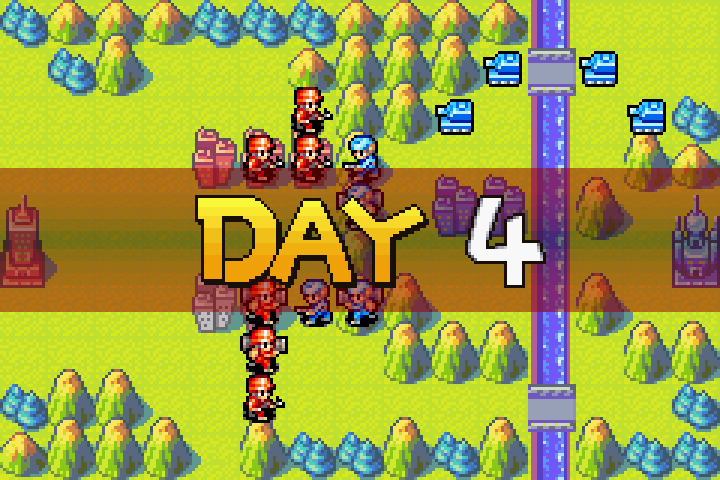
Olaf’s units gave up the attacker’s advantage, even though it wouldn’t have worked out for them anyway. We shall gladly take it.
STRATEGY — DAY 4 PLANNING
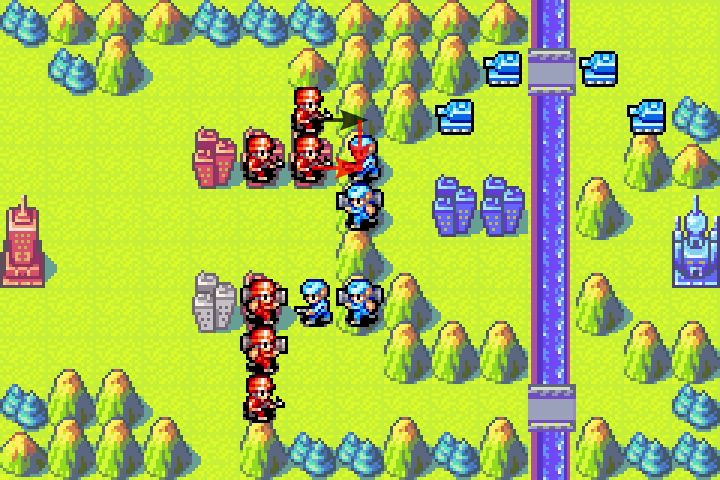
At the northern front, I will use the infantry on the city to engage the enemy infantry, and then attack him again with a second infantry from the mountain. Why do I want to engage from 3-star defense terrain instead of 4-star? Well, remember how cities can recover the HP of a unit? Doing it this way allows me to maximize unit recovery, so even though I take more damage now, I end up with healthier units than if I attacked with the infantry moving onto the mountain first.
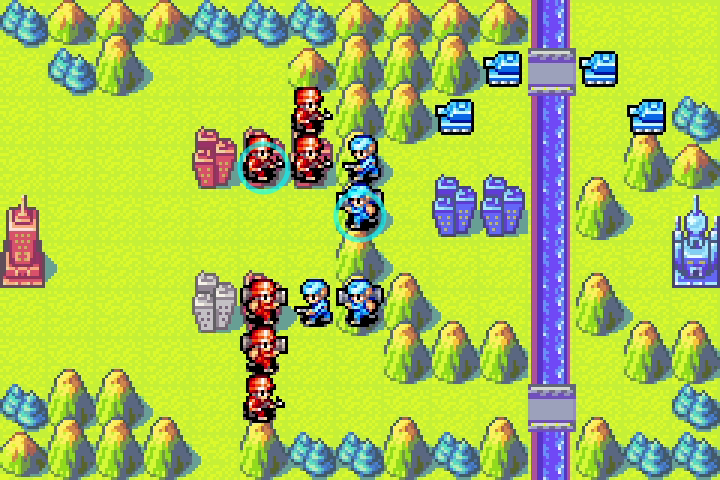
I’m also not going to engage the mech on the mountain with the spare infantry. This is because the mech has an advantage in both firepower and terrain there, so I’m not going to win the trade. This is the reverse first strike we talked about before. It’s better to wait for them to come to us. Sometimes, the best option for a unit is to do nothing.
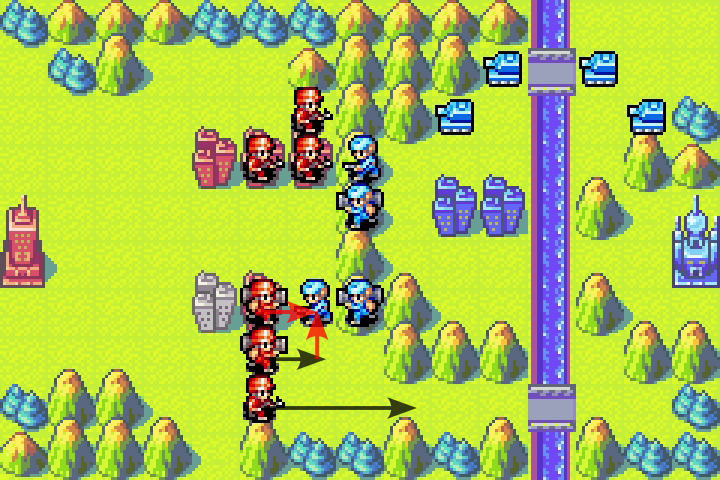
The southern front is pretty straightforward. I will attack the enemy infantry with the mech on the city and then clean it up with the second mech. The capturing infantry will continue forward toward the enemy HQ. This puts the capturing infantry in range of the enemy mech, so it could backfire on us if the mech attacked the infantry en route to capture. However, given what we observed in the past, I’m willing to take the risk and bet on the fact that Olaf’s mech will not attack.
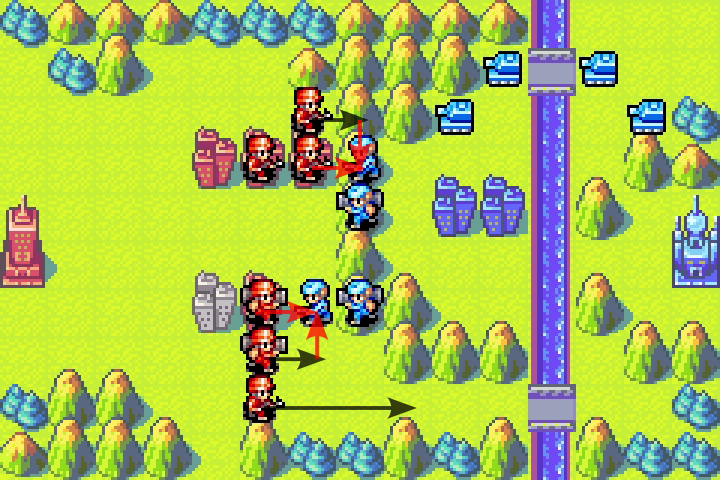
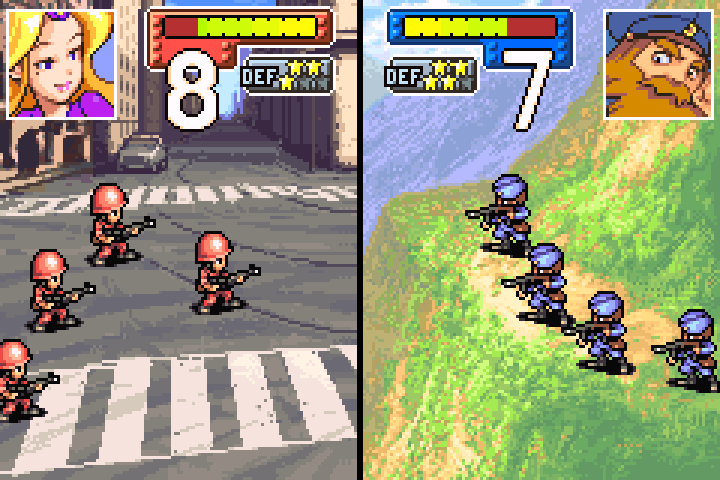
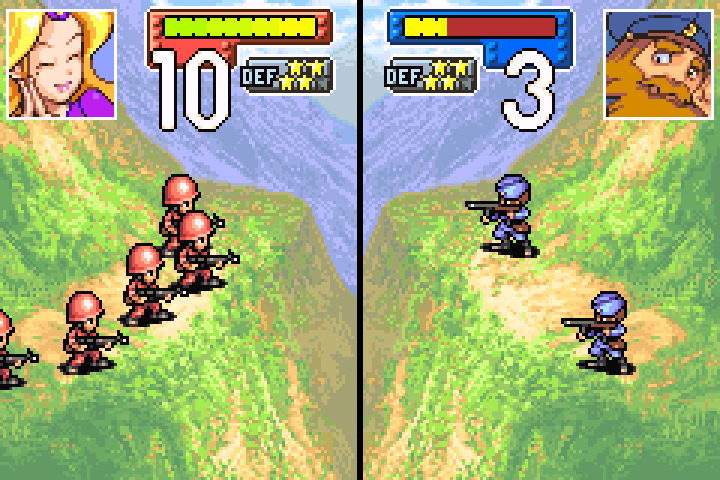
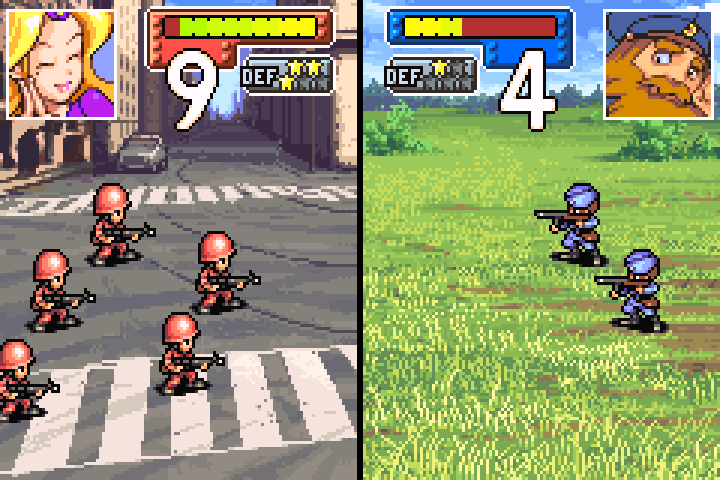
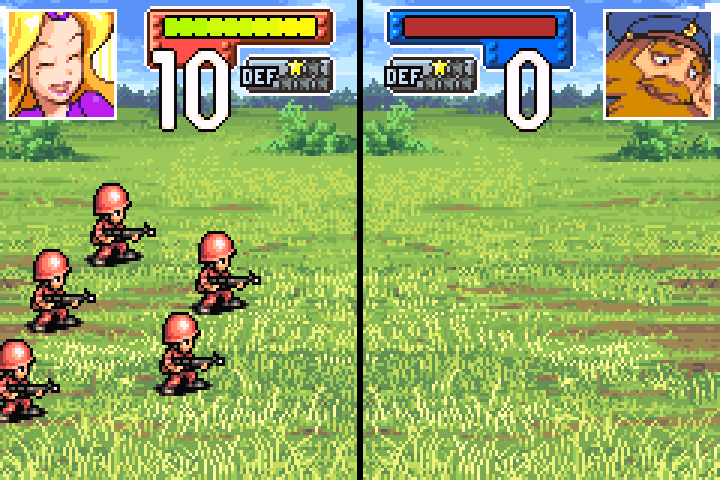
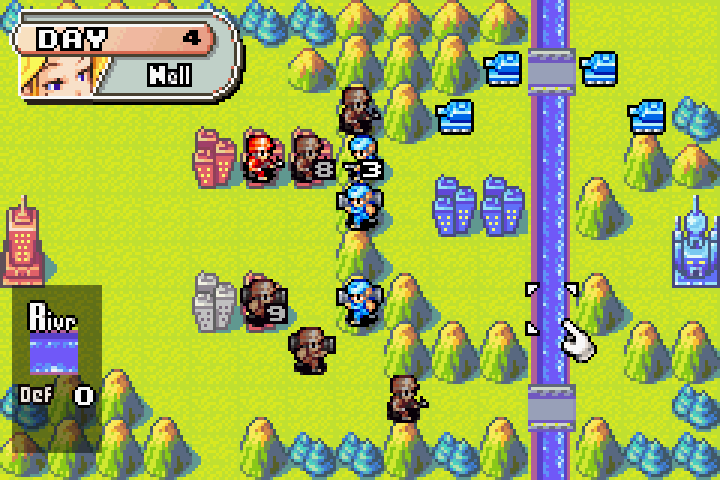
Attacking into a mountain sure is tough! At this point, Olaf really should be retreating with his units, as there’s no way he can push through. So defending his HQ is a better strategy, since the HQ provides 4 stars of defense and resupply.
Enemy Day 4
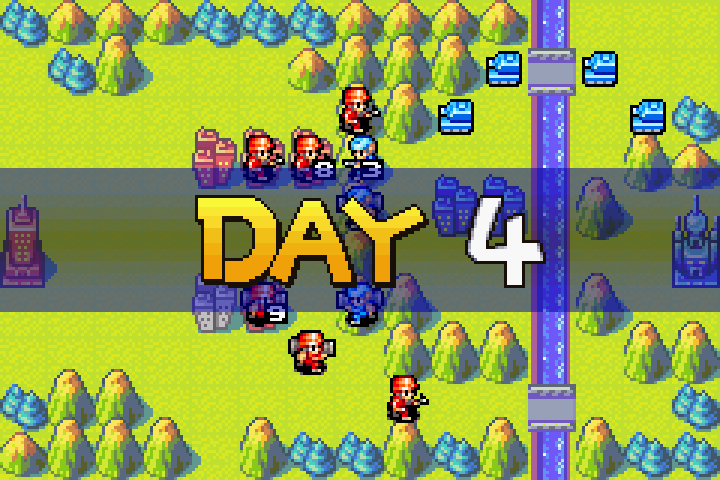
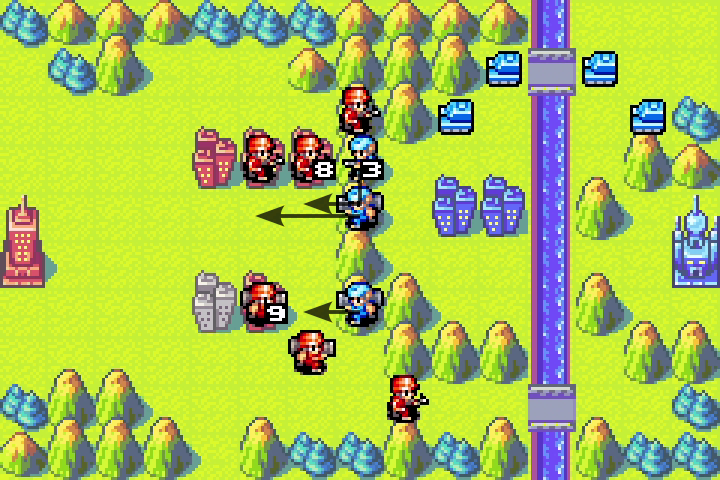
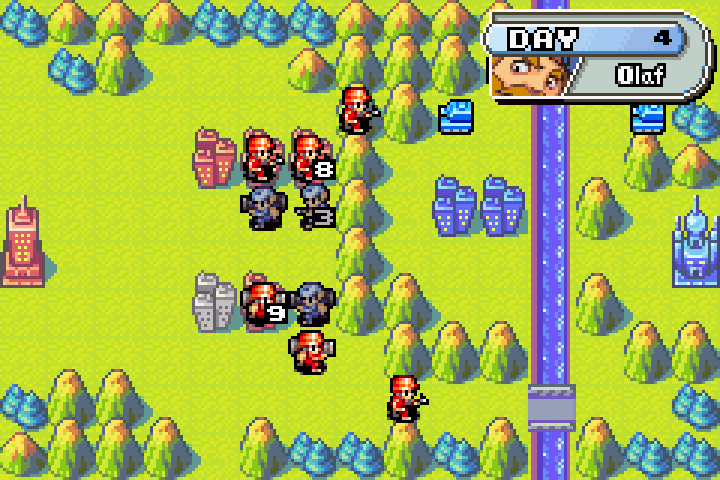
It turns out Olaf’s infantry and mech continued to advance toward our HQ without attacking anyone. It’s a tutorial, folks!
Day 5
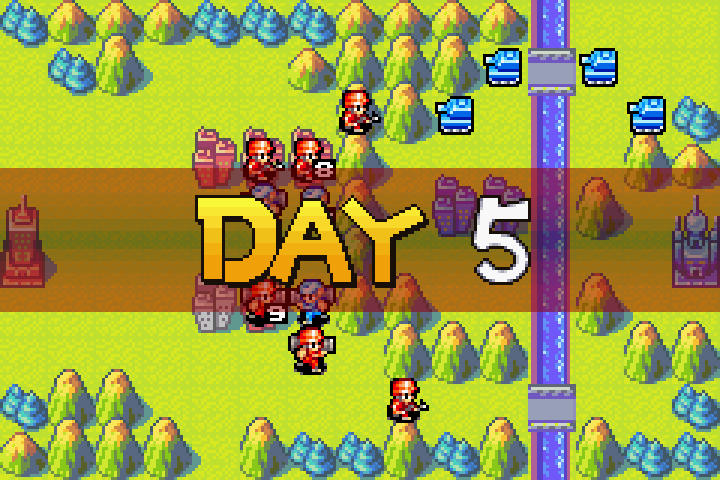
Operation Silent Spear is unfolding according to plan.
STRATEGY — DAY 5 PLANNING
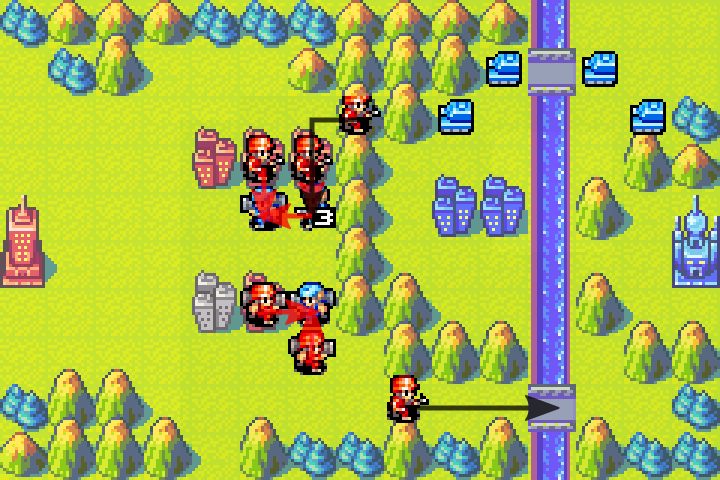
Not much planning needed today. We will annihilate Olaf’s advancing infantry and mechs in our defense line, and keep advancing with our covert infantry squad. Just need to ensure we attack with our units on the cities first.
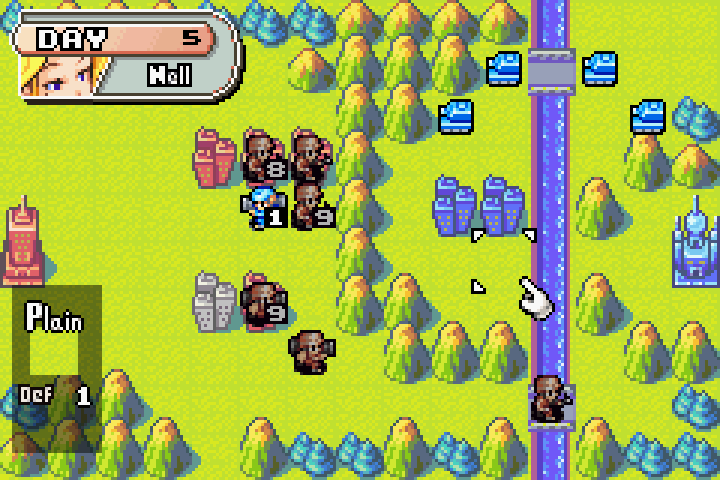
We weren’t able to kill that mech, but with only 1 HP left, it is not a threat. We also cut off its retreat path, so we can eliminate it tomorrow. In fact, we barely lost any units, so we can even look into fighting some of Olaf’s tanks! See if you can come up with a plan to attack the enemy tanks safely. The hint is to divide and conquer.
Enemy Day 5
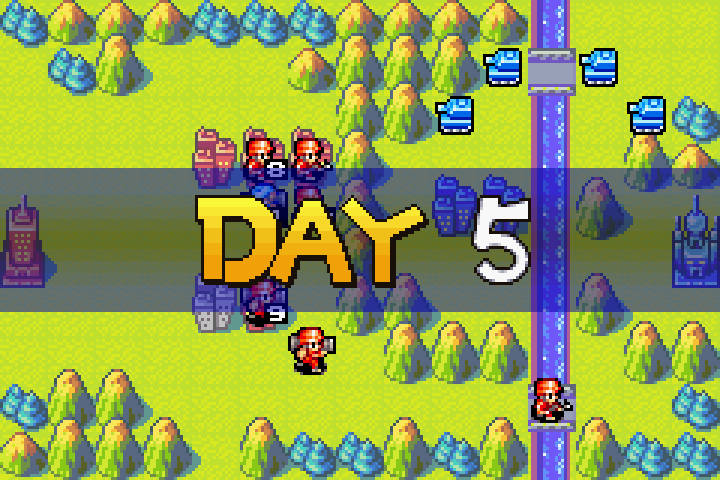
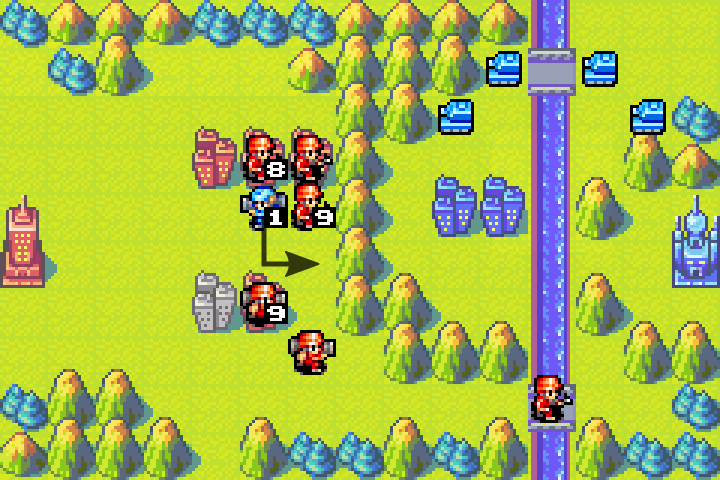
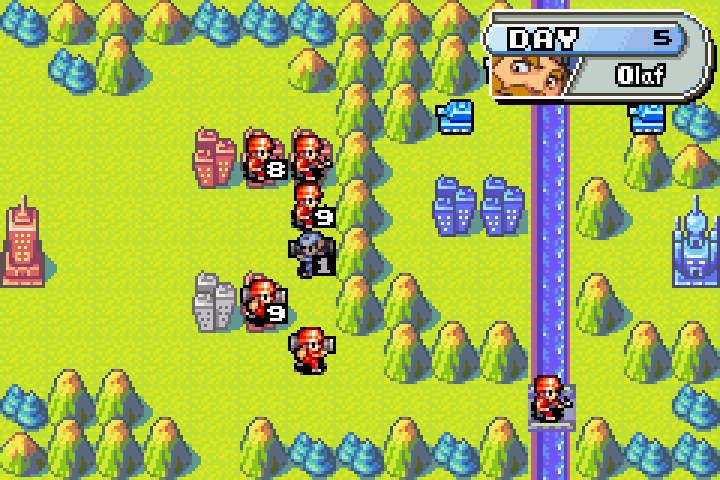
Now you retreat? Don’t you think it’s a little late for that?
Day 6
Alrighty. Operation Silent Spear is basically a success. While it may still take some time, Olaf can’t avoid defeat now! So we will begin phase two for the bonus objective of reducing Olaf’s tanks: Operation Tiger Crusher! Have you come up with a plan to attack into Olaf’s tanks yet?
STRATEGY — OPERATION TIGER CRUSHER
We want to minimize the number of tanks we engage at once, so our primary goal is to bait out Olaf’s tanks and defeat them one at a time. This means we want to engage the tanks on the southern side.
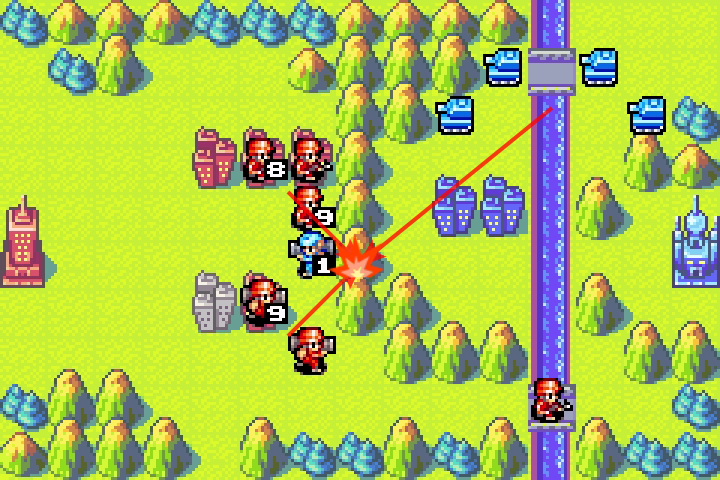
So here’s the plan. We’ll use the mountain to create a favorable contact point, using our infantry squad to lure the enemy tanks over one at a time.
Once they commit, we’ll eliminate each tank squad with our mechs by leveraging the attacker’s advantage and concentration of force. We’ll also benefit from the mountain’s strong defensive bonus.
Even if things go south, we can retreat behind the safety of the mountains. We’re well-positioned to either advance or fall back depending on how the battle unfolds.
By taking advantage of timing, geographical advantages, and positioning, we will come out victorious!
Well, we need to eliminate that mech regardless, so let’s do that first.
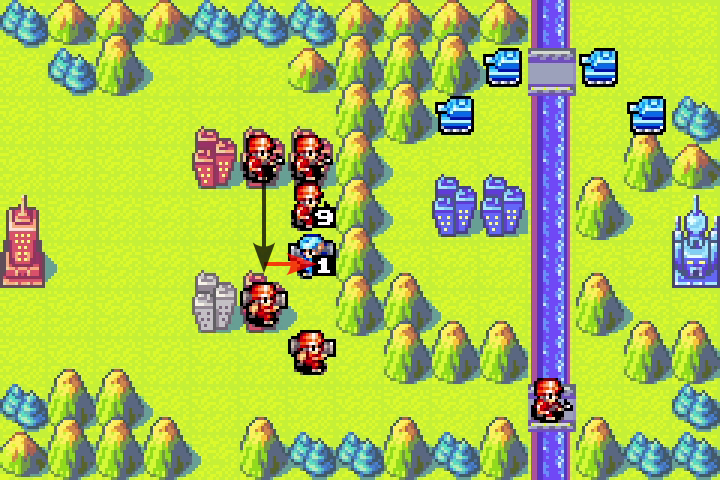
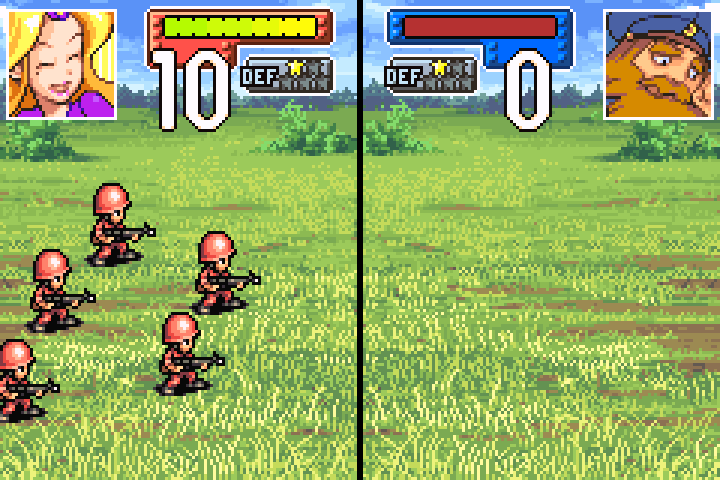
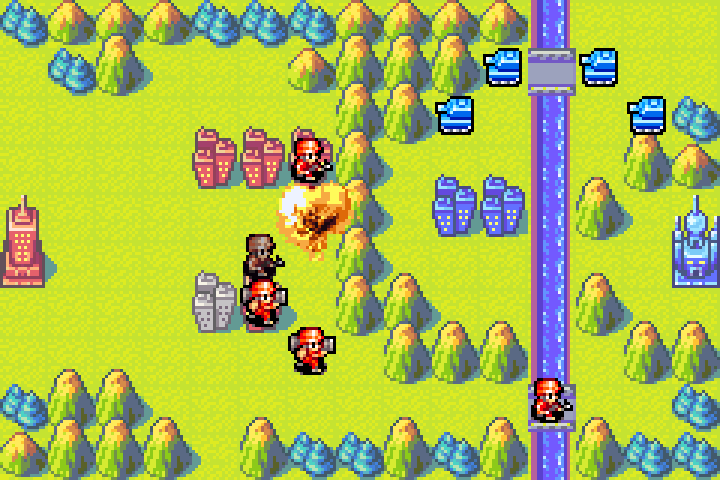
STRATEGY — DAY 6 PLANNING
The first step is to set up the bait. This means we want to look for a location where only a single tank can engage our infantry. We also want a high defense bonus for our infantry. This narrows our engagement points to the following five locations:
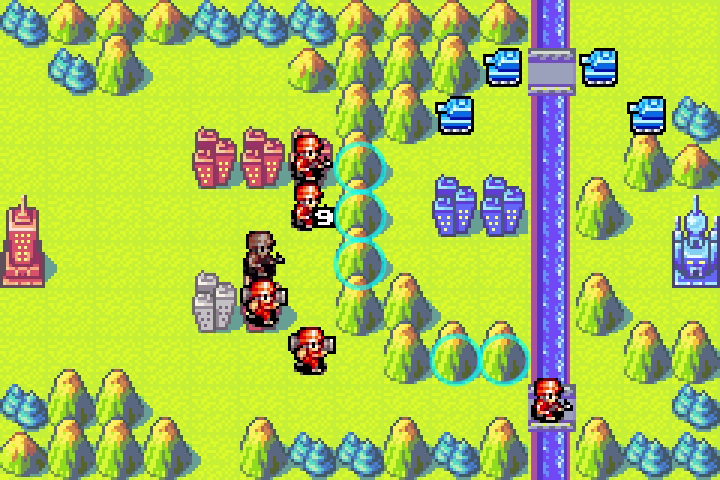
The bottom two mountains are too far away, so they’re out of the question. Of the three mountains closest to our infantry, the top mountain is also too far from our mechs, so that one is out as well.
That leaves us with the final two mountains. Of those, the bottom mountain provides better protection for our mechs when they engage the enemy tanks, so that’s where we’ll set up our bait.
There’s actually another reason — space — but that won’t become relevant until later.
Unfortunately, this means only the 9-HP infantry can reach the position. However, with the mountain’s defensive bonus, they should be able to withstand one round of tank fire.
So that’s the plan. Sometimes, a little sacrifice is necessary for the greater good.
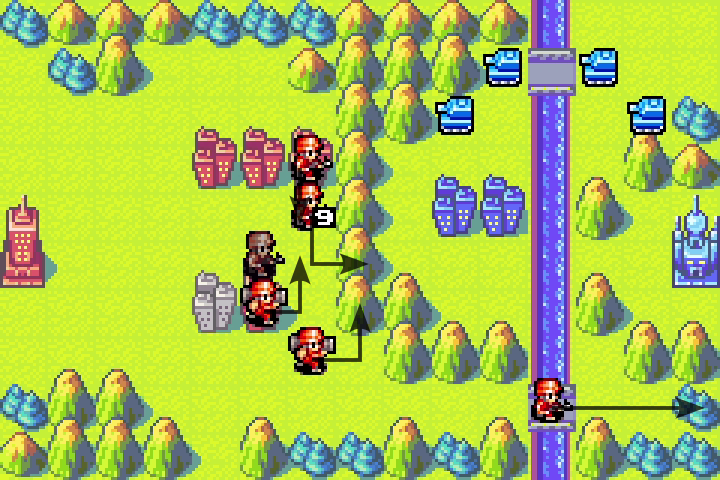
The 9-HP infantry will position itself as bait, while the rest of the army follows close behind, ready to spring the trap once the enemy takes the bait.
The covert squad will continue to advance toward the enemy HQ. Remember, our goal is still to capture the HQ; every tank we kill is just a bonus.
Now, we can set up the bait and the trap.
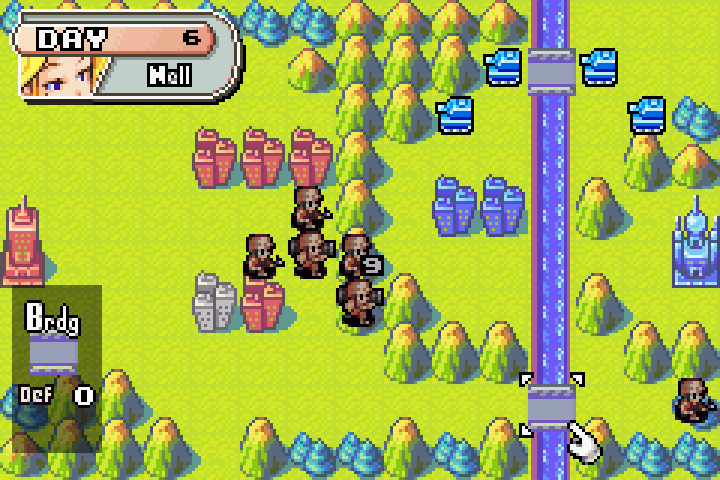
And… the trap is set. Let’s see if Olaf takes the bait.
Enemy Day 6
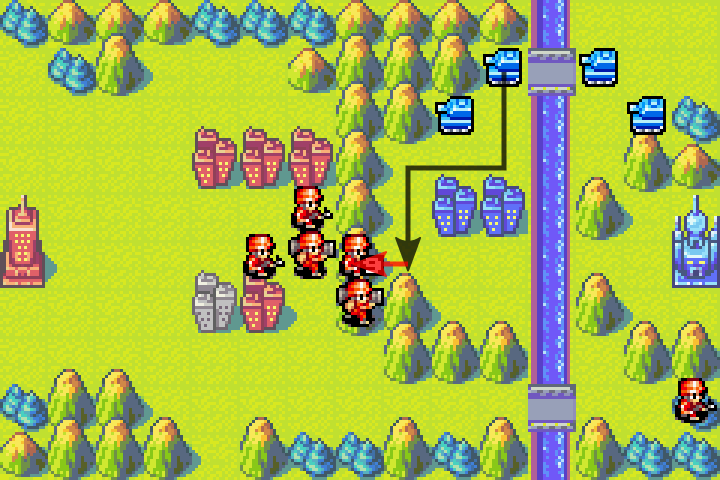
Hook, line, and sinker.

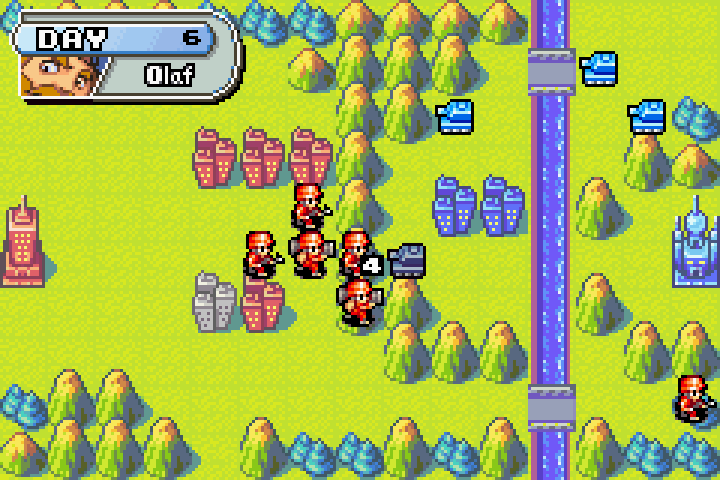
It went exactly as planned! But boy, are tanks scary. It did 6 damage to our infantry on a mountain with 36% damage reduction, and we couldn’t even dent it! Luckily, we have two mech squads nearby!
Day 7
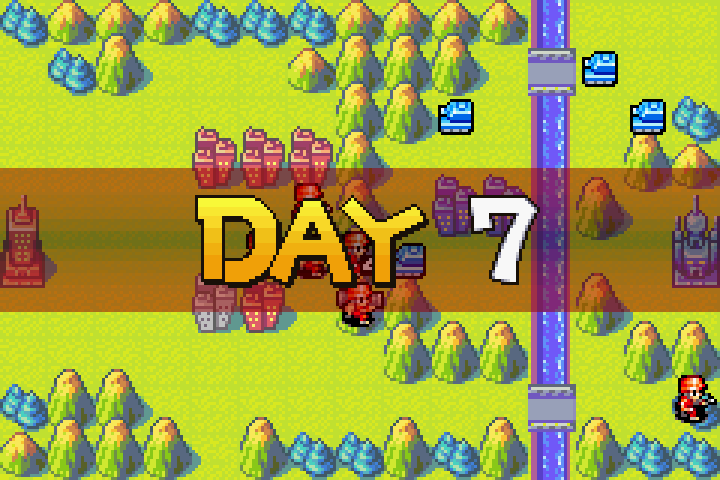
Now then, let’s spring the trap and show you the power of mechs. Be sure to engage the tank with the mech on the south first! But first, I’ll retreat the damaged infantry to safety.
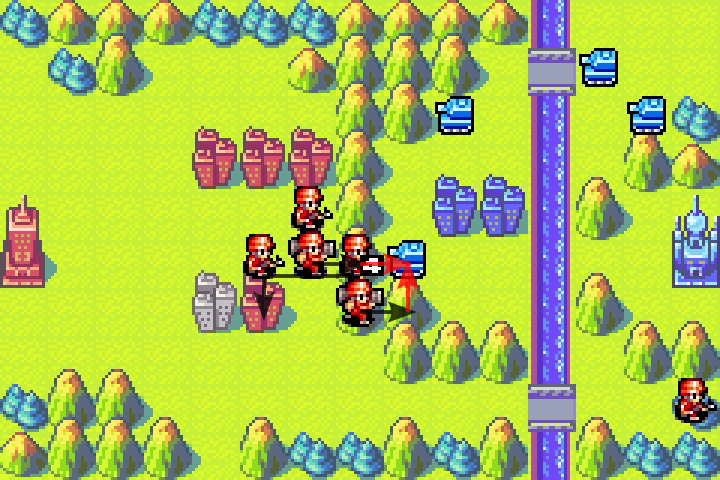

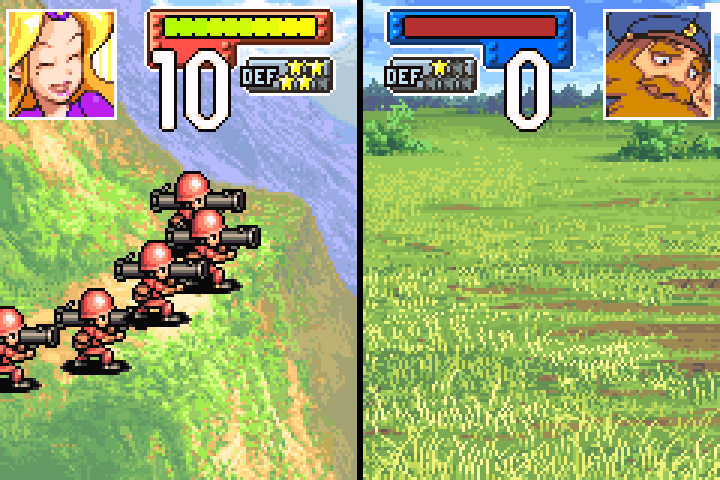
As you can see, as long as a mech gets the first hit and is on advantageous terrain, it can easily handle a tank!
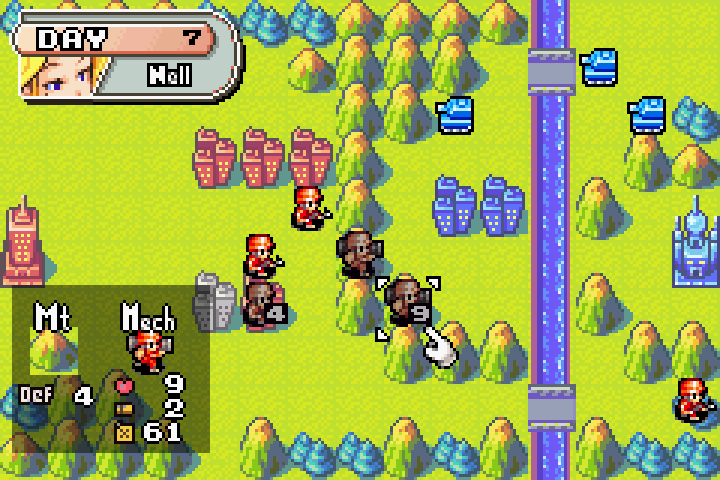
Since the trap has been sprung, our mech is exposed to Olaf’s tanks. So, how can we protect it? With another bait!
STRATEGY — DAY 7 PLANNING
It would be rather foolish to engage our mechs on mountains with tanks. Even Olaf knows that! So instead, we need to expose another infantry unit as a target for Olaf to happily take the bait on.
Even if Olaf does fire on the mech, it’s still okay for us. We’ve already confirmed that a full-HP tank can’t defeat a 9-HP infantry on a mountain. It certainly won’t be able to defeat a 10-HP mech on a mountain, so we can safely pull back if that happens.
This is also where the space reasoning from our Day 6 planning comes into play.
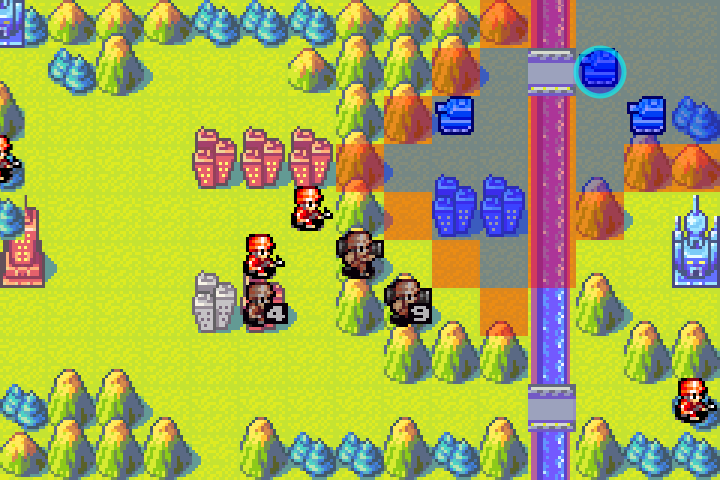
This tank can only attack the mountain two tiles above our mechs. So, if I move an infantry forward onto the mountain one tile north of our mechs, it can only be reached by the tank west of the river.
This means we’ll once again be able to engage only one tank at a time. And this is exactly why having space to maneuver matters!
Another detail I want to call out is I engaged with the southern mech first. Looking at the terrain, we’ll need to shift north to engage the next tank. The northern mech will remain on a mountain, while the southern mech will have to move onto the plains.
Remember how we said we want to attack with the higher-HP unit first to maximize our damage? If the northern mech attacked first today, it would be at 9 HP while the southern mech remained at 10 HP. However, when we move north to engage the next tank, the southern mech will be fighting from the plains, where it has less defense.
To maximize our terrain advantage, we therefore let the southern mech attack first. This allows the northern mech to remain at 10 HP and, more importantly, remain on the mountain when it engages the next tank.
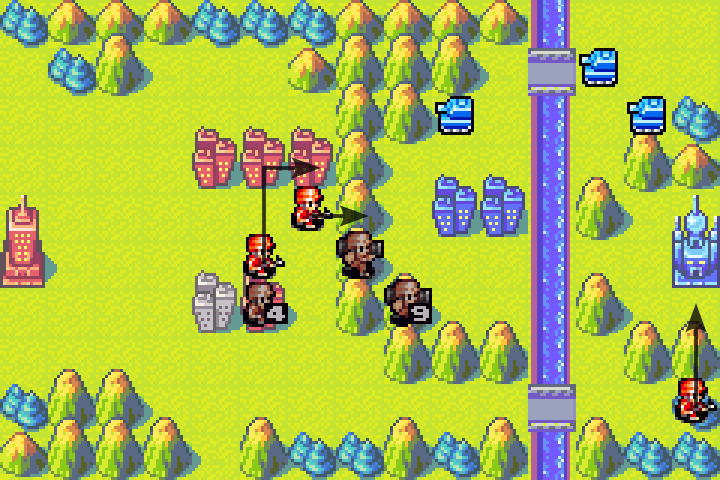
We expose one infantry unit to one tank and move up another infantry unit to get ready for the next trap tomorrow.
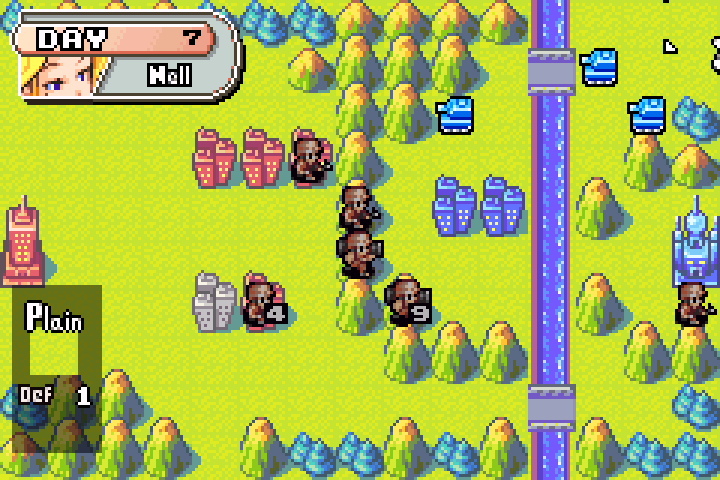
Second bait is set!
Enemy Day 7
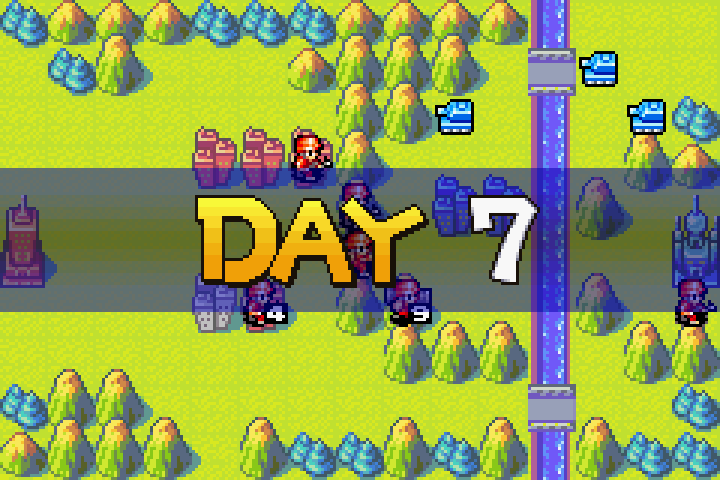
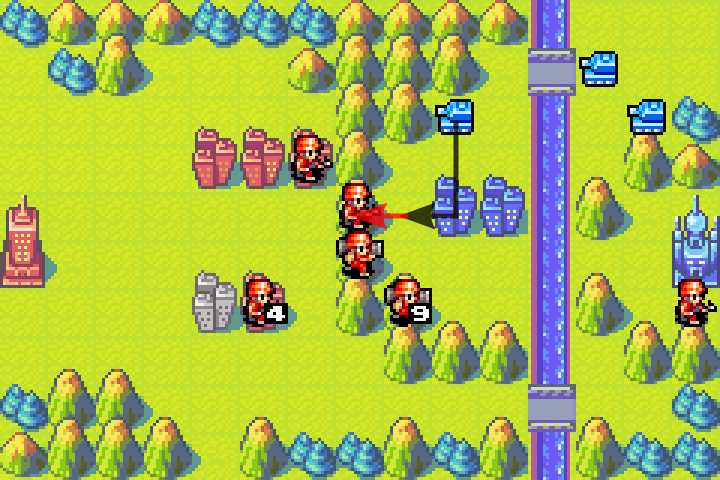
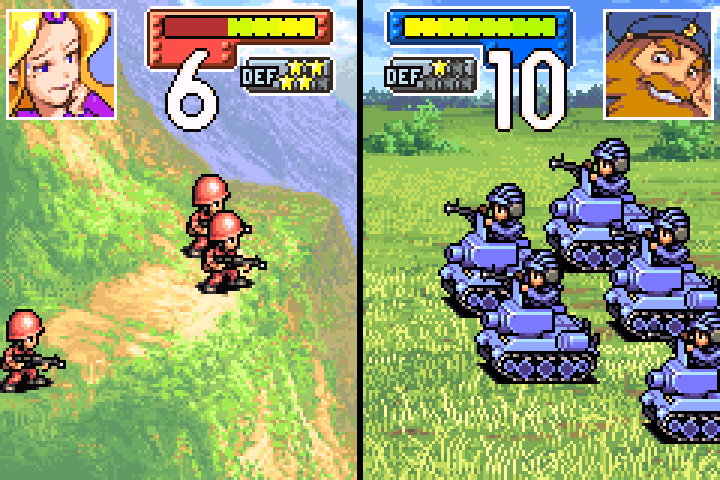
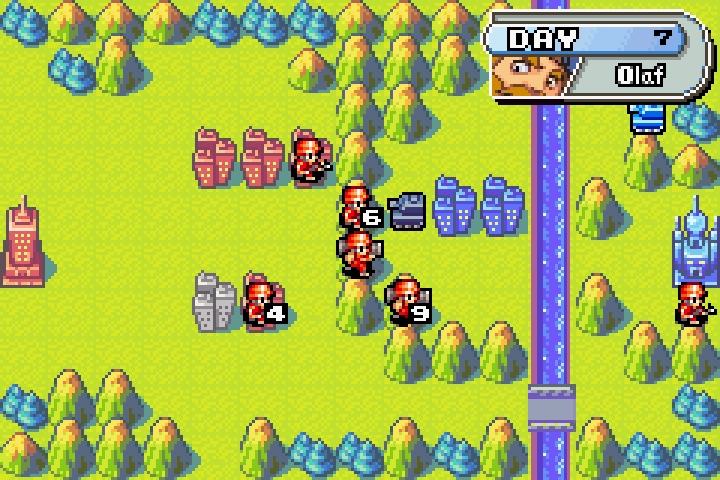
Olaf did exactly what we thought he would do, so we can safely carry out the operation and take out another one of his tanks!
Day 8
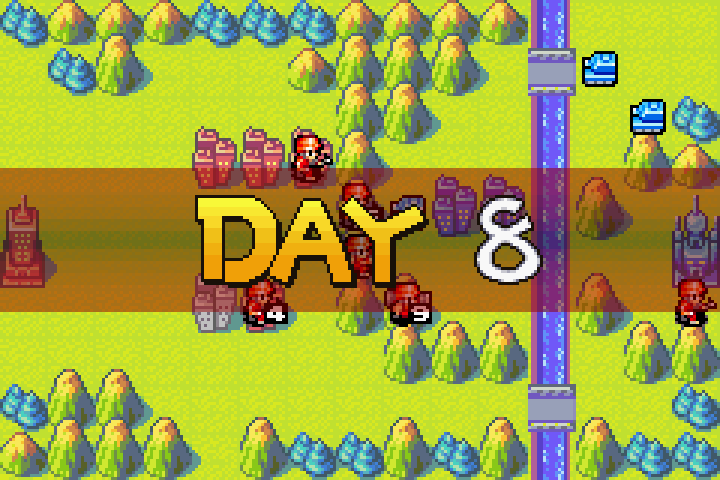
This is pretty much a repeat of yesterday. Let’s pull the infantry back and take out his tank!
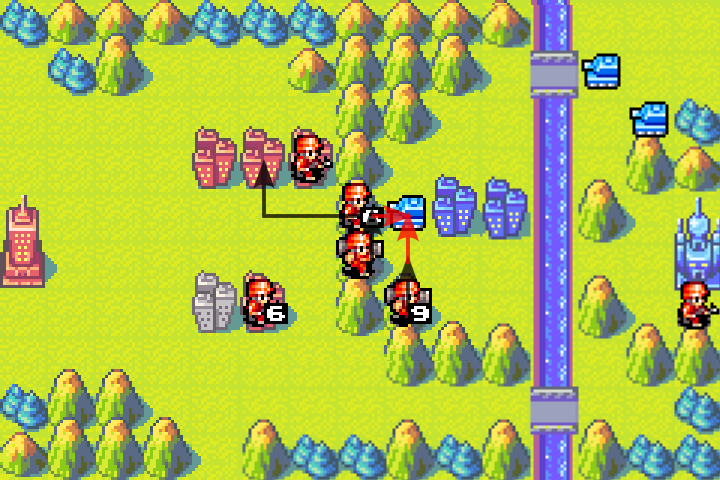
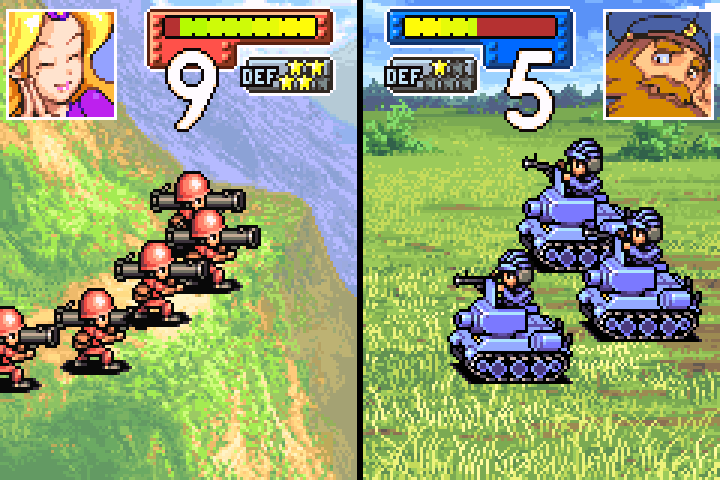
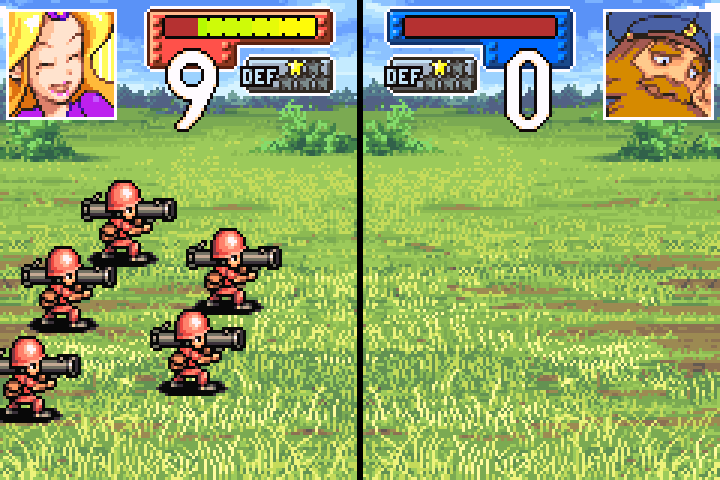
STRATEGY — DAY 8 PLANNING
We can just rinse and repeat and set up the same trap.
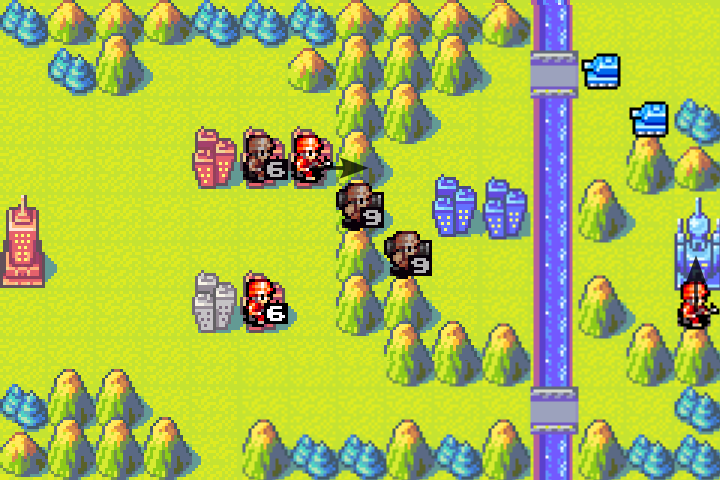
This is even safer since the tank by the bridge can only reach the infantry and the last tank can’t reach anything.
One other thing I want to call out is I’m not going to use the 6-HP infantry to capture the city just yet. If you remember, cities have 20 capture points, and the number of capture points an infantry can remove each day is equal to its current HP.
So, a 6-HP infantry would need 4 days to capture the city. However, if the infantry spends today recovering 2 HP on our own city, it will have 8 HP tomorrow. An 8-HP infantry can capture the city in 3 days, meaning we still capture the city in 4 days total, but end up with an 8-HP infantry instead of a 6-HP one.
In fact, we can take this a step further and wait another day to fully recover to 10 HP. A 10-HP infantry only needs 2 days to capture the city. Combined with the 2 days spent healing, we still capture the city in 4 days total.
So there’s really no reason to start capturing now. It’s better to take the time to heal up first and get a stronger infantry out of the deal.
Finally, the covert infantry squad can start capturing the enemy HQ, and Olaf can’t do anything about it.
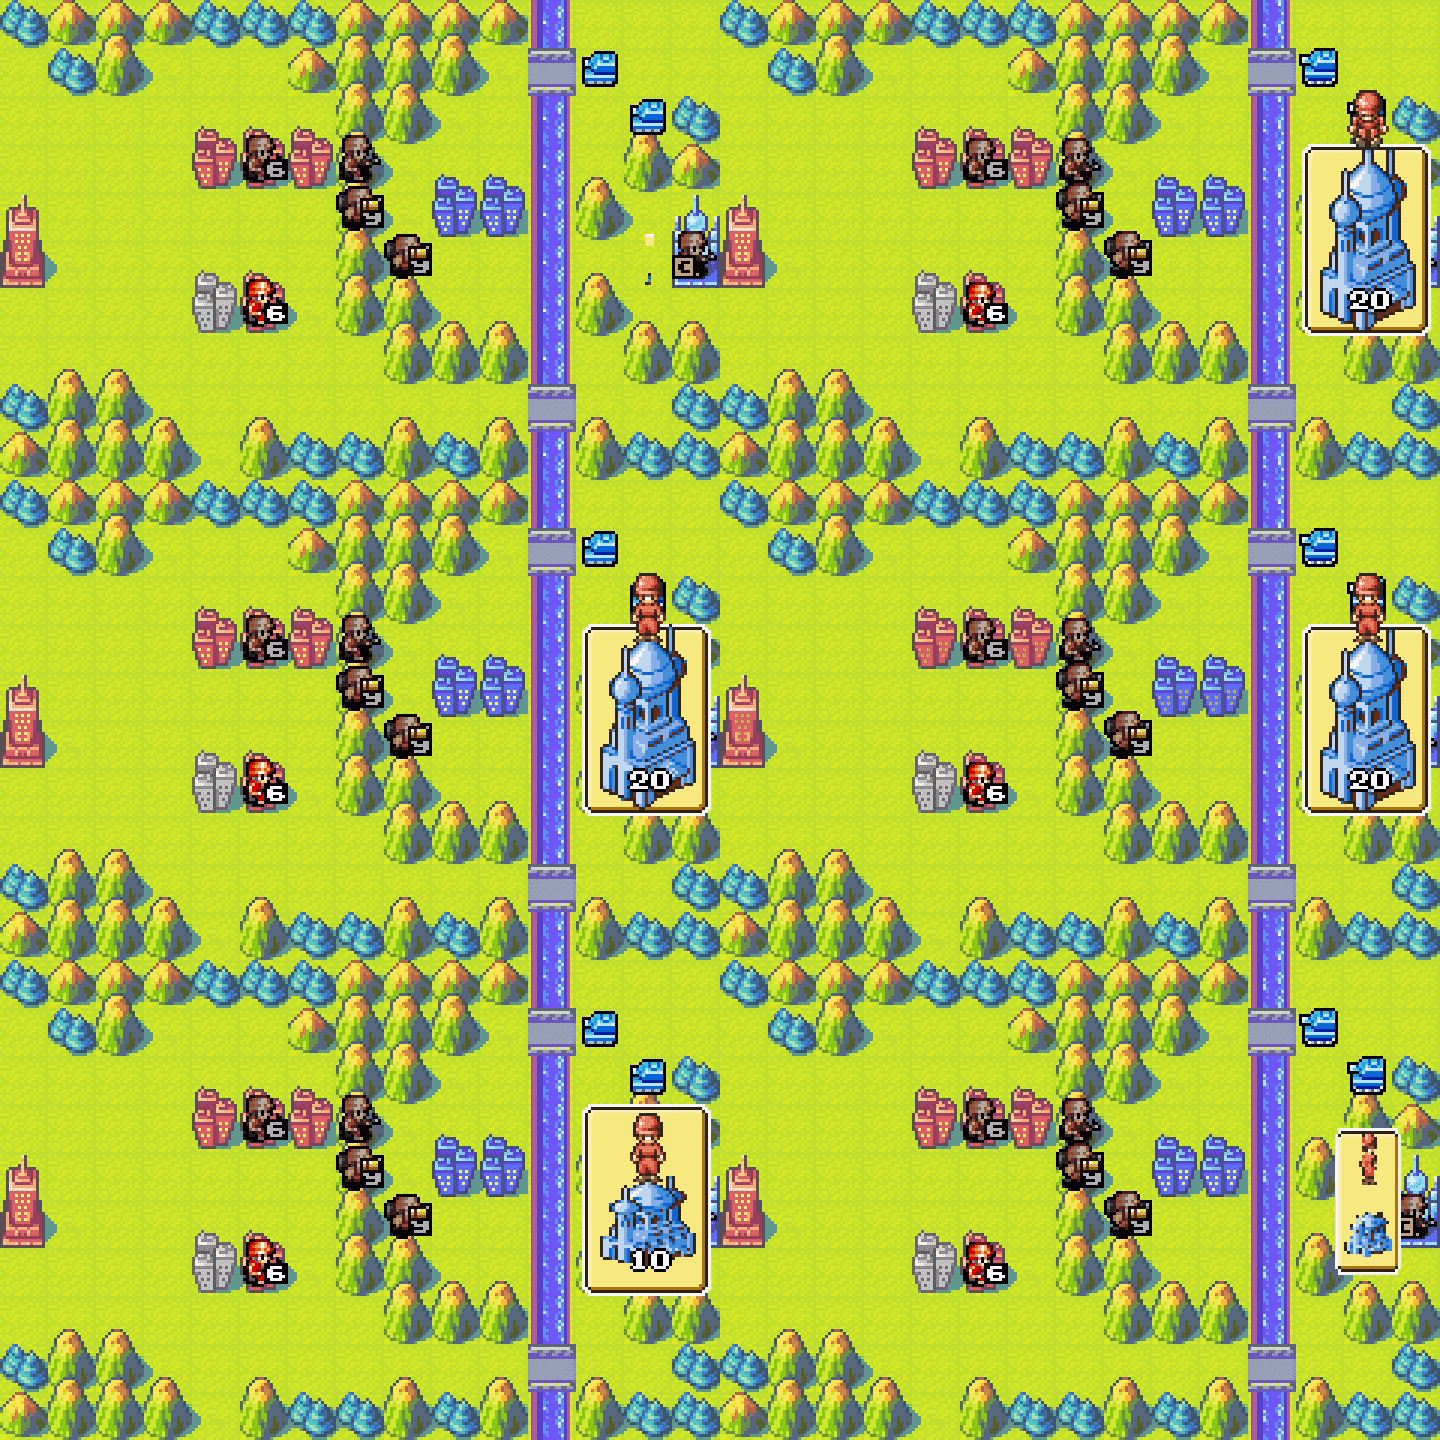
Each nation’s HQ has its own unique HQ sprite! You may also have noticed the flashing ammo icon on the mechs. Remember what I said about mechs having only three primary bazooka rounds? We’ve used two, so they have only one left, and that’s the low-ammo indicator!
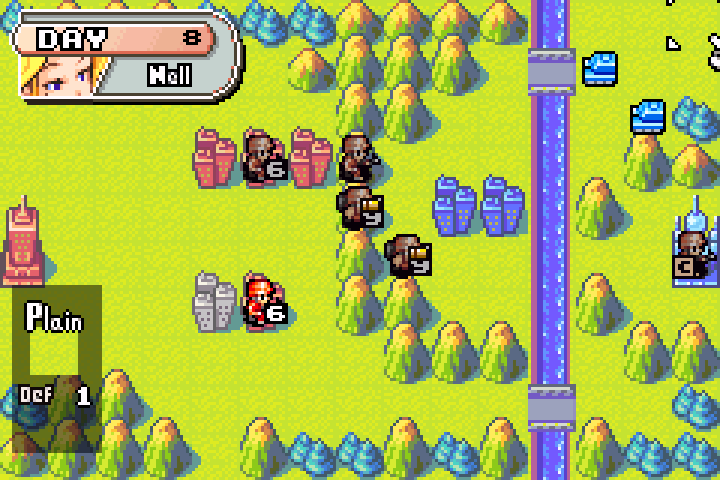
The final bait has been set!
Enemy Day 8
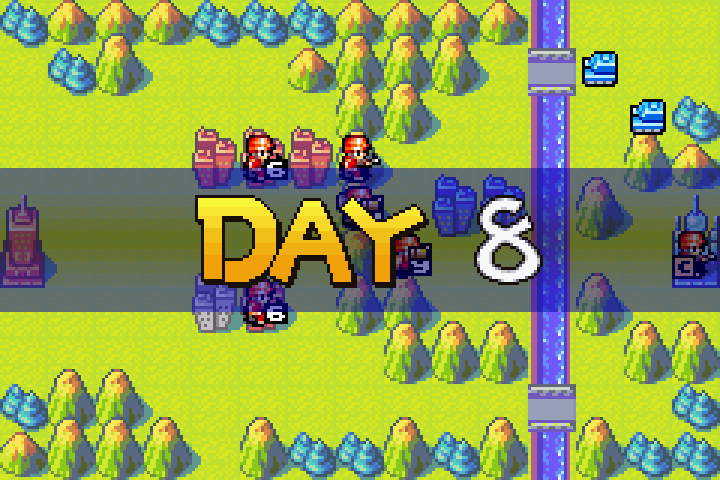
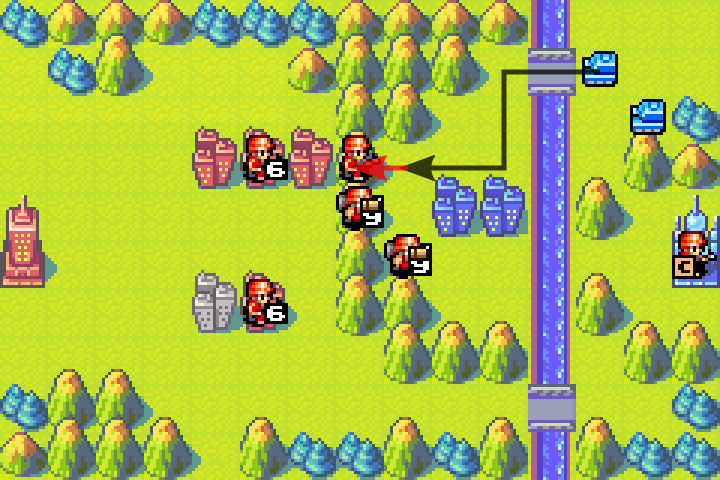
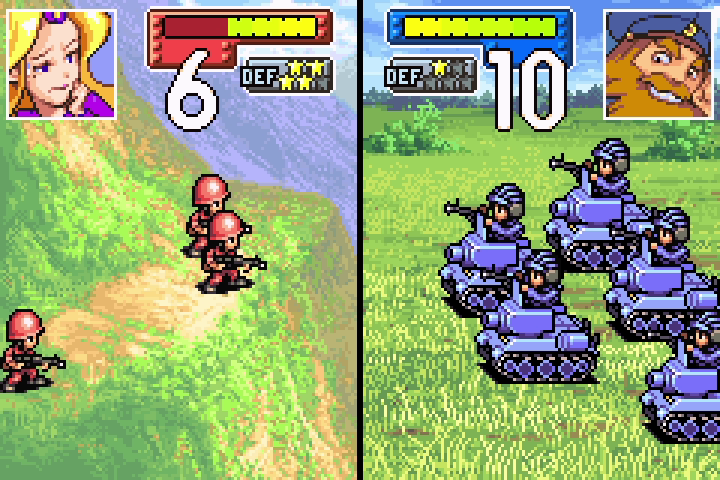
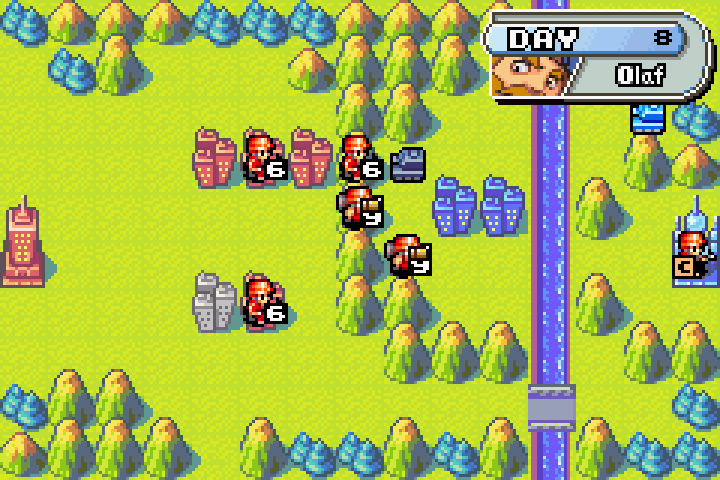
Same trap, same execution, three times. Shame on you, Olaf.
Day 9
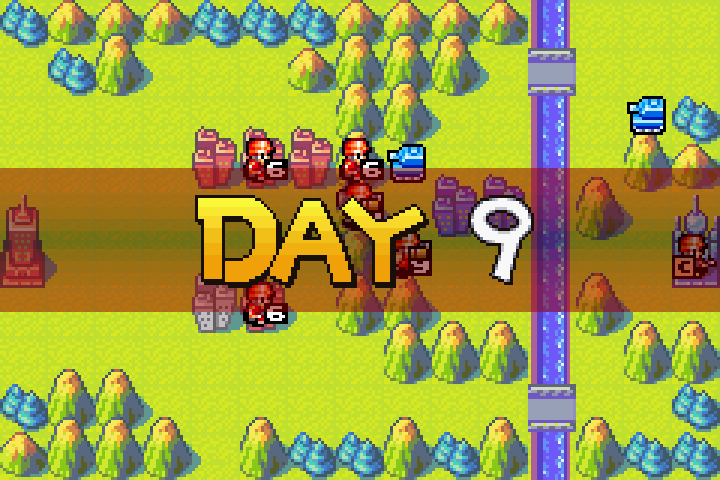
You know what to do.
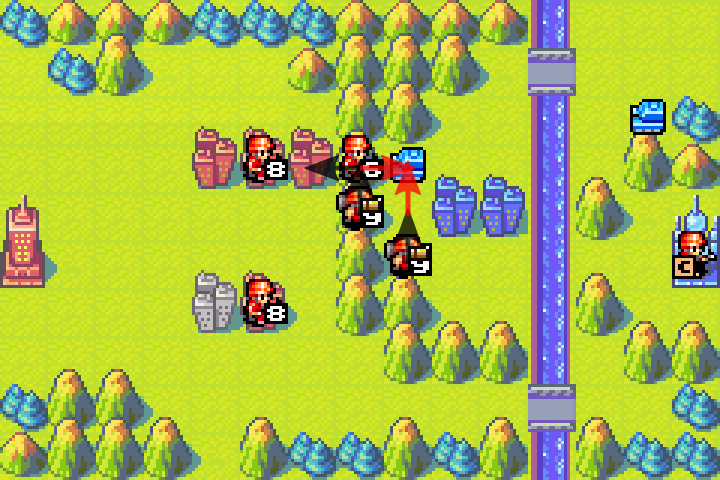
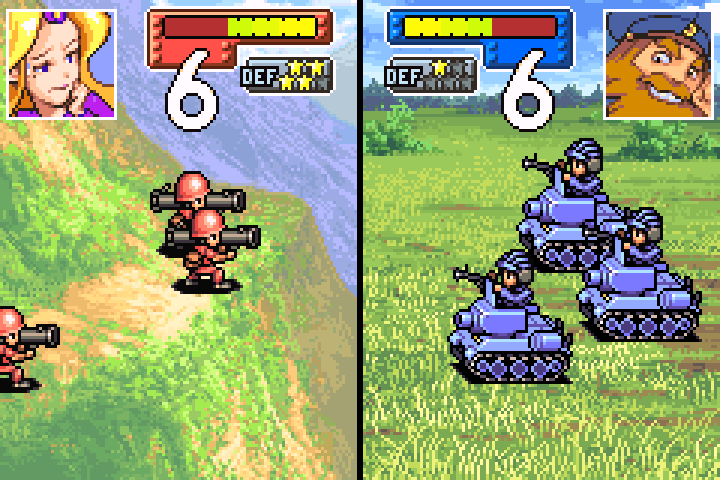
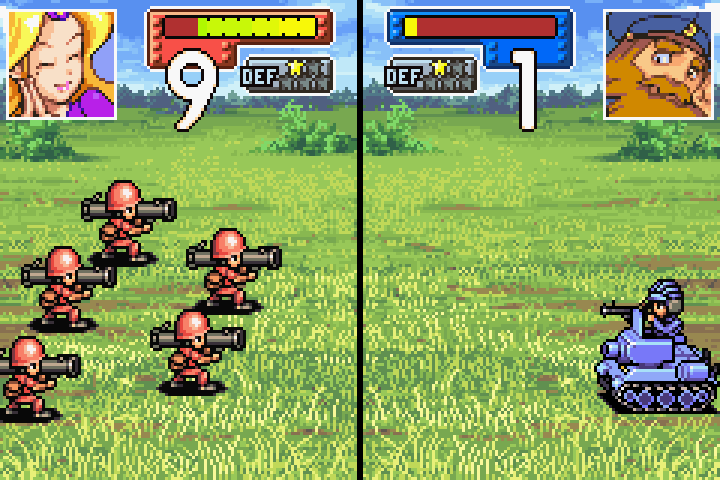
Unfortunately, because of the damaged mechs, we weren’t able to finish off the third tank. Come on, Nell. How could you let me down like this? You were supposed to be lucky!
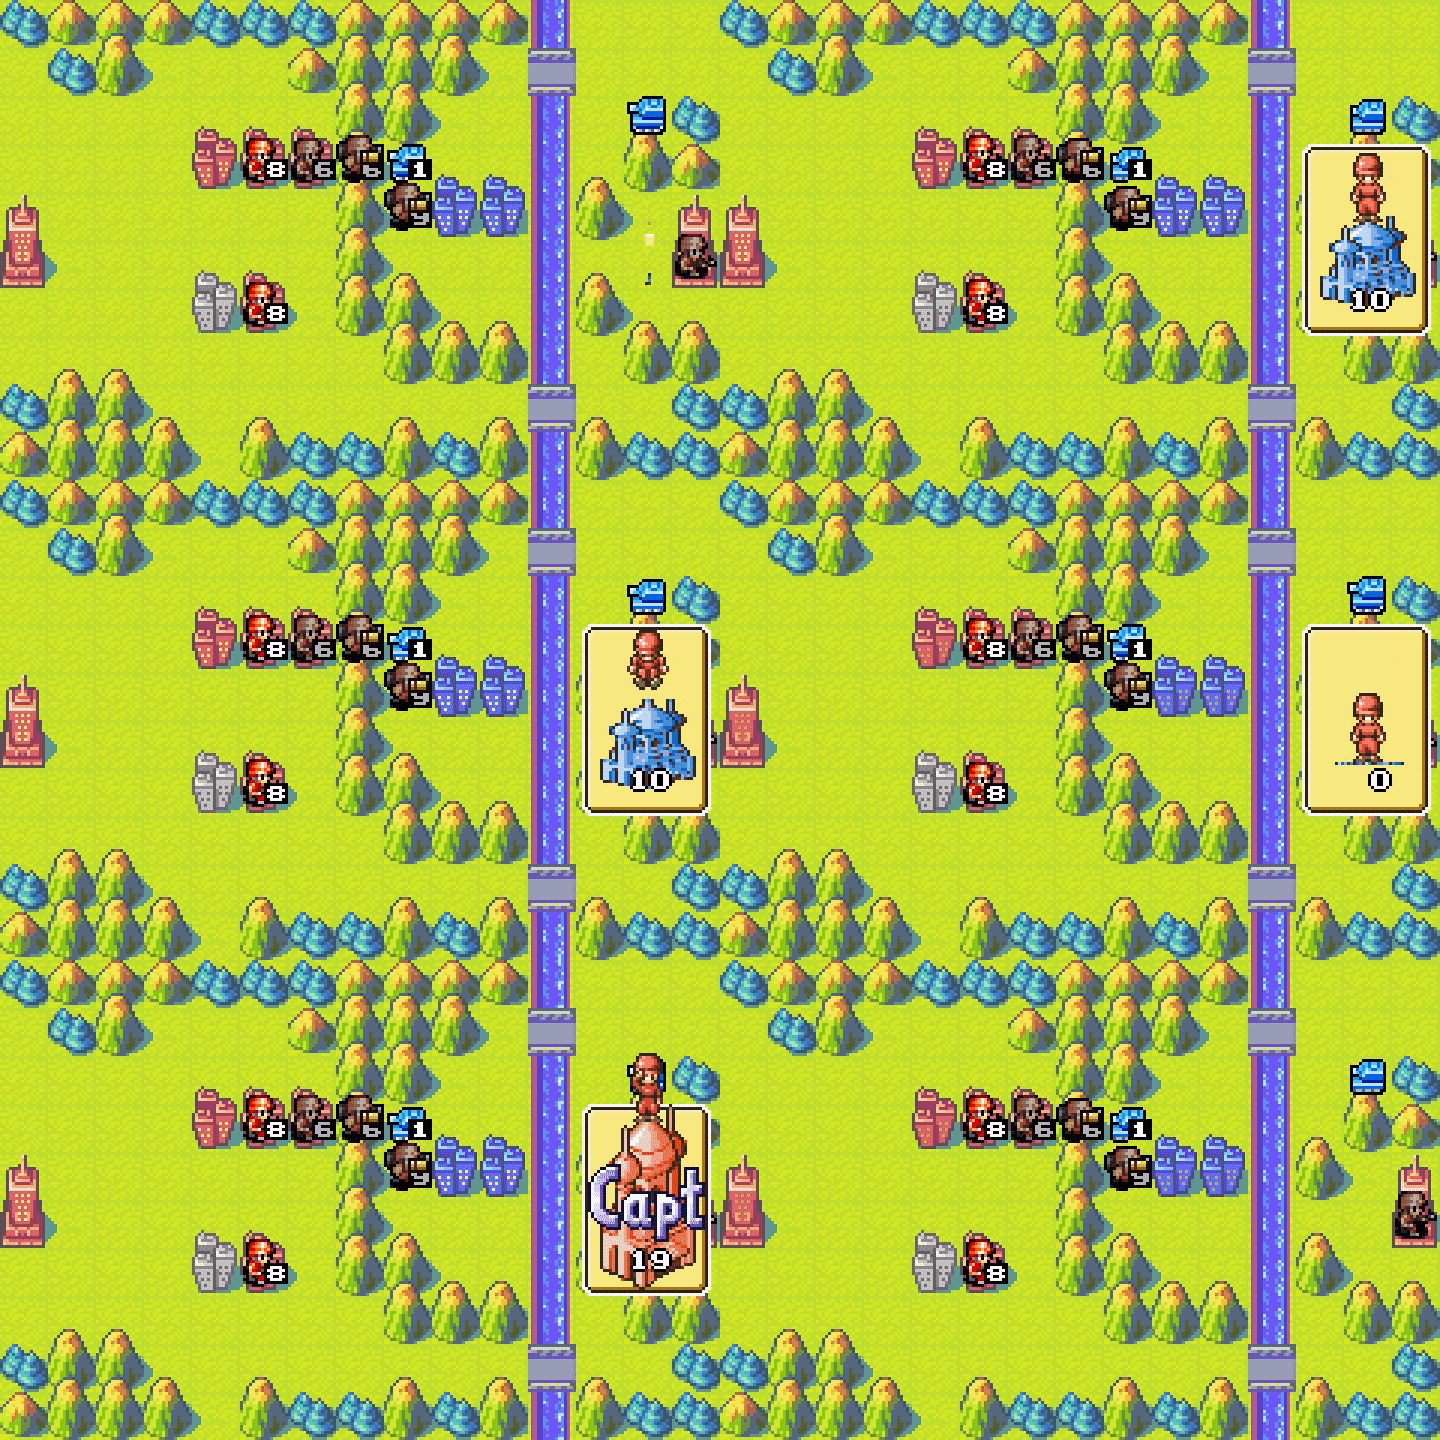
But that’s okay! We captured Olaf’s HQ, so the mission is complete. We even remodeled the enemy HQ!
Hey Nell! Been a while since we spoke!
You’ve reclaimed the area and forced Blue Moon to withdraw! There’s one more thing I have to tell you. You receive funds by capturing cities, right?
Did we? I wasn’t aware since there was no indicator.
Well, once you clear a map, you lose those funds. Sorry!
What!!? But I was going to invest it into my retirement plan.
Good luck on the next battle!
Hey! I wasn’t done yet… Where’s my money?
Unbelievable! We’ve been forced to withdraw? What’s going on? What were the tank units doing? Those useless fools!
The tanks didn’t really do much, to be honest. They just sat around until they took the bait, then got picked off by our mechs one by one.
I’ll take direct command next time. Grrr… I’ll show you! I’ll show you all!
Whoa! Things are about to get serious!
RESULTS

Not much to say, huh, Nell? Where’s my money! Grrr… Oh well.
By the way, if you took the time to resupply the mechs, you could eliminate all of Olaf’s tanks, but you wouldn’t get the maximum score.
Next time, we will look at just how serious Olaf can get when he takes command personally!
LOADING TRANSMISSIONS…