In the previous chapter, Olaf took personal command and almost routed our army — until we arrived and turned the tide, forcing him to retreat. Olaf did find out that our commanding officer is Nell, and he vowed to display his true might next time.

APCs have many uses, some intended and some not. How well you use them—or fail to use them—can be critical to mission success!
THE BRIEFING
Oh, so there’s someone above Nell’s rank. Who are they? Nobody knows.
I’m also happy to say that the enemy troops aren’t deployed ahead of us.
No… But they are deployed below us!

Look at this! An artillery unit has been assigned to your command! Used correctly, this unit’ll strength your battalion. No doubt about it.
What? We got a new unit before Olaf? Is that even allowed?

But, it sounds like it’s seen a lot of action on the front lines, and… Well, I guess we’ll get a look at it when we reach the battlefield.
Whew… that seems more normal. I thought I got kidnapped into an alternate universe for a second there.
Oh, and I’ve received one more bit of information. You’ve also been given an APC unit to use.
Another new unit before Olaf!? Maybe I did get kidnapped into an alternate universe… Wait, isn’t Nell sleeveless?
This one is fresh from the factory, so don’t worry about its condition. Ok! Let’s get moving!
Huh? Oh… okay. Let’s move out. Up until now, Olaf has always had a tech lead against us, and we’ve always been playing catch-up to match the units he deployed. This is the first time we’ve deployed a unit Olaf hasn’t used before, so no matter its condition, I’m happy with it! Bring it on!

Day 1
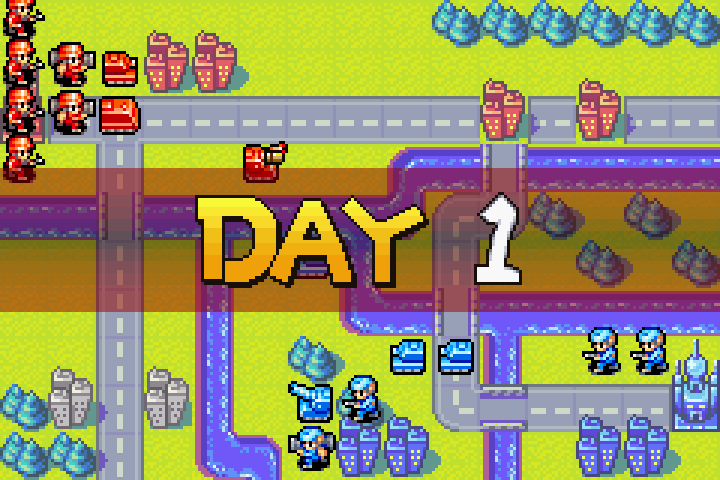


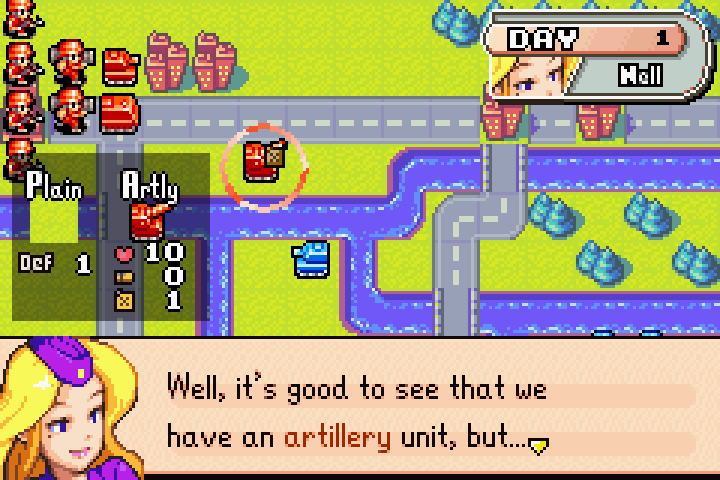
It’s out of ammo. And it’s almost out of fuel, too. It can’t Fire without ammo, and it can’t move without fuel. In this condition, it’s useless. But don’t worry. I think we’ll manage just fine.
Ah, that’s more like it. The hand-me-downs. This is the Orange Star I’m familiar with. Oh, by the way, when a unit is low on fuel, it flashes the gas can icon like in the image above. If it’s low on both ammo and fuel, it flashes both the gas can icon and the ammo icon.
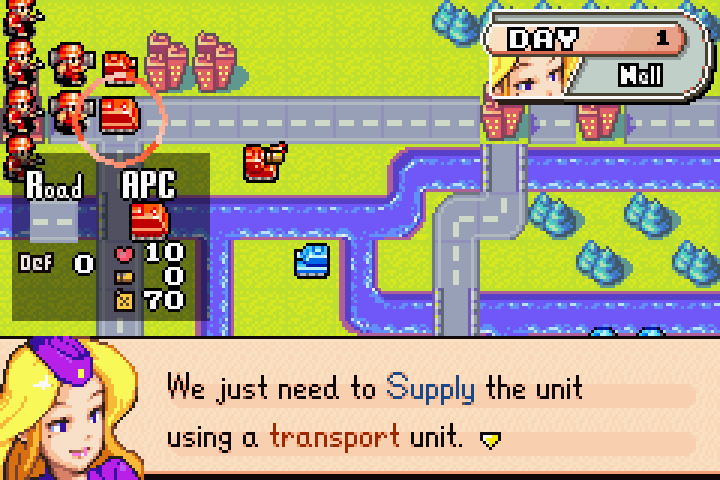
Remember the supply mechanic from cities that I mentioned before? It’s the same mechanic being used here. Also, Nell is misinformed. Not all transport units can supply other units. In fact, only the APC can supply.
When you Supply a unit, you fill its ammo and fuel to the maximum level. For intel on a specific unit, select the unit and press the R Button.
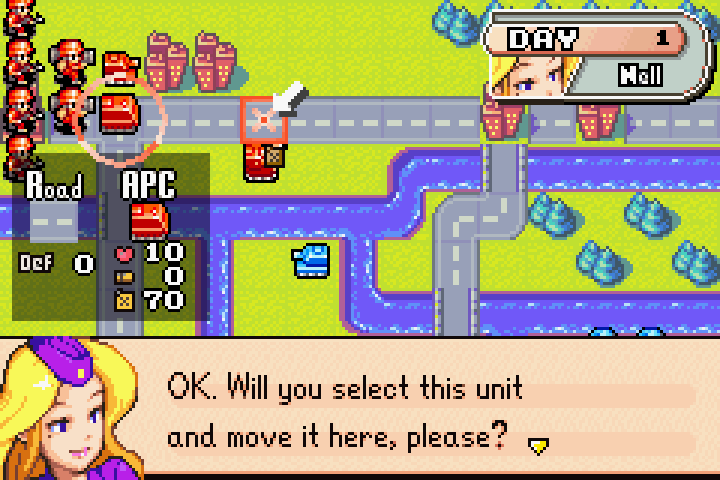
Consider it done!
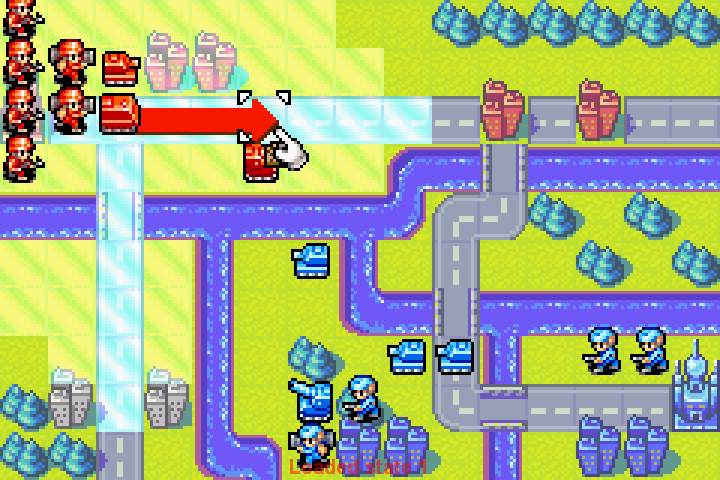
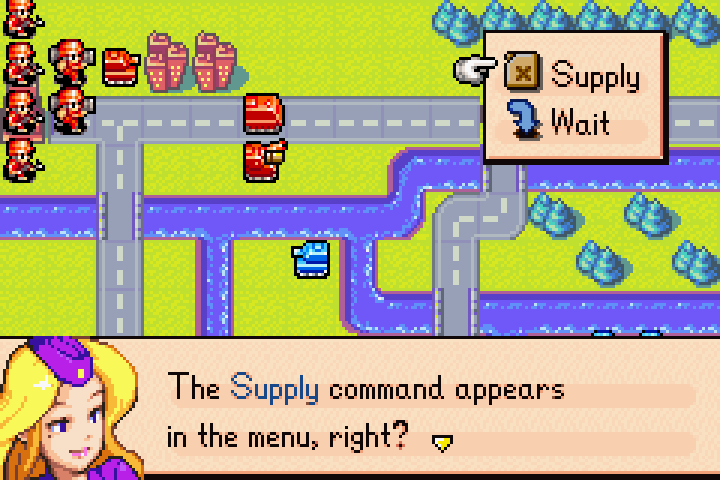
Select that command, please.
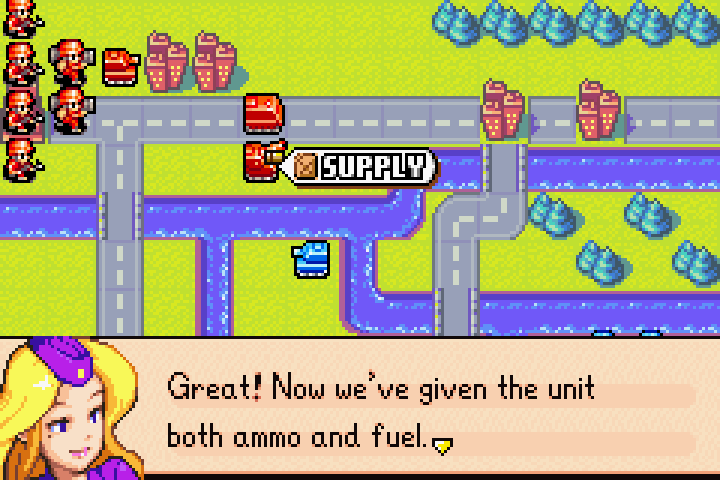
See, it even has the same “supply” popup cities have!
This is how transport units supply allied units in adjacent spaces.
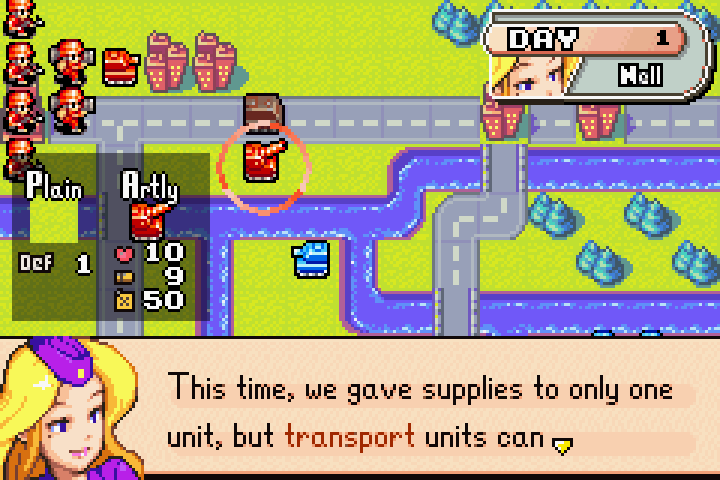
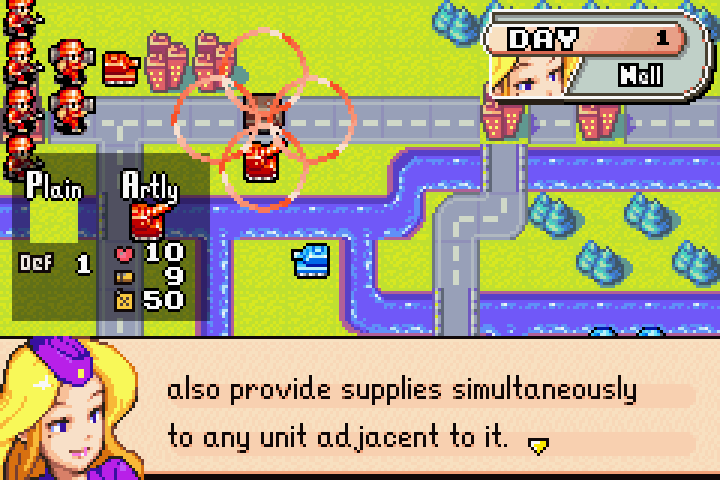
Oh, yes. You can also Supply units by placing them in allied bases. And, as I explained before, in addition to supplies, bases also provide HP. So, use bases when you can. But when you can’t, use transport units.
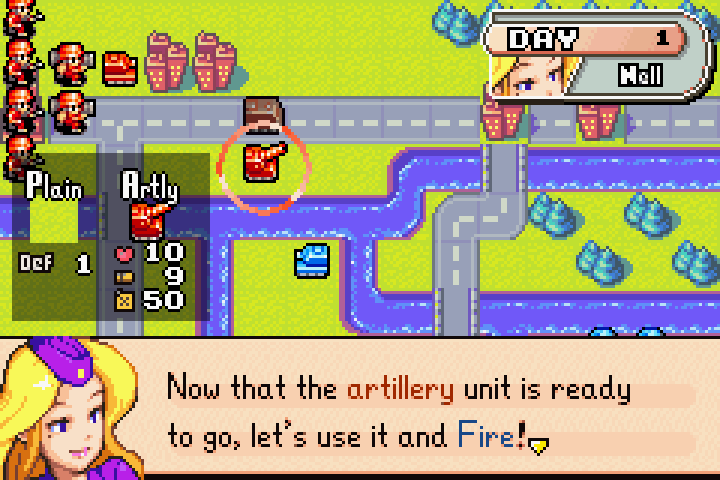
Would you select it, please?
You might be confused right now because there’s nothing next to the artillery unit, but Nell is telling you to fire. How is that possible?
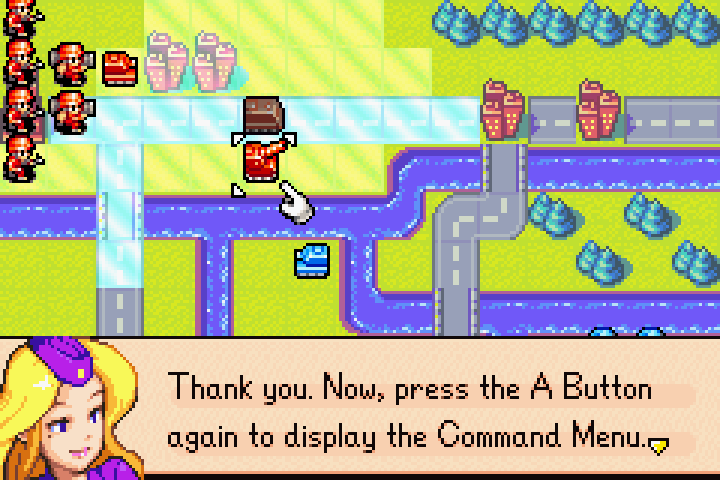
Artillery can’t move next to any enemy either!
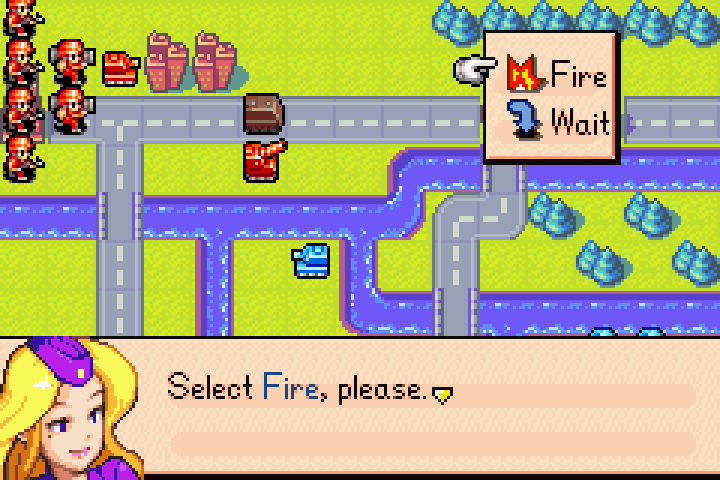
But it indeed does have a “Fire” command! Witchcraft!
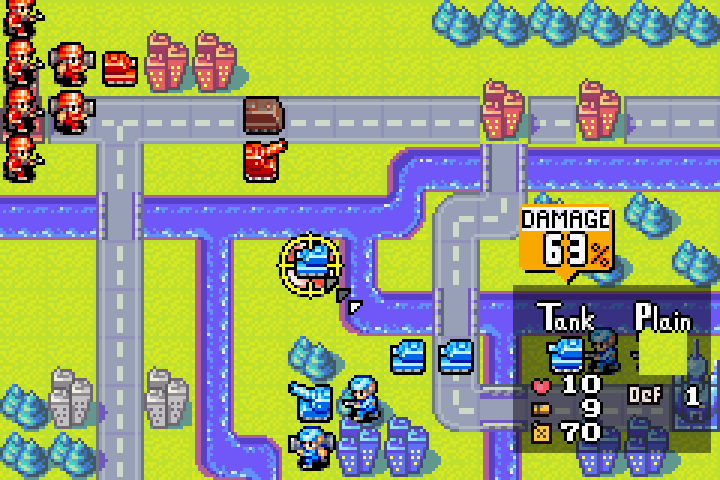
And it’s targeting the tank on the other side of the river!

That’s pretty strong! What’s more important is that the enemy tank couldn’t hit back!
This is why we have artillery units: Indirect Fire! Indirect Fire is the term used for a long-distance attack on the enemy. This technique allows units to Fire without fear of counterfire. Now that that’s clear, go ahead and deploy the rest of your troops.
There are other indirect units in the game. Artillery is the cheapest and weakest of them, but it’s arguably the best indirect unit precisely because it’s so cheap and efficient at what it does. So, let’s take a look at its Intel!
INTEL — ARTILLERY
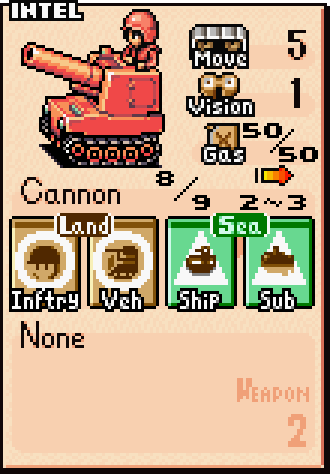 Artillery costs less than Tanks at 6,000G, but packs more punch than a Tank. They also have an attack range of 2–3 tiles, making them exceptionally strong at holding choke points.
So why build Tanks when you can build Artillery? Three reasons.
First, Tanks have much higher mobility, allowing them to maneuver into position and set up the attacker’s advantage.
Second, Artillery cannot move and attack on the same day. If they move today, they can’t attack, and vice versa. So while they can hit targets 2–3 tiles away without taking retaliation, their effective range is also only 2–3 tiles. Tanks, on the other hand, can move and attack on the same day. While they can only attack adjacent targets, their effective range is up to 7 tiles when you include their 6-tile movement.
Finally, Artillery cannot counterattack whatsoever, so it is generally safe to attack an Artillery with a unit that can reach it.
Overall, Artillery packs the best damage per dollar spent, and it’s incredibly strong on Fog of War maps, where the enemy can’t easily locate it. They provide tremendous firepower, but require proper setup and protection.
Use them well, and they’ll bring devastating firepower to the battlefield. Use them poorly, and they’ll be sitting ducks that leave you wondering why you didn’t just buy a Tank instead.
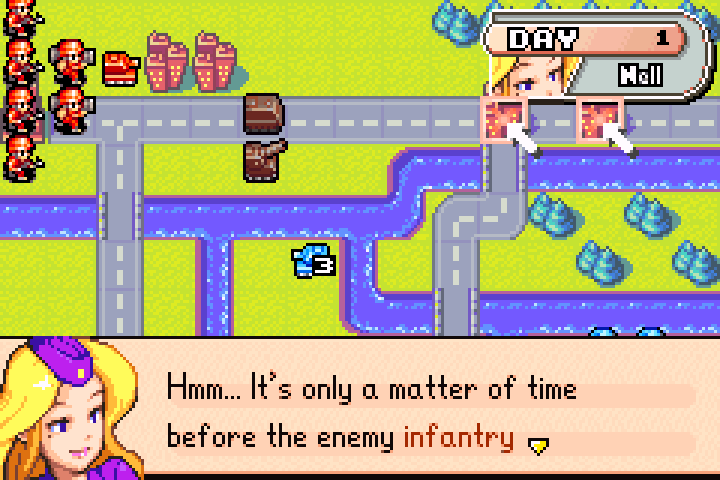
attacks these allied bases. Let’s see what we can do to protect them.
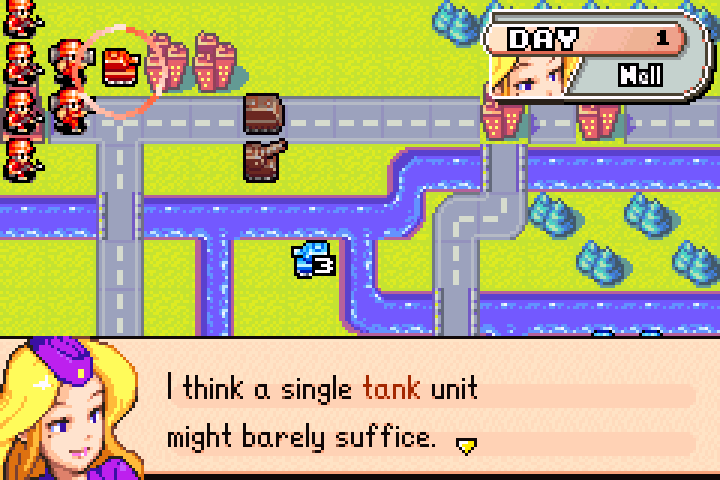
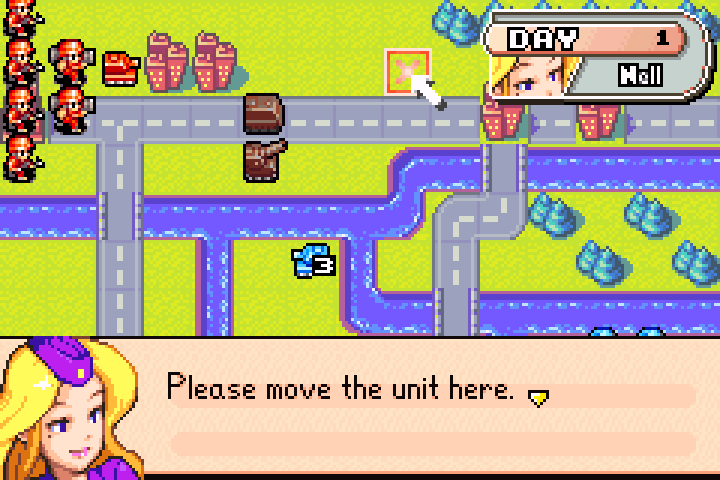
Okay, Nell. But just so you know, infantry can cross the river and capture our city! With only one tank, we can only keep the city by the bridge safe—we can’t protect both. We probably need a mech up there too.
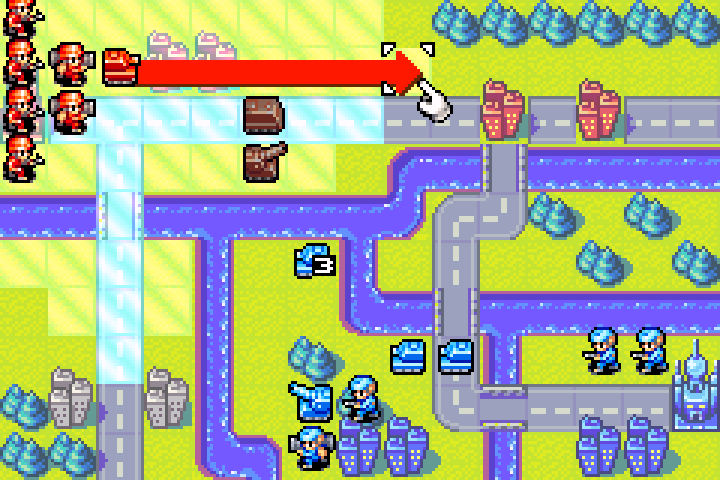
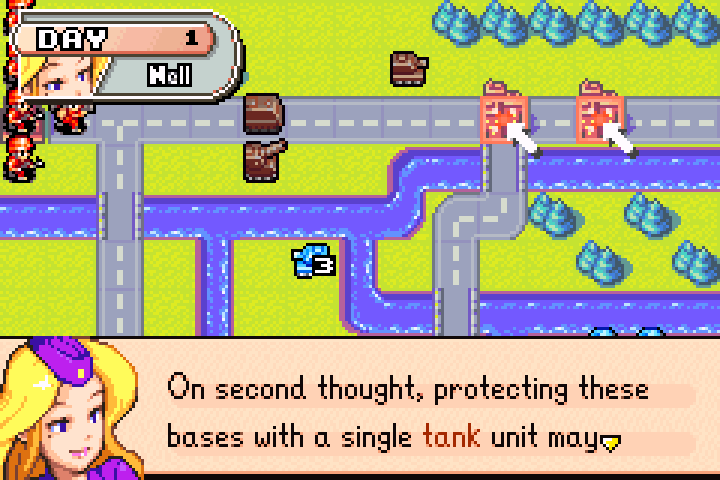
be a little tough. The enemy also has tank units nearby, and… I think it would be wise to move a mech unit up as close as possible.
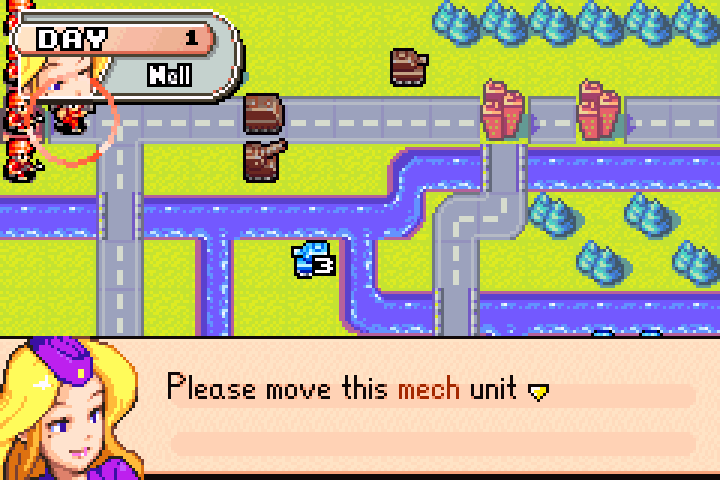
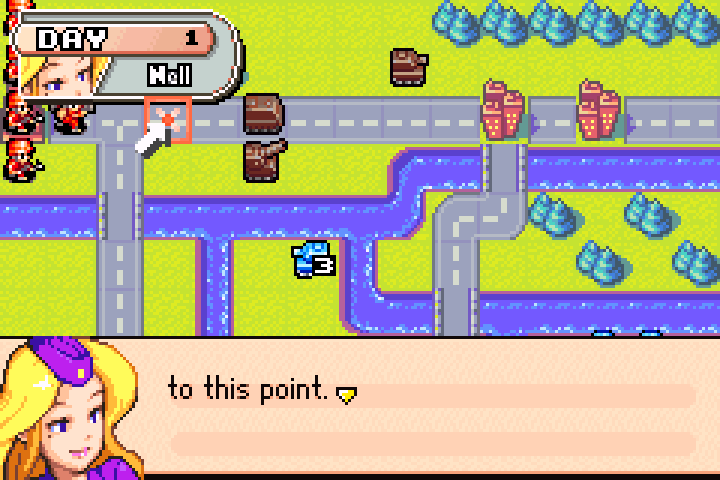
What? You actually listened to my advice? That’s new… something definitely isn’t right! Regardless, I’m glad you agree with me, but mechs alone are going to need quite a long time to reach the cities. Can we get there in time?
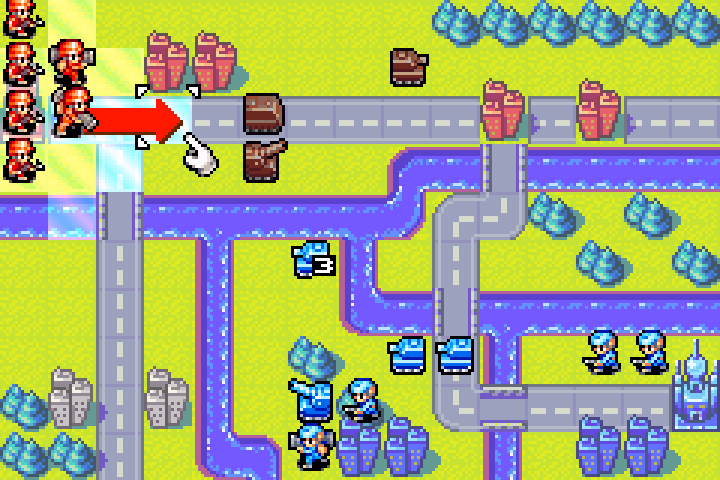
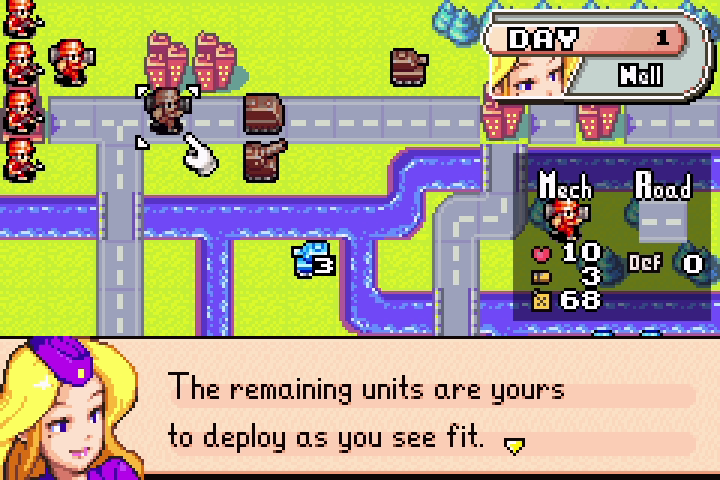
Would you like some strategic advice?
But it’s only Day 1! Whoa! Who are you, and what did you do to Nell?
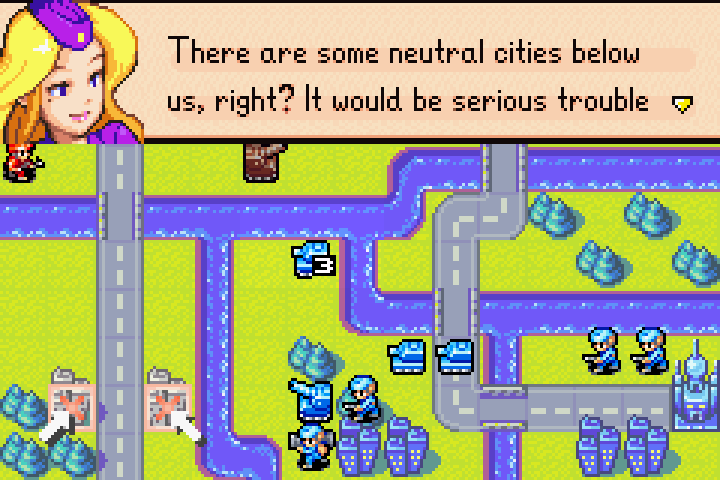
if they were captured, so let’s send these infantry units down there. I think we can Capture the cities and engage the enemy at the same time.
Hey, I didn’t ask for advice yet! And I disagree with them being important! Especially since the right city is within range of Olaf’s artillery! Are you asking me to send my infantry to their death? Are you Olaf’s spy?
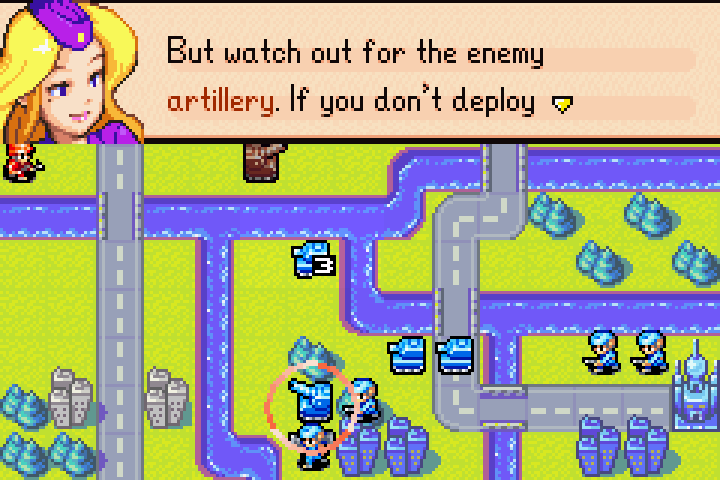
your troops carefully, the enemy will attack them.
Oh, I almost forgot. Wouldn’t you like to know how far your units can Fire? Do you remember how we checked an enemy unit’s attack range? Check your own troops’ attack range the same way. Place the cursor on a unit, then press and hold down the B Button. The area displayed in red indicates the unit’s attack range. OK. When you’ve finished deploying all of your units, select End.
Sus! I’m keeping my eyes on you, “Nell.” Anyway…
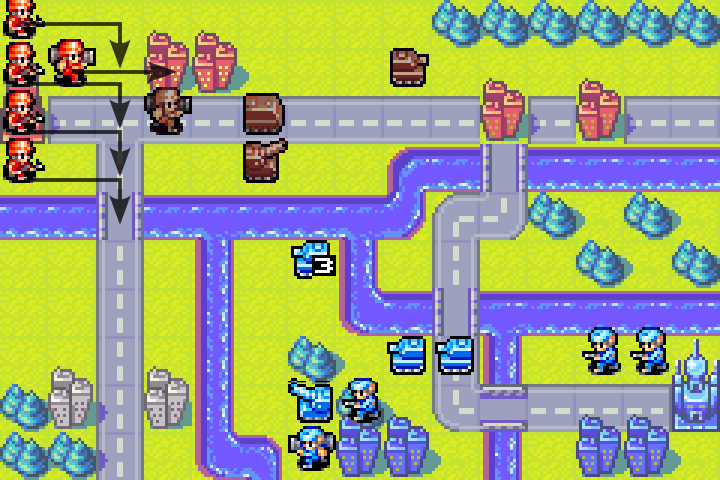
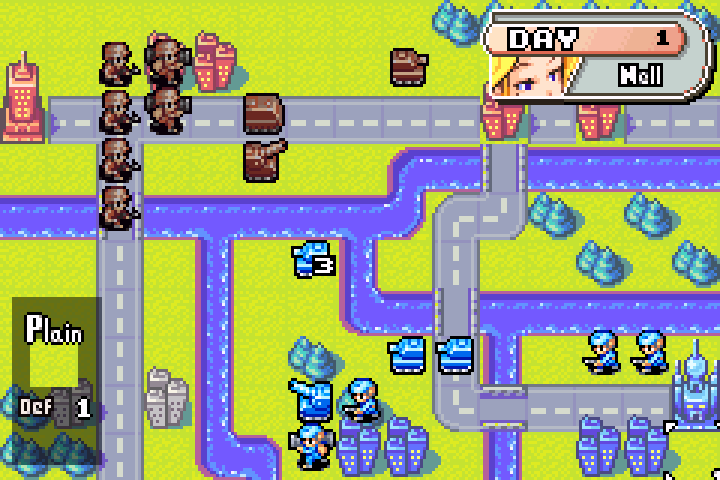
We’re just going to move all the infantry units south slightly. Unlike what “Nell” claimed, we don’t need those cities, but if Olaf’s infantry and mech cross the river, we’ll need to send infantry south to intercept them. The mech can keep going east to help fight the tanks.
Enemy Day 1
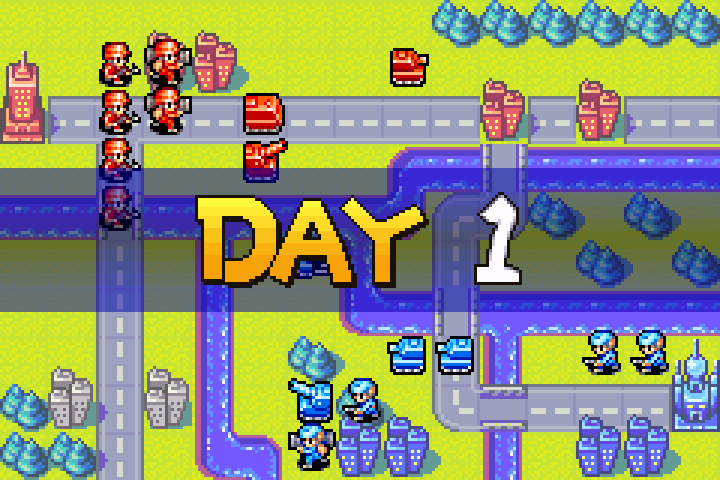
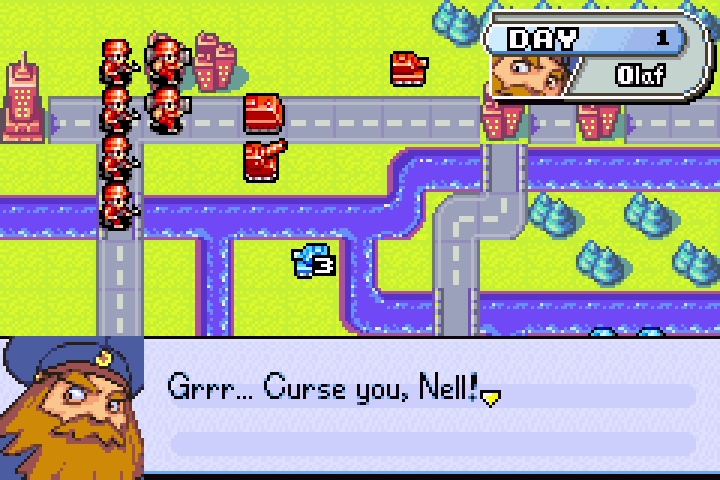
Looks like you’re bound and determined to get in my way! I’ll have my troops swat you like a fly!
To be honest, you don’t sound that scary given our past engagement.
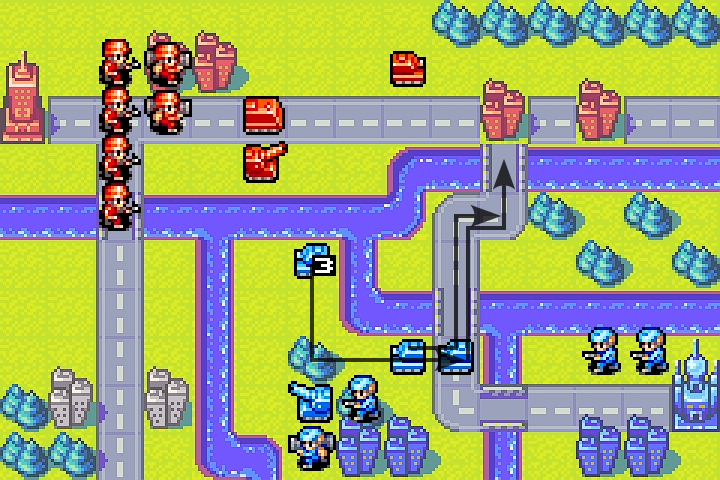
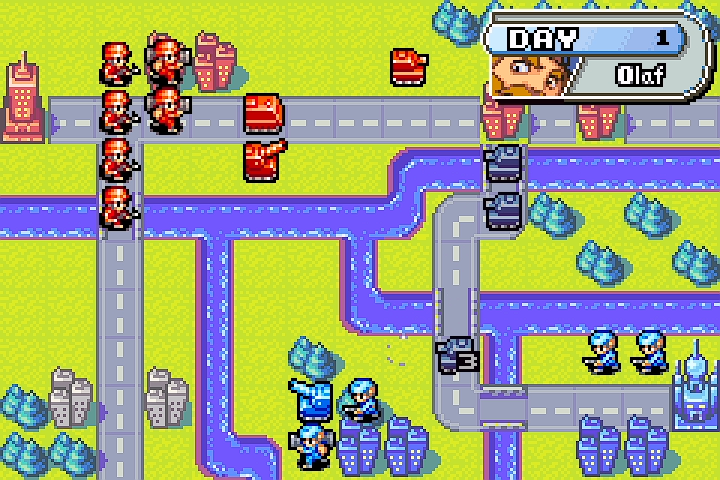
Olaf is sending all his tanks north. I dunno why that tank only moved 5 tiles instead of 6 to end on the city. But because of this, we can block all of his tanks by the bridge.
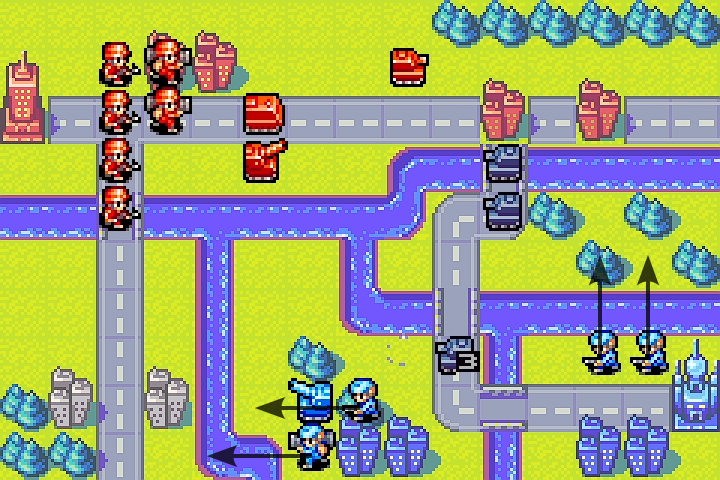
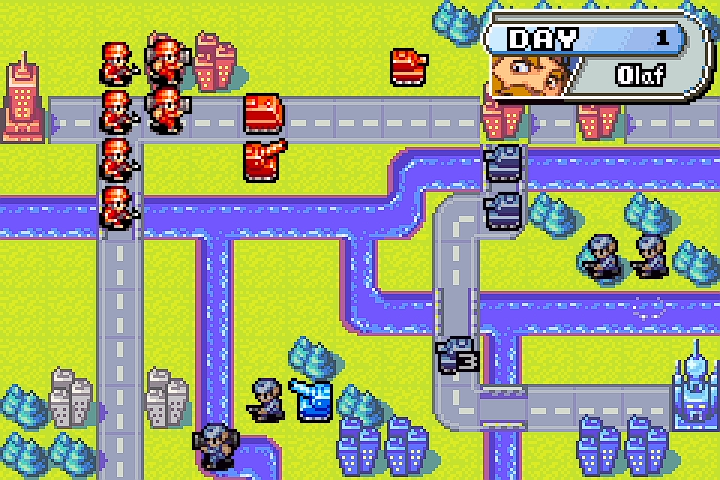
Olaf also moved his mech and one infantry toward the neutral cities, and the other two infantry north. Nothing out of the ordinary. But I guess this means we’re going to commit a couple of infantry south.
Day 2
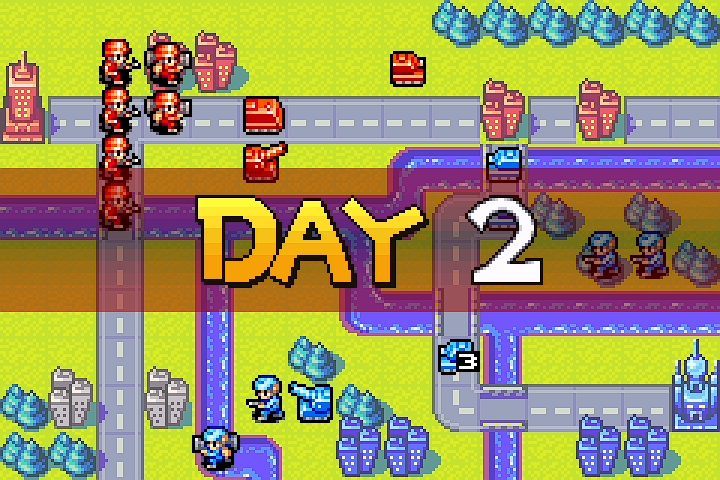
It’s your turn. This doesn’t look good. Enemy units are closing in, and our mech unit won’t arrive in time to help. But don’t panic! There’s a way for us to help that mech unit move a bit faster and farther.
To be honest, I think the situation looks alright. But moving the mech unit there faster wouldn’t hurt!
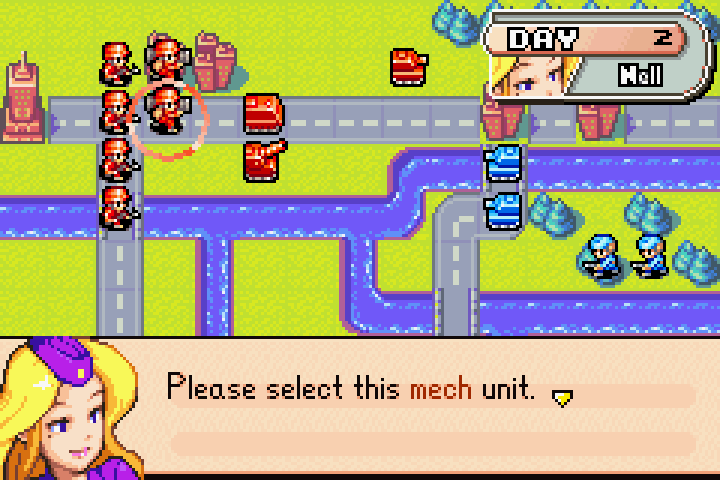
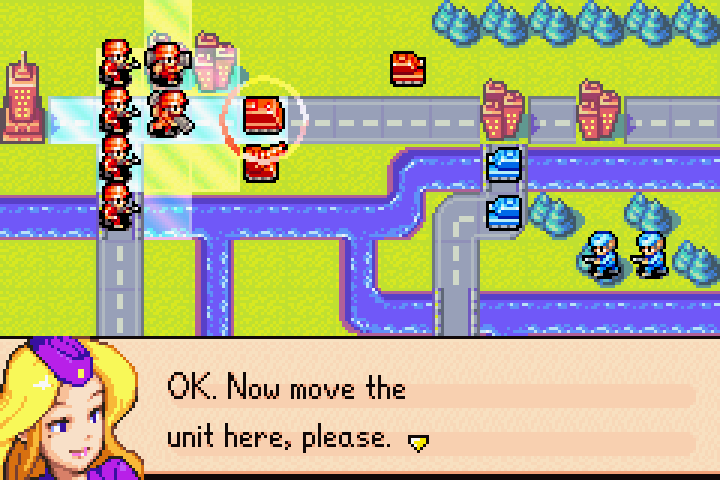
Two units on the same tile again? Last time they were at least the same unit type. This time, it’s two completely different units!
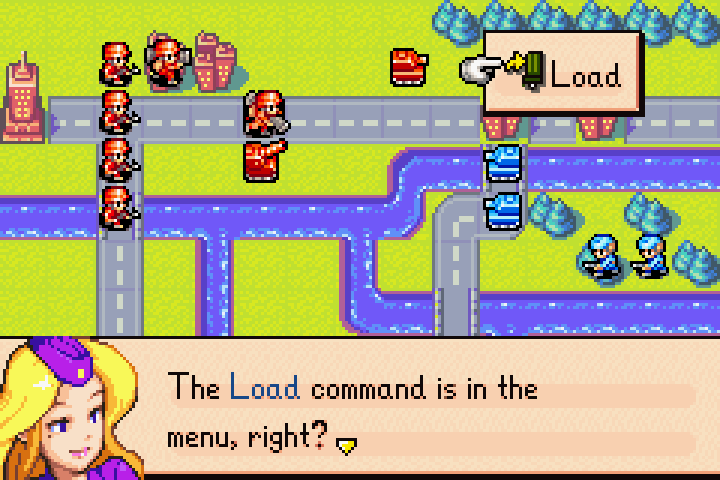
Please select that command.
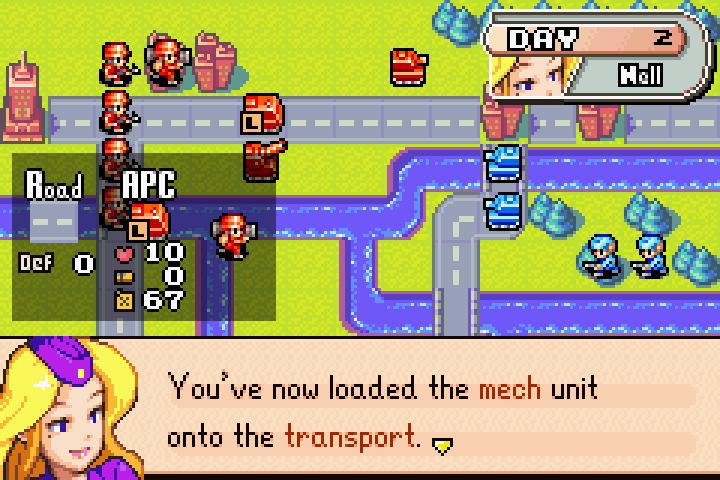
Fancy!
Transport units can carry both mech and infantry units. This effectively increases the movement range for these units. You won’t go wrong using transport units to carry troops.
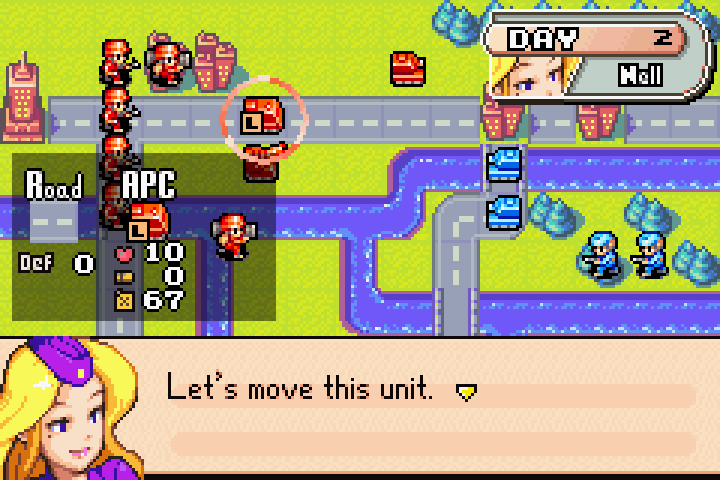
Would you select it, please?
Okay!
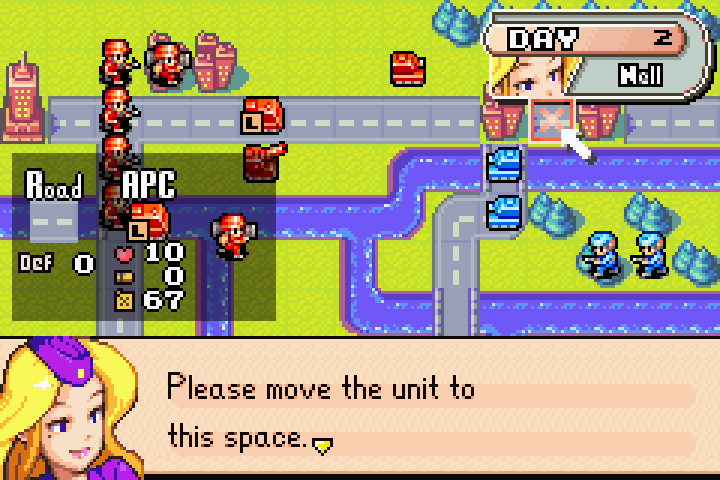
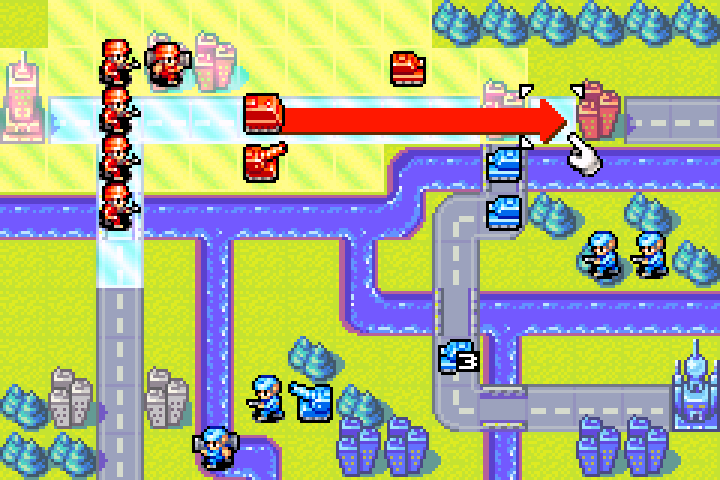
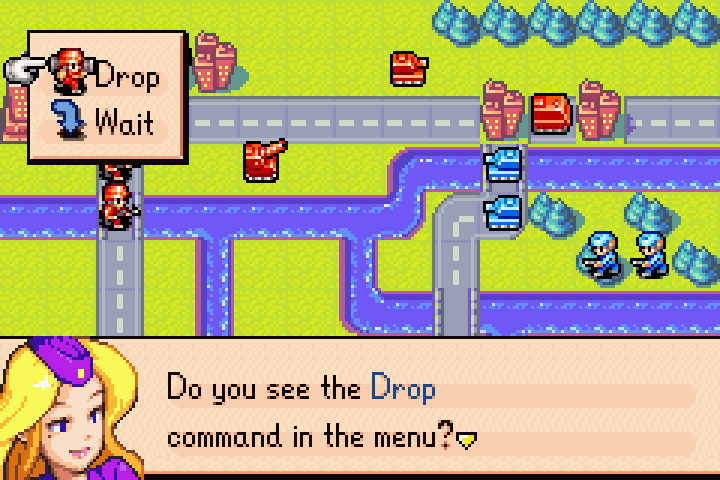
Please select this command.

This time, please unload here. Use the + Control Pad to select the drop point.
You’re asking me to put my mech in range of enemy infantry! But that’s okay. My mech will be on a 3-star city where it can be resupplied and healed, while Olaf’s infantry can only attack from a river, so I should win the trade.
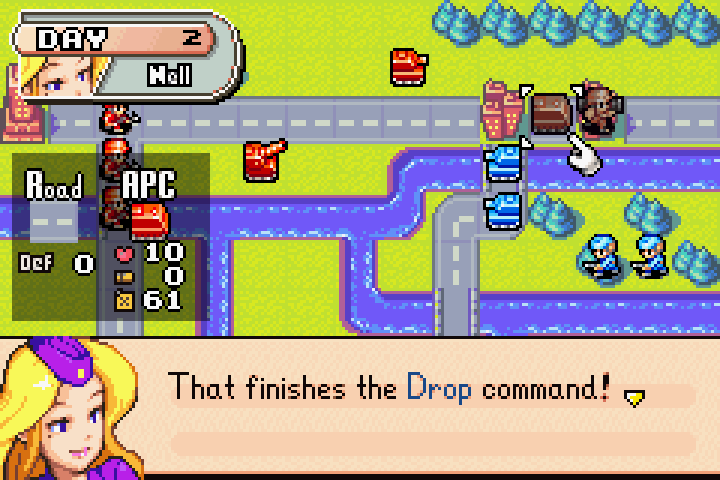
Unloading ends the turn for both the transport and the unloaded unit. This is a much faster way to reach distant objectives, right? So, transport units can Supply all units as well as carry infantry and mech units. But there is one thing you need to remember. Transport units carry no weapons, which means they cannot Fire. For more intel on transport units, place the cursor on one and press the R Button. From this point on, the army is yours to command. Would you like any strategic advice?
Sure, “Nell,” but before that, let’s talk more about APCs.
INTEL — APC
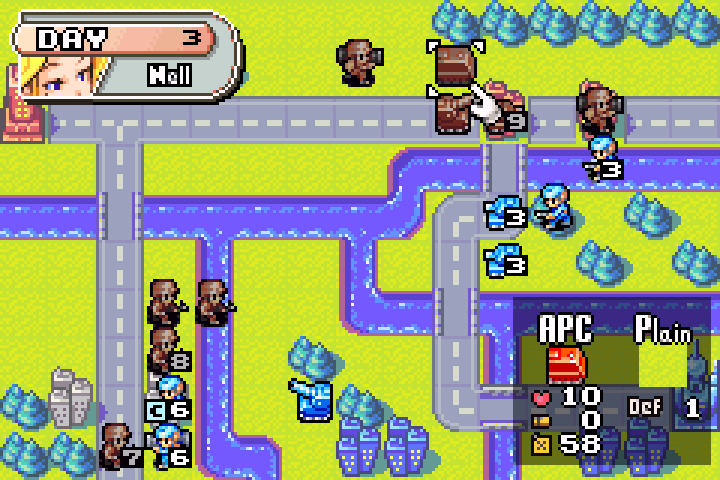
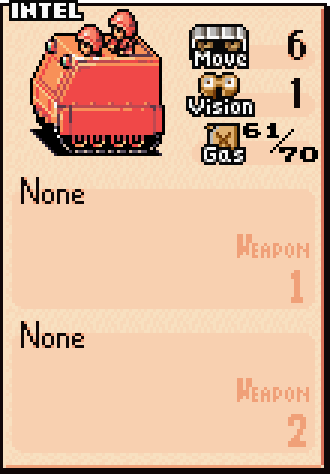 The Armored Personnel Carrier, or APC, is a 5,000G unit used to transport infantry and mechs. If you were paying attention, you’ll have noticed that we can load and unload on the same day, which effectively brings an infantry’s movement range to 9 and a mech’s to 8. Too bad it also means that infantry or mech can’t attack that day—otherwise this would almost certainly be the meta strategy.
They also carry ammo, fuel, and rations to resupply the army, which is what Nell already taught us.
However, they serve a third purpose in this game. For some reason, APCs and other transport units are extremely high-priority targets for the AI, so unless you have an infantry or mech capturing its HQ, the AI will prefer to attack an APC instead. You can use this to your advantage to advance safely or to bait out enemy units.
Anyways, let’s see what kind of strategic advice “Nell” has for us.
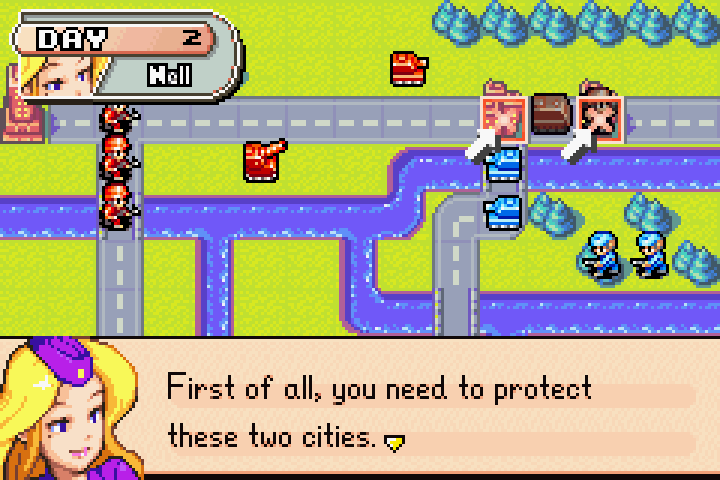
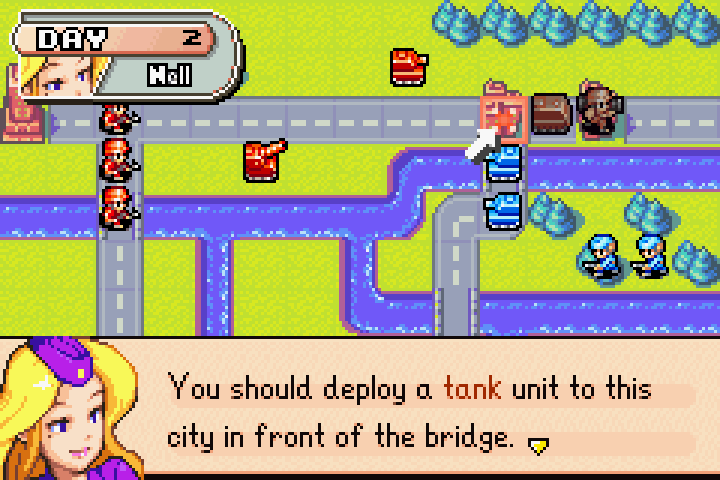
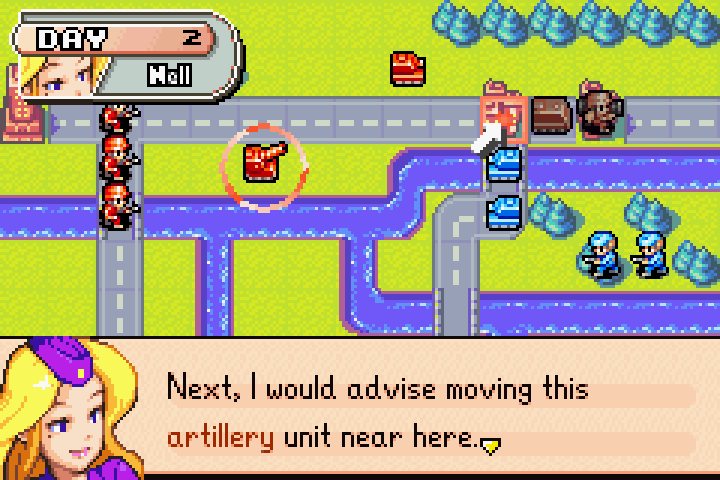
Oh, and there’s one more thing about artillery units I need to tell you. Artillery units are powerful long range weapons, but they’re weak in direct combat. They also can’t move and Fire in the same turn. Anyway, once you take care of the enemy tank units, you shouldn’t have any problems winning this battle. To win, seize the enemy HQ or wipe out all the enemy troops. It’s up to you. Do your best , and good luck!
Mm… that does sound like advice the real Nell would give. Well, regardless, here’s the strategic plan for this mission.
STRATEGY — OPERATION TWIN HAMMER
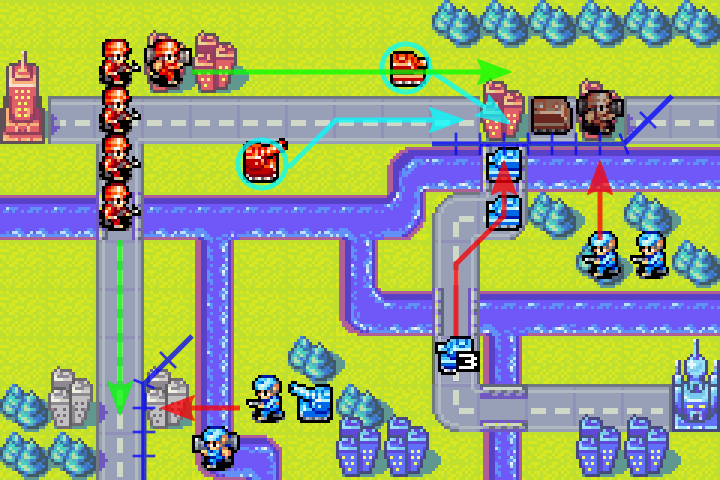
I agree with Nell on holding the choke point by the two northern cities. Remember, artillery is amazing in defensive operations, especially around choke points.
The south side is similar: we’ll form a defensive barricade with our infantry. Since only infantry and mechs can cross the river, and we have the numbers advantage there, they should be fine.
So, to summarize, our strategy is similar to last time: the classic counteroffensive. We’ll go for an annihilation victory because it’s probably faster.
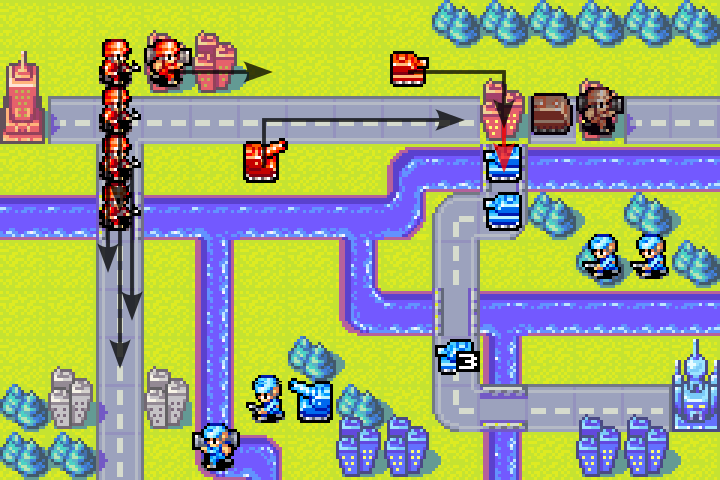
Let’s set up our wall like last time. All the infantry heads south, since we’re committed to fighting around the two neutral cities. The mech continues east to help defend the two cities we hold. The tank forms a blockade on the city and attacks anything coming across the bridge. Finally, we move the artillery up so it can bombard Olaf’s tanks tomorrow.
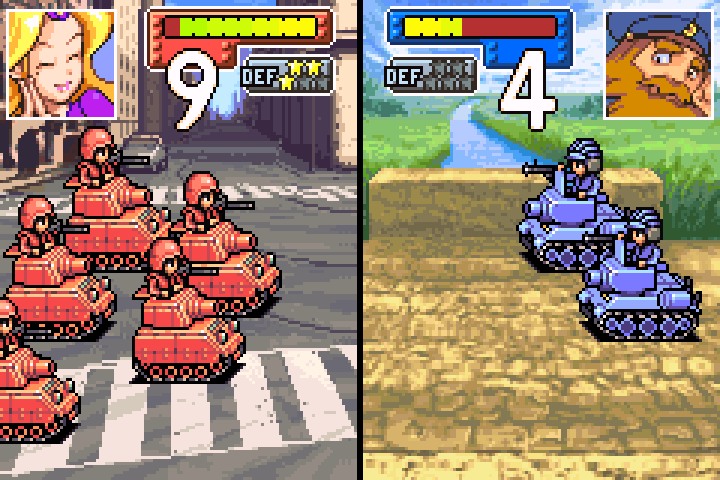
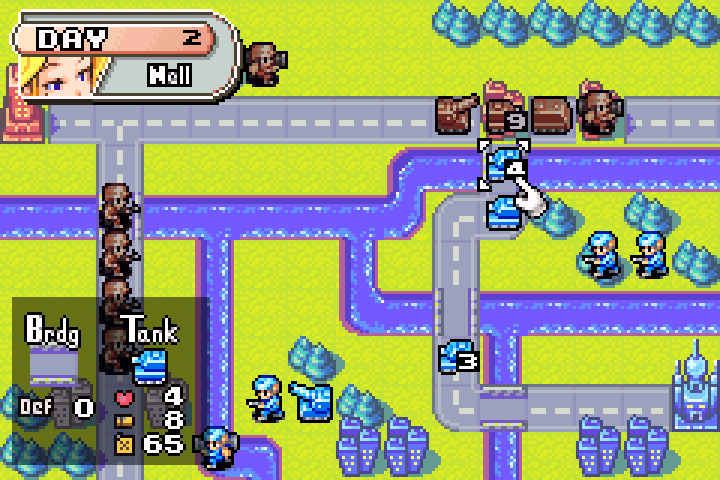
Looks like this is the first time we’re fighting on multiple fronts: one to the northeast and one to the southwest. Splitting up like this is more common than you’d think. You might assume one big force always beats several smaller ones, but the bigger the force, the less efficient it gets: different units move at different speeds, and there’s a limit to how many units can actually engage the enemy at once. It’s situational, though. It all depends on the terrain, the enemy’s composition, and your own. Learn to adapt!
Enemy Day 2
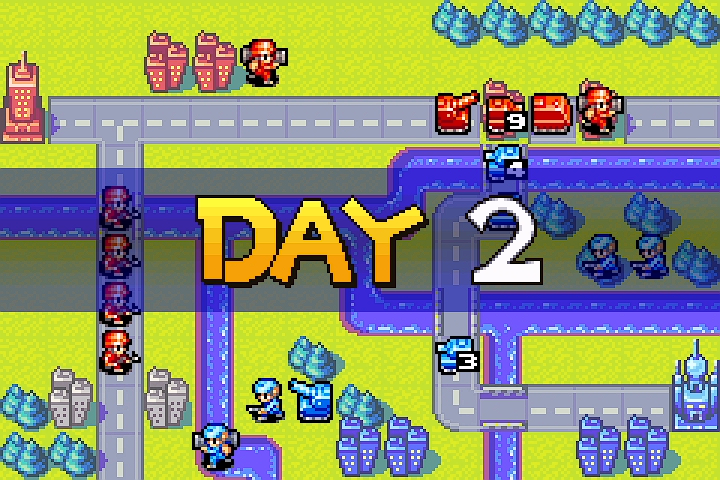
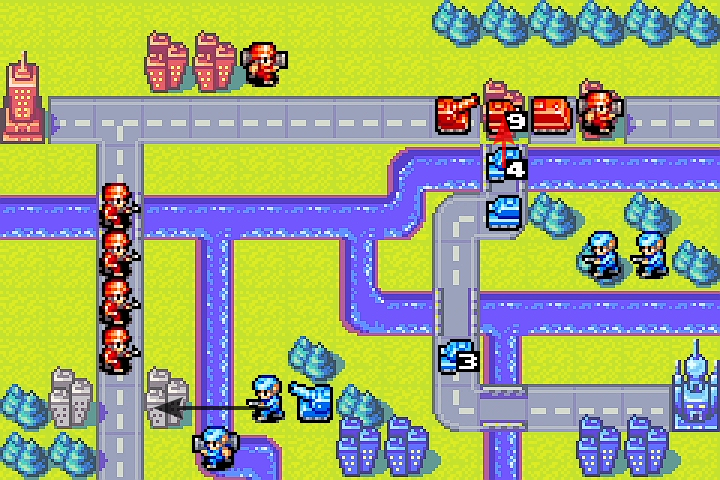
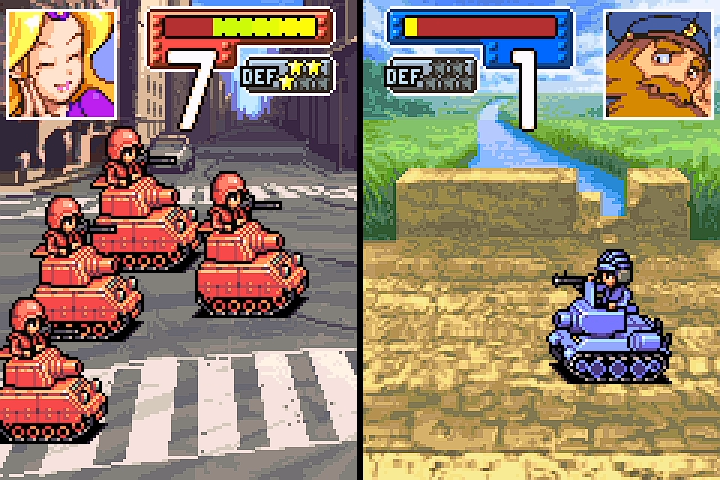
Olaf attacked our 9 HP tank on the city with his 4 HP tank on the bridge… I believe his thinking was to sacrifice the unit to lower our HP so he could finish my tank off with a brand-new full-HP tank. Unfortunately for him, the tank survived, so his plan backfired.
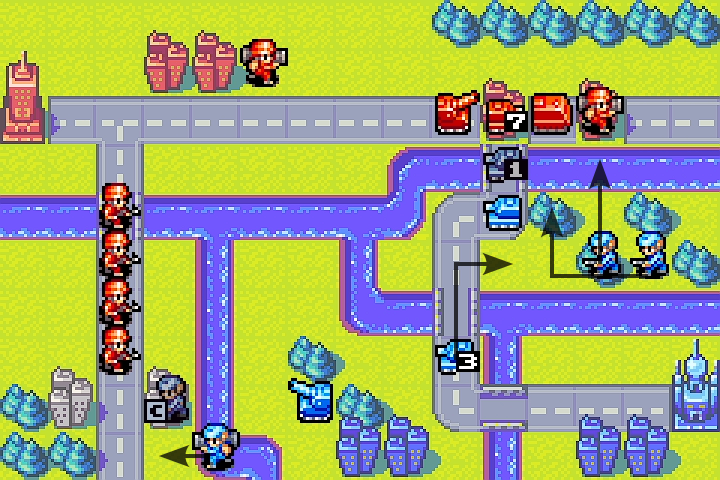
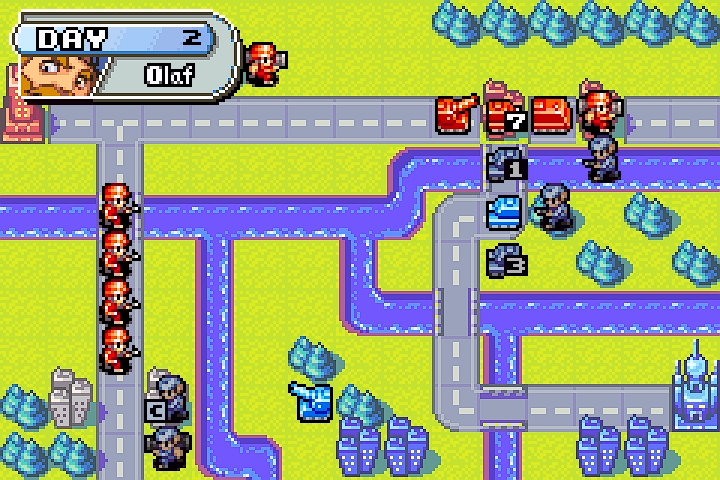
Last chapter, we talked about why it’s bad to capture a city while it’s under threat from enemy units. We also talked about why it’s bad to attack into a choke point. Olaf did both again, so I guess he hasn’t learned. That makes things easy for us, though—we can launch our counterattack sooner than planned.
Day 3
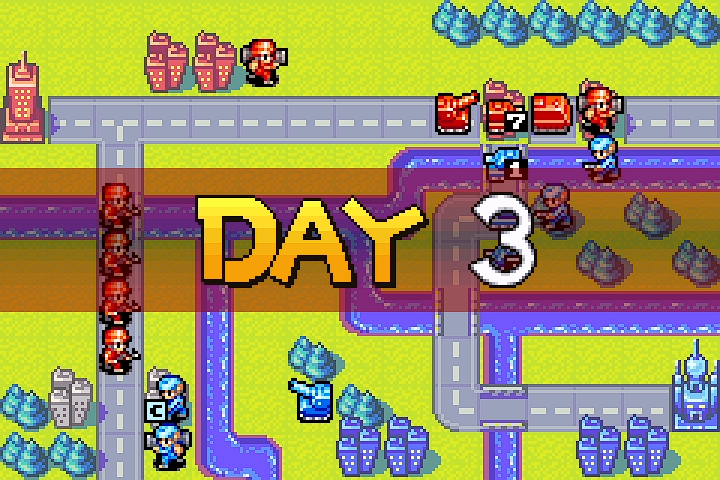
The goal today is to severely weaken Olaf’s attacking forces.
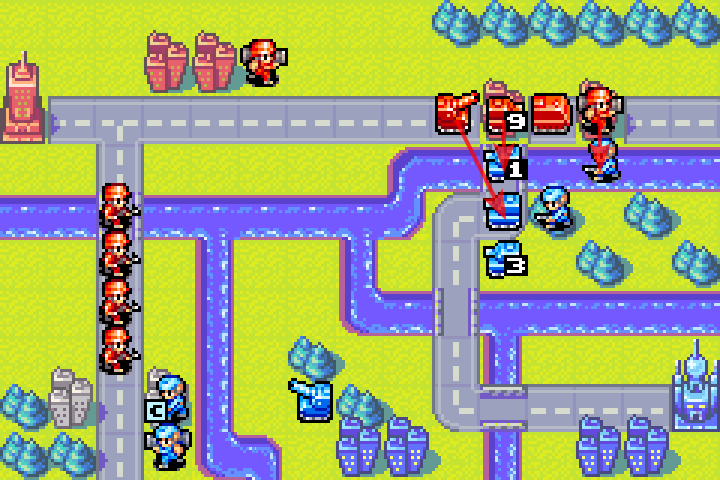
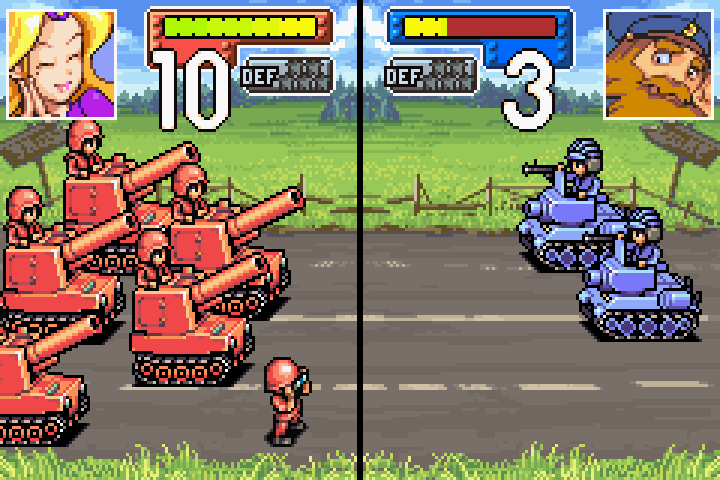
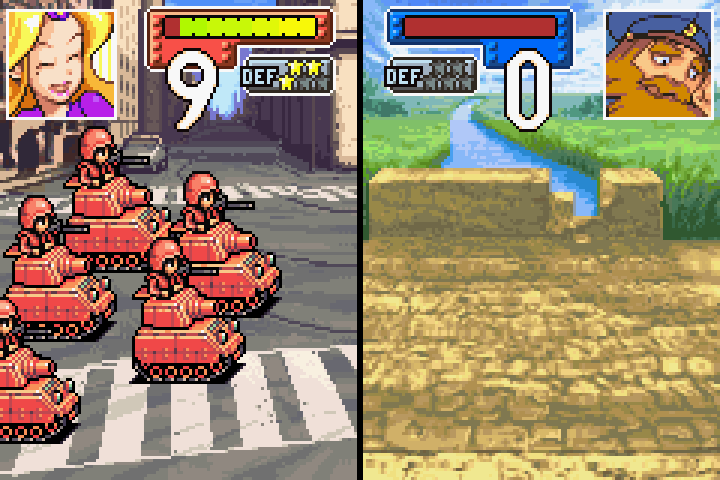
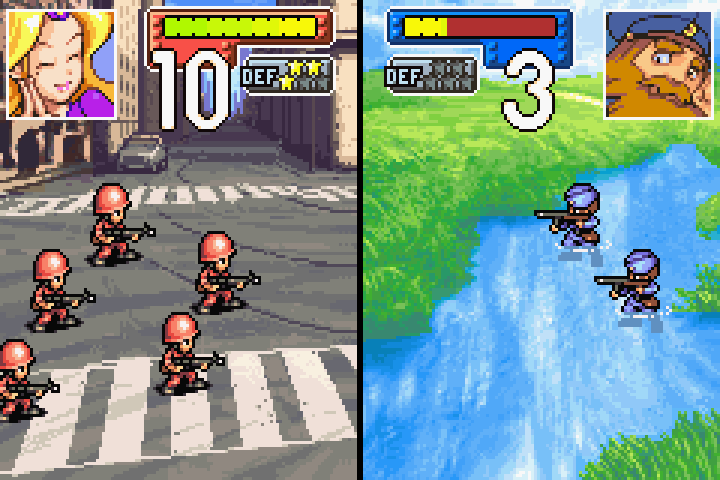
In the northeast, we use our superior defensive cover to attack Olaf’s forces. I kinda feel bad for him here.
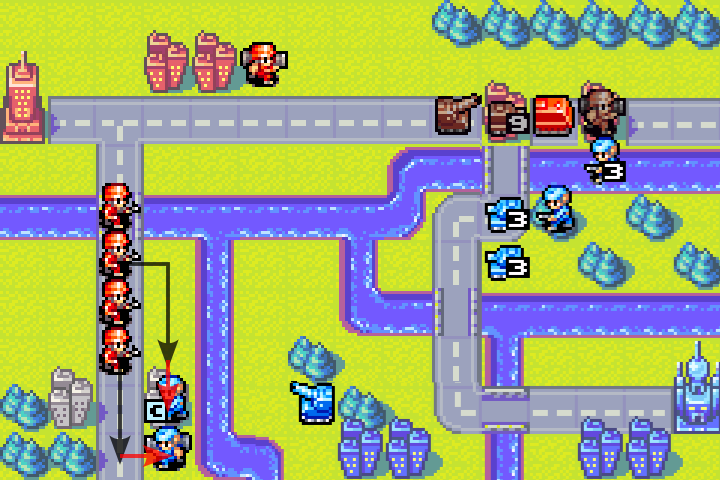
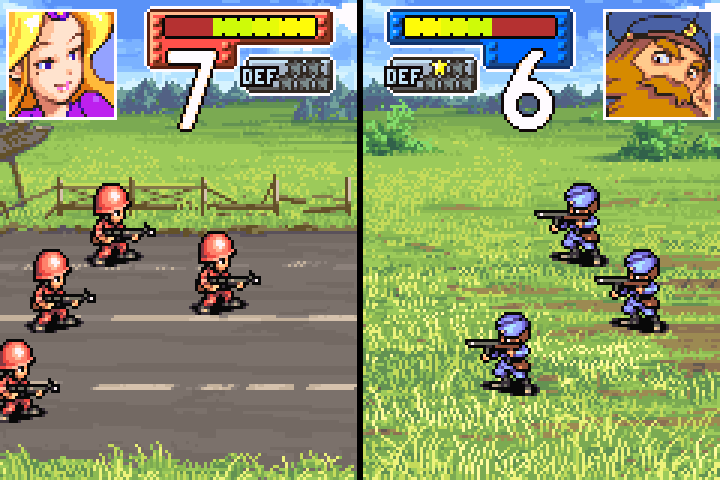
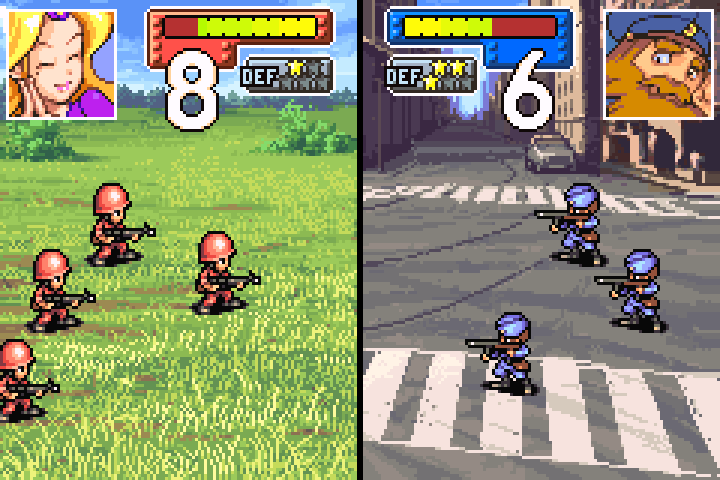
In the southwest, we attack into Olaf’s infantry and mech. They have the terrain advantage, but we have the numbers advantage! You may also have noticed that I only attacked with two infantry when a third could have attacked as well. Why is that?
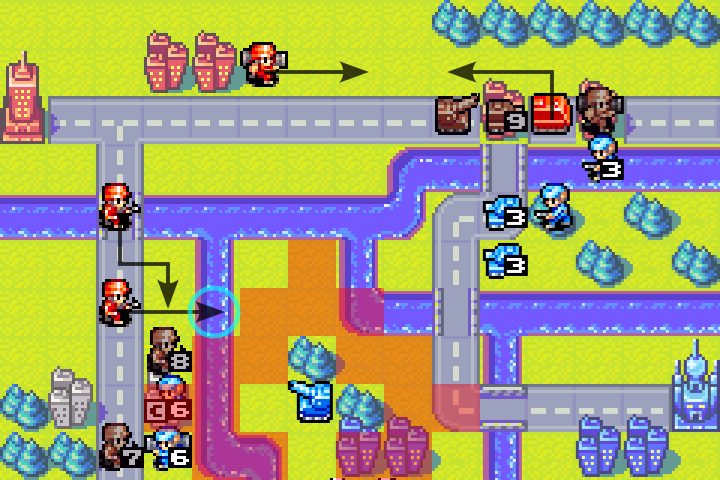
The reason is that the circled tile is safe from Olaf’s artillery but still lets us attack from it tomorrow! So we’ll divert the infantry there. Three infantry squads are plenty to defeat Olaf’s infantry and mech. We’ll also move the APC back northeast to pick up the mech. Next round, we should be ready to counterattack!
Enemy Day 3
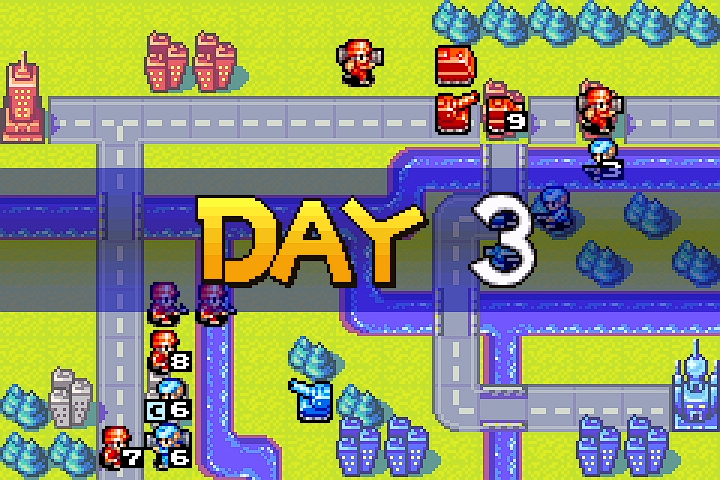
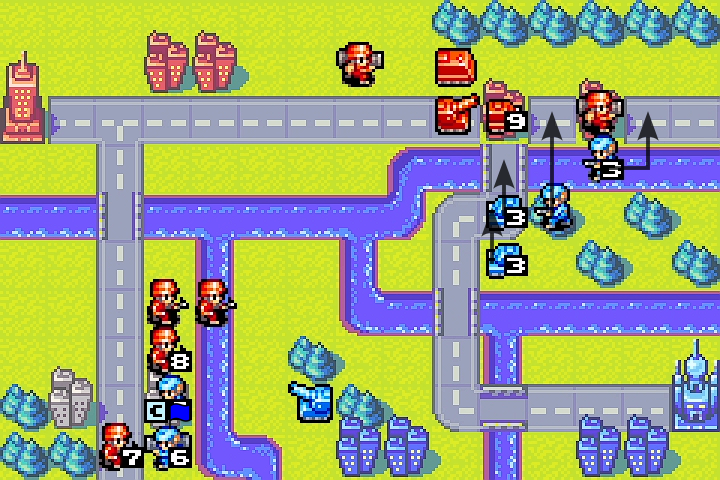
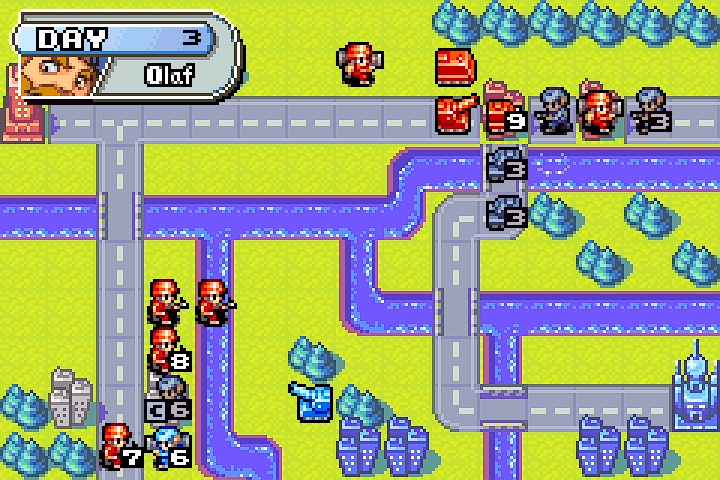
Honestly, Olaf did nothing. He moved his northeastern infantry and tanks up but didn’t attack. Not sure what he’s thinking!
Day 4
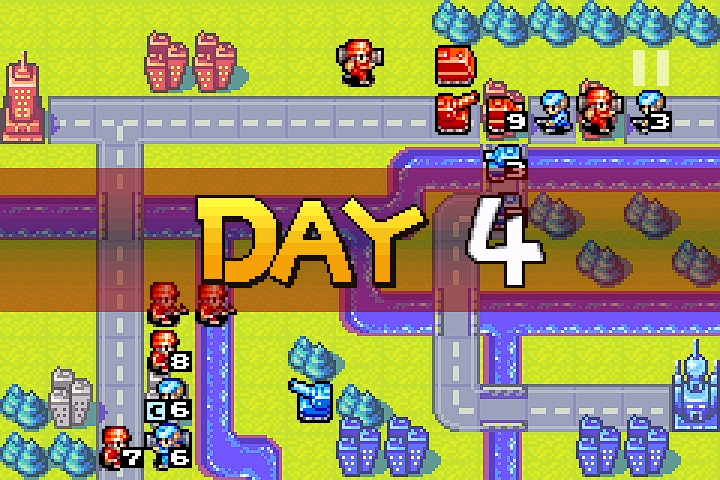
We did some pretty serious damage yesterday, so we can finally start counterattacking!
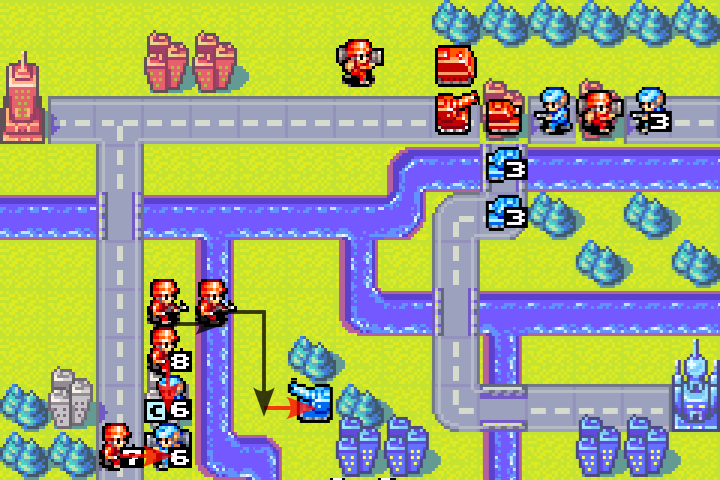
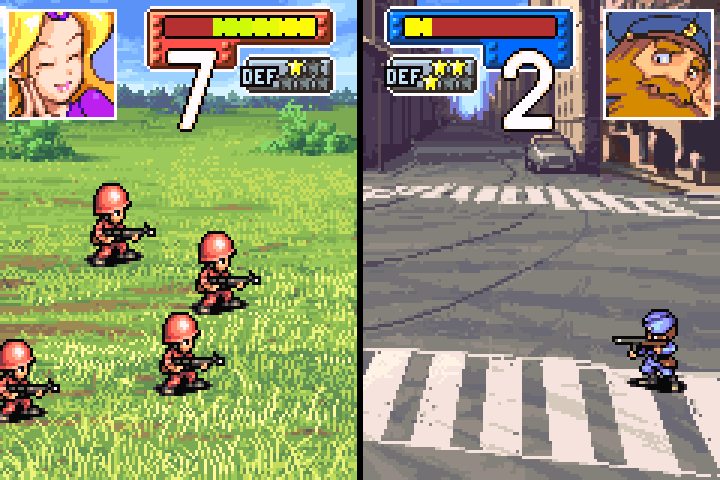
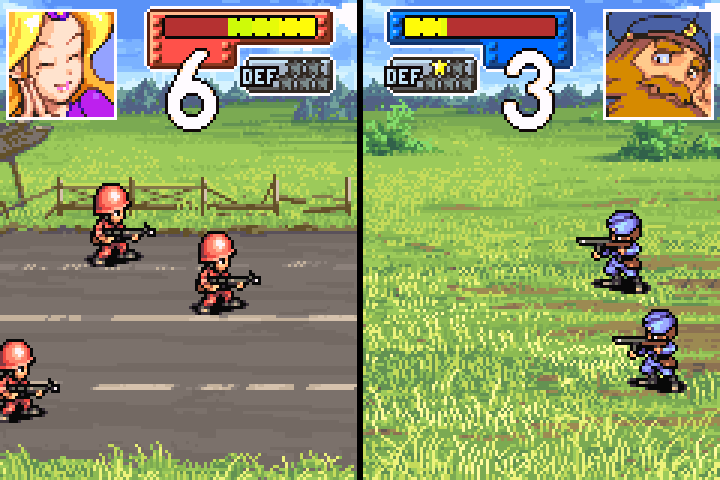
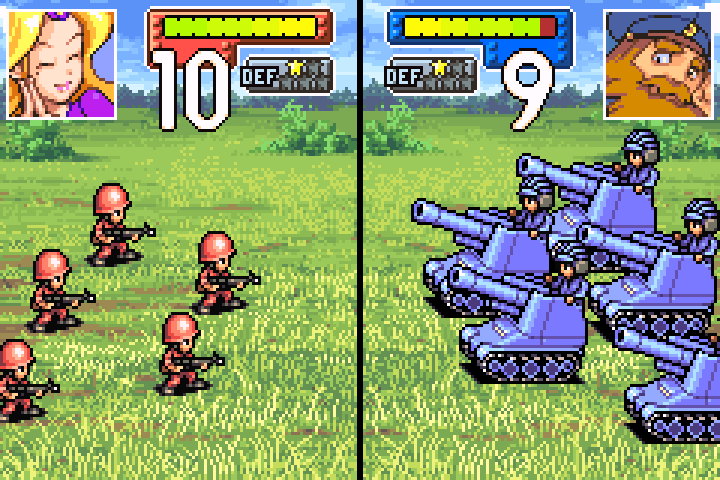
Our southwestern front is pretty straightforward. Because Olaf’s infantry and mech didn’t attack, the two infantry we already have there are sufficient, so we can send the other two squads against his artillery.
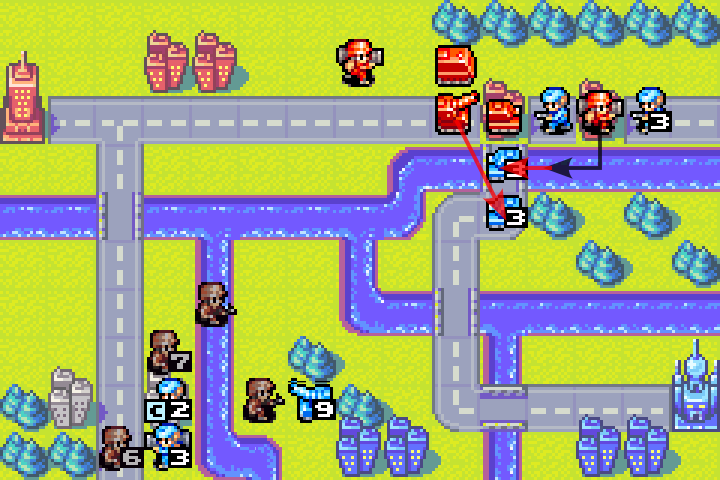
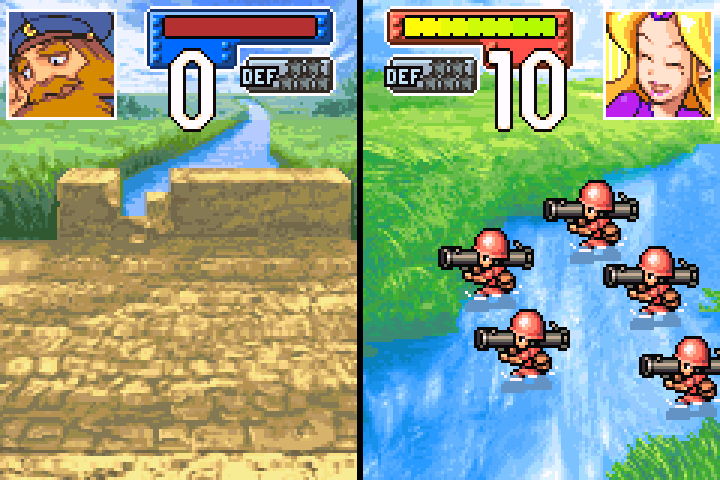
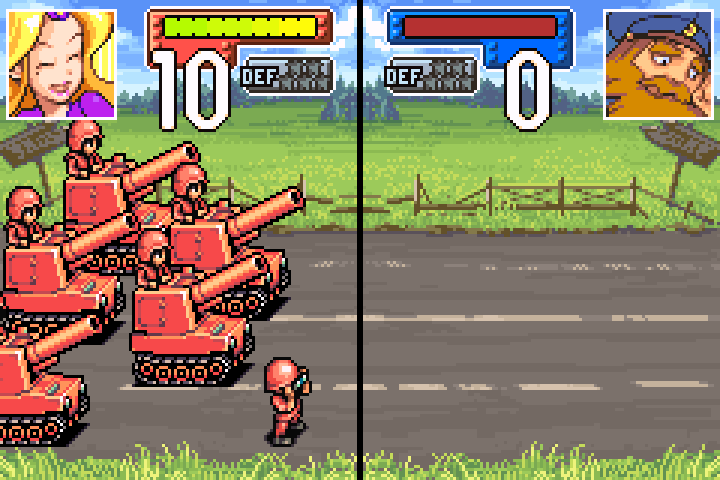
The northeastern front is a bit more interesting. We want to free our tank so it can reach Olaf’s artillery next day, so we have to use our mech and artillery to destroy the 2 tanks.
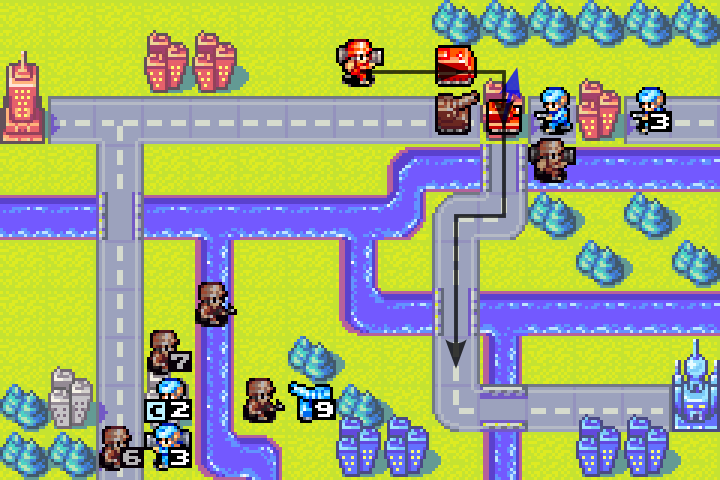
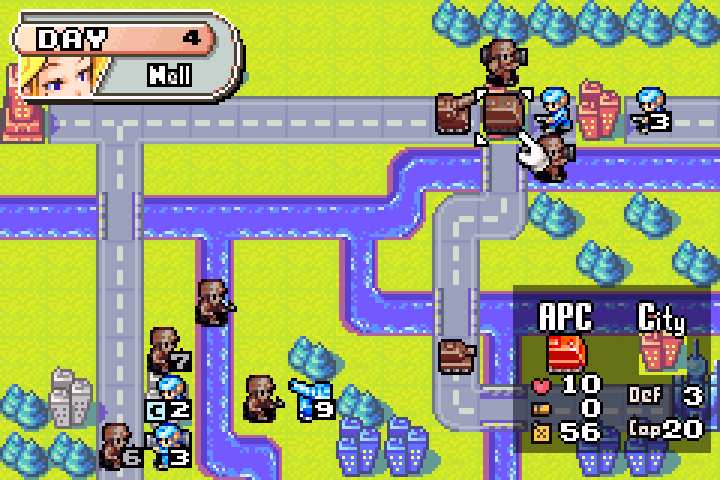
This lets our tank move forward, and we can block the gap with our mech and APC to keep Olaf’s infantry away from our artillery.
Enemy Day 4
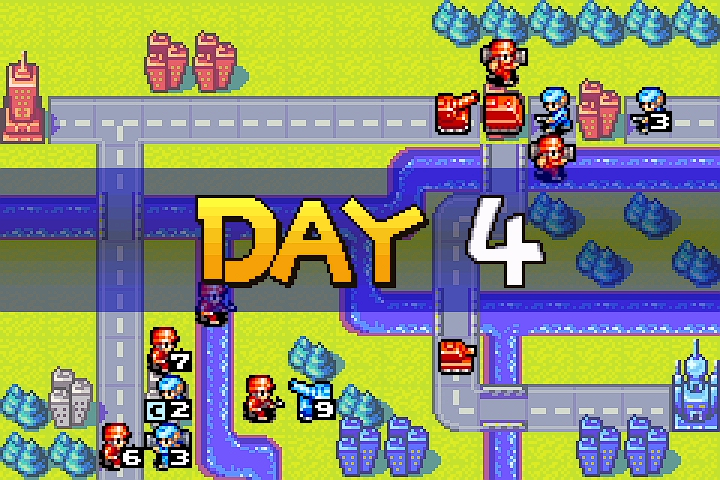
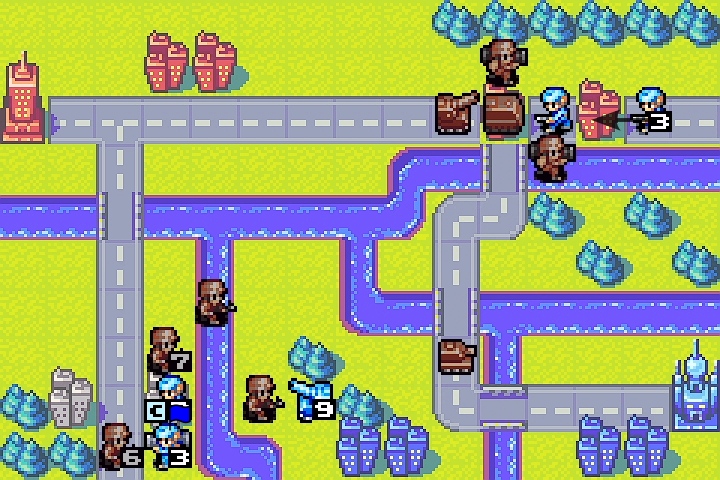
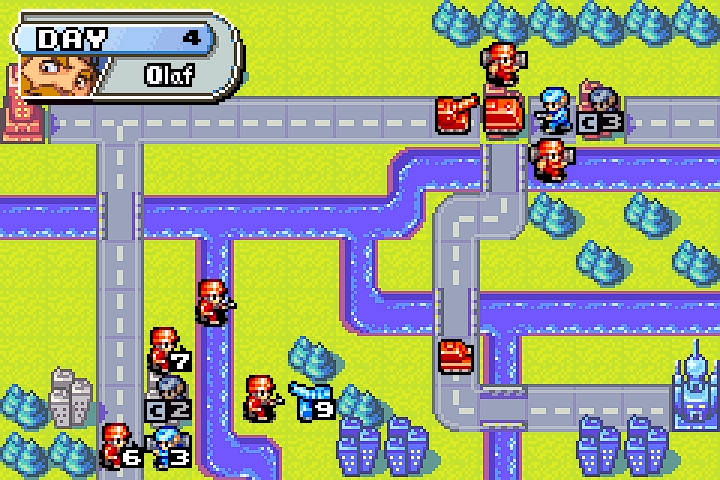
Olaf is only delaying the inevitable at this point.
Day 5
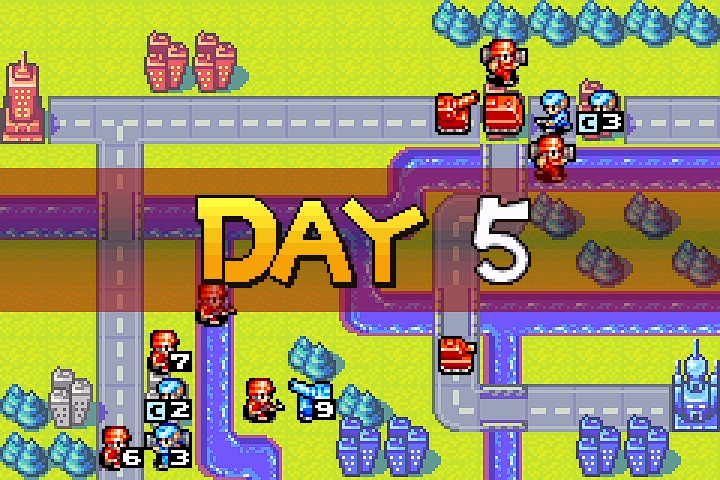
Time for the final cleanup.
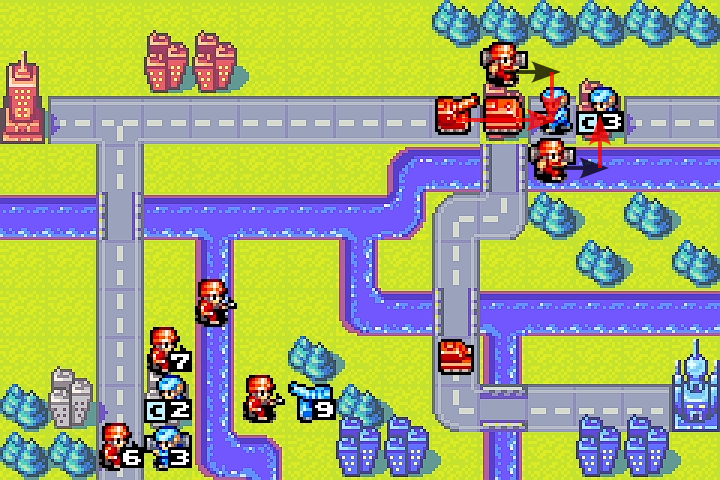
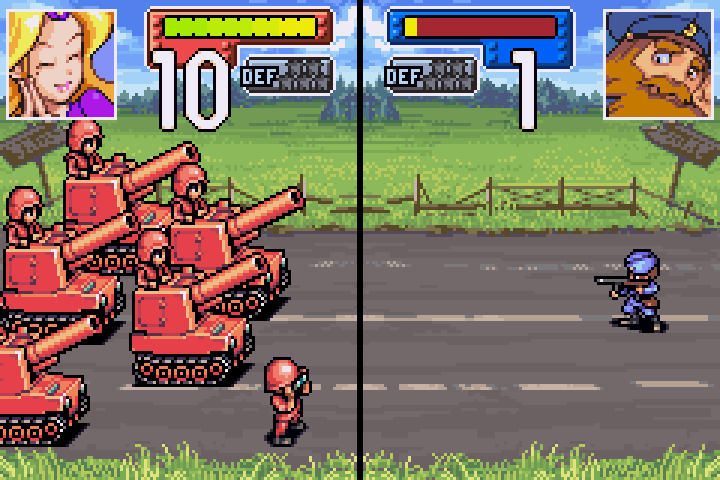
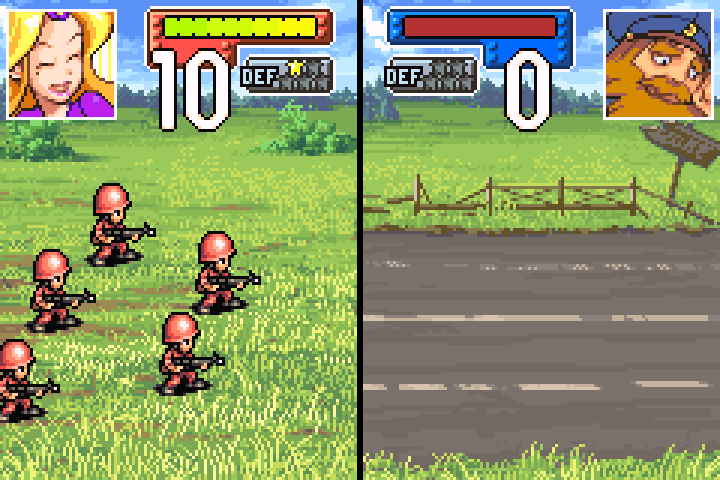
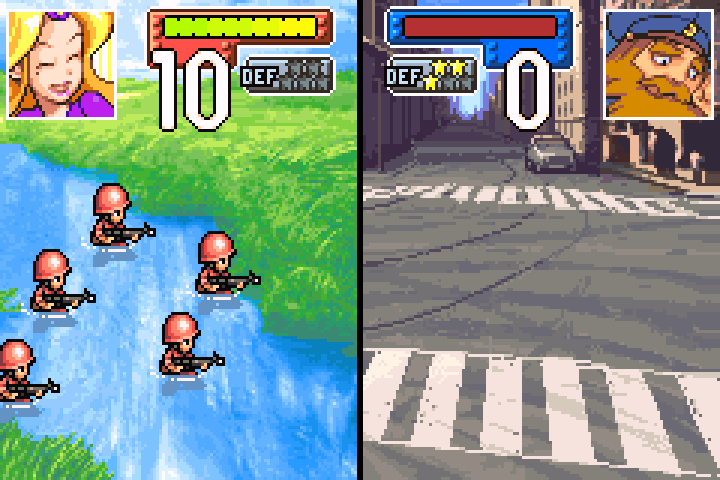
First, we’ll clean up Olaf’s infantry in the northeast.
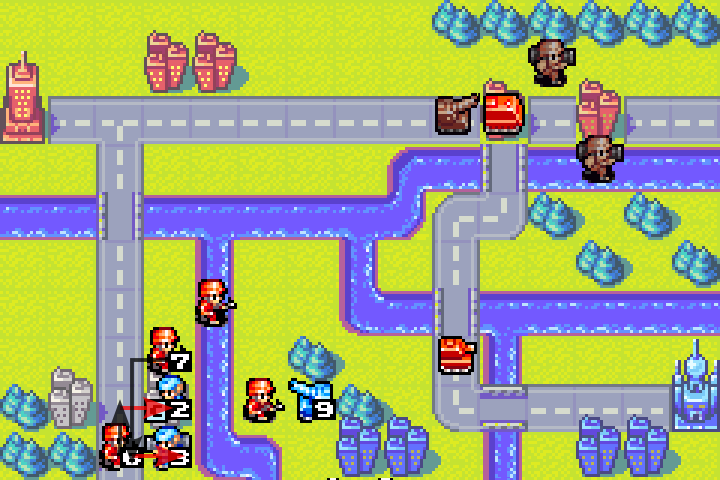
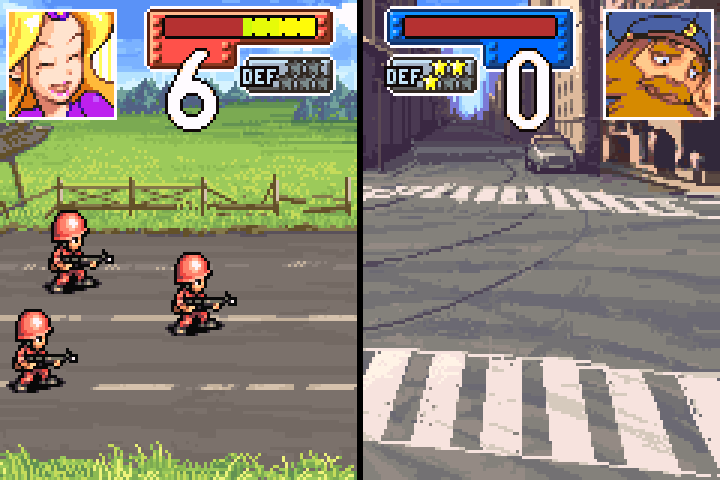
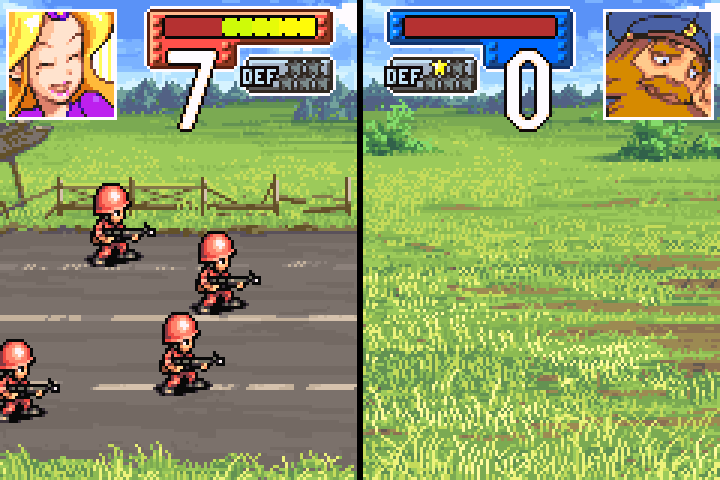
Then we’ll clean up Olaf’s infantry and mech in the southwest as well. Note that we deliberately rotate our infantry units to guarantee the kill.
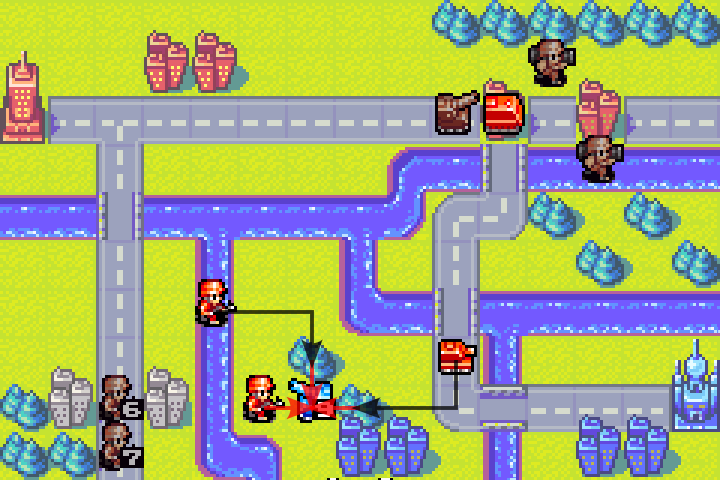
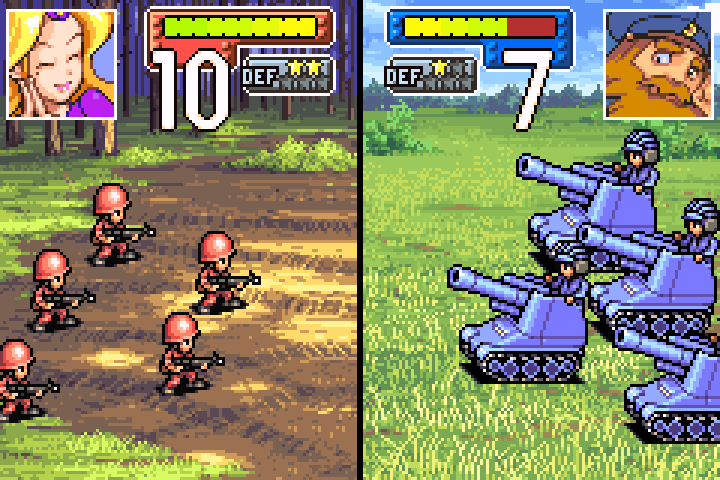
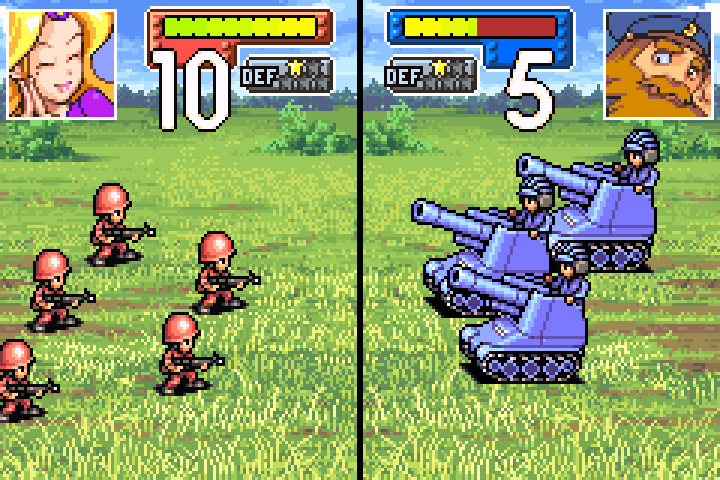
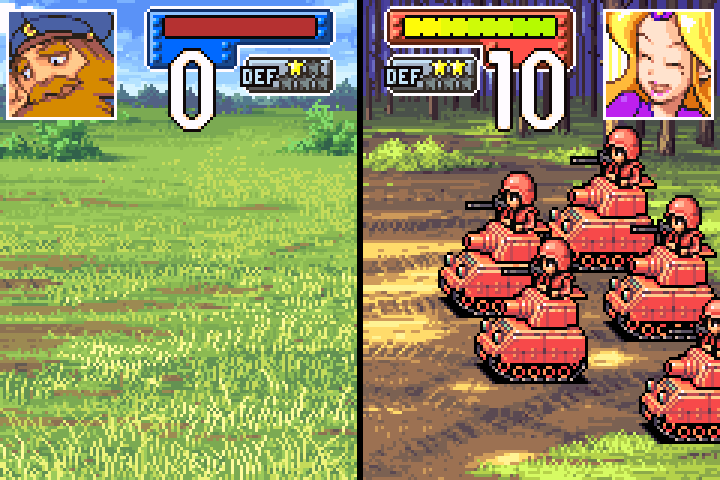
Finally, we will destroy Olaf’s last remaining artillery!
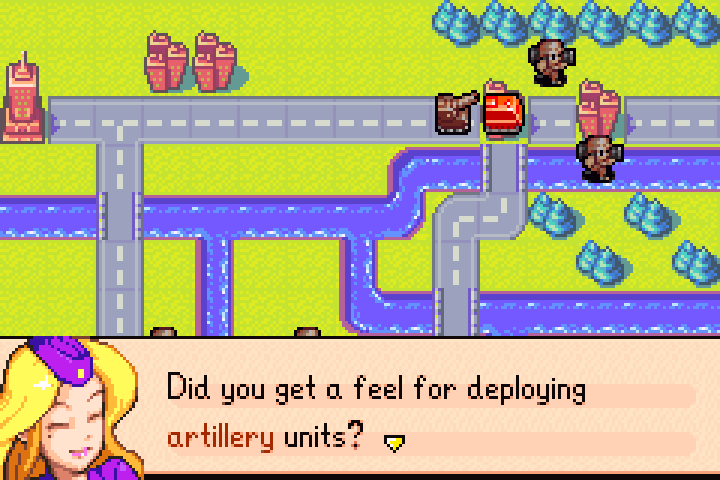
You’re doing well. Now get going, and keep up the good work.
It’s the real Nell!!! Did you know there was a fake Nell earlier?
Grrr… Next time, blast it! Next time!
That’s what you said last time!
RESULTS

In this chapter, we learned to use the APC and artillery to hold a choke point and pulled off another successful counteroffensive. We also ran our first operation with multiple fronts, converging at the end. Everything worked out perfectly!

Next time, we’ll summarize what we learned so far and apply them altogether!
LOADING TRANSMISSIONS…